Step 1: Access the Settings Panel
Start by accessing the settings where you can customize the widget.
Log In to Your Dashboard:
Visit your dashboard and log in with your credentials.
Navigate to the Desired Widget:
- Select the widget you want to customize (e.g., Horoscope, Numerology).
- From the “Choose Your Setting” dropdown menu, select the desired setting.
- Click the “Edit Setting” button to open the customization options.
Step 2: Locate the Heading and Subheading Fields
Find the fields to update your widget's heading and subheading.
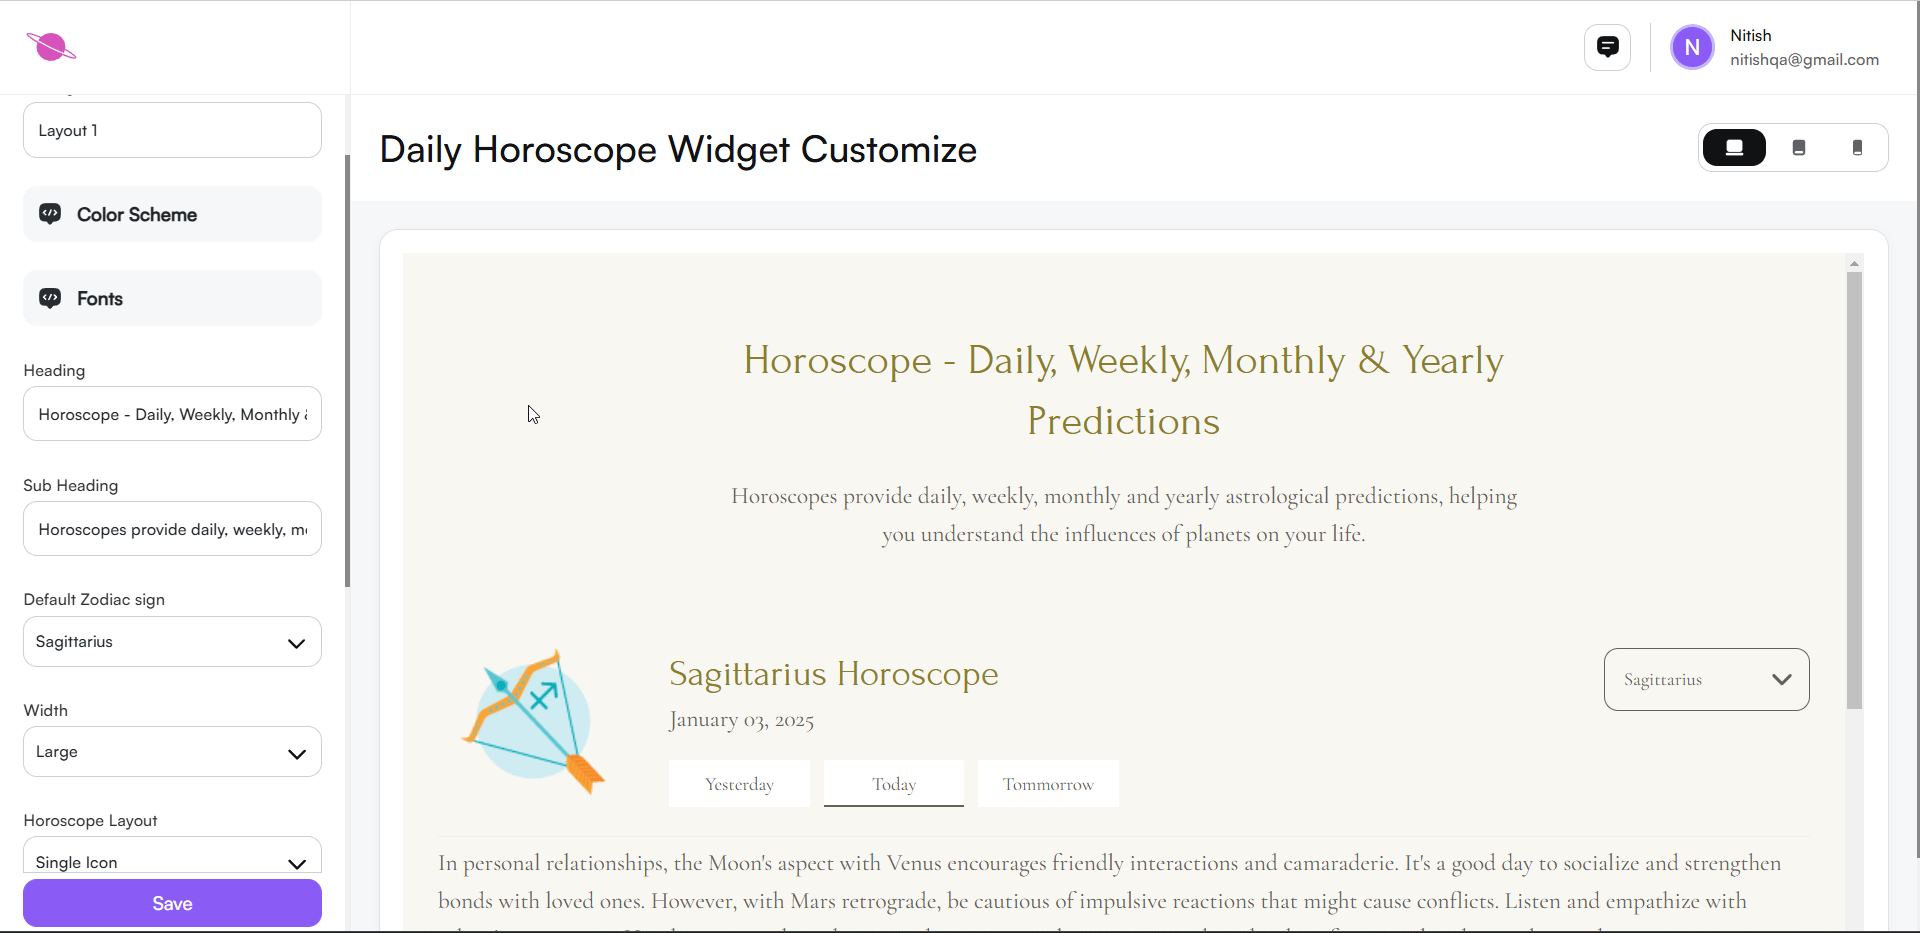
- In the settings panel, look for the "Heading" and "Subheading" fields.
- These fields will display the current title and description of your widget.

Step 3: Update the Heading and Subheading
Customize the text to match your branding and messaging.
Enter a New Heading:
- Example: Change "Horoscope - Daily, Weekly, Monthly & Yearly Predictions" to "Your Daily Insights - Explore Weekly and Monthly Predictions."
Update the Subheading:
- Example: Modify "Horoscopes provide daily, weekly, monthly, and yearly astrological predictions, helping you understand the influences of planets on your life" to "Get accurate astrological insights to navigate your day and plan your week."
Step 4: Save Your Changes
Ensure your updates are applied to the widget.
- Scroll down to the bottom of the settings panel.
- Click the “Save” button to confirm your changes.
Step 5: Preview Your Widget
Check how the new heading and subheading look on your widget.
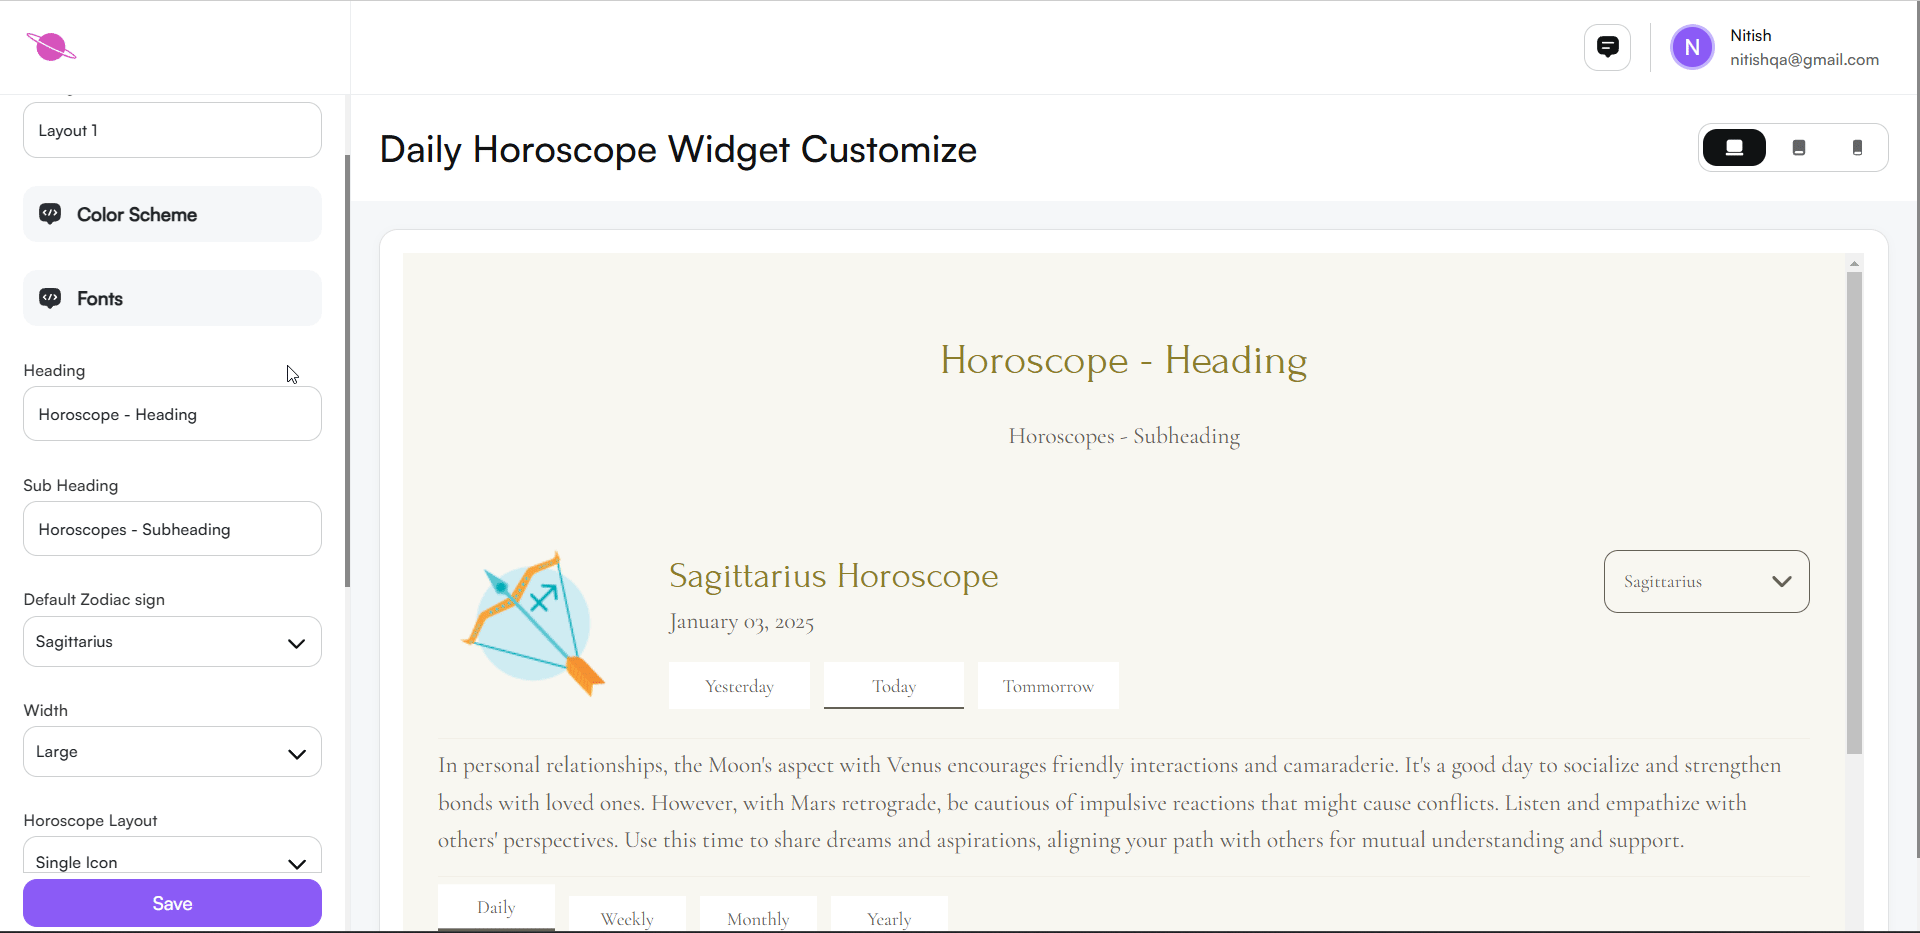
- Scroll up to the widget preview section in the settings panel.
- Review the updated heading and subheading to ensure they fit well with the widget's design.
Conclusion
By following these steps, you can easily update the heading and subheading of your widget to reflect your website's tone and branding. This small customization enhances user engagement and ensures a cohesive appearance across your site.