Step 1: Access the Settings Panel
Start by navigating to the settings section to access customization options.
Log In to Your Dashboard:
Use your credentials to log in to the dashboard.
Select the Desired Widget:
- Navigate to the widget you want to customize, such as Kundali or Horoscope.
- From the “Choose Your Setting” dropdown menu, select the specific setting you want to edit.
- Click the “Edit Setting” button to open the customization panel.
Step 2: Locate the Form Heading and Button Label Fields
Find the fields in the settings panel where you can update these labels.
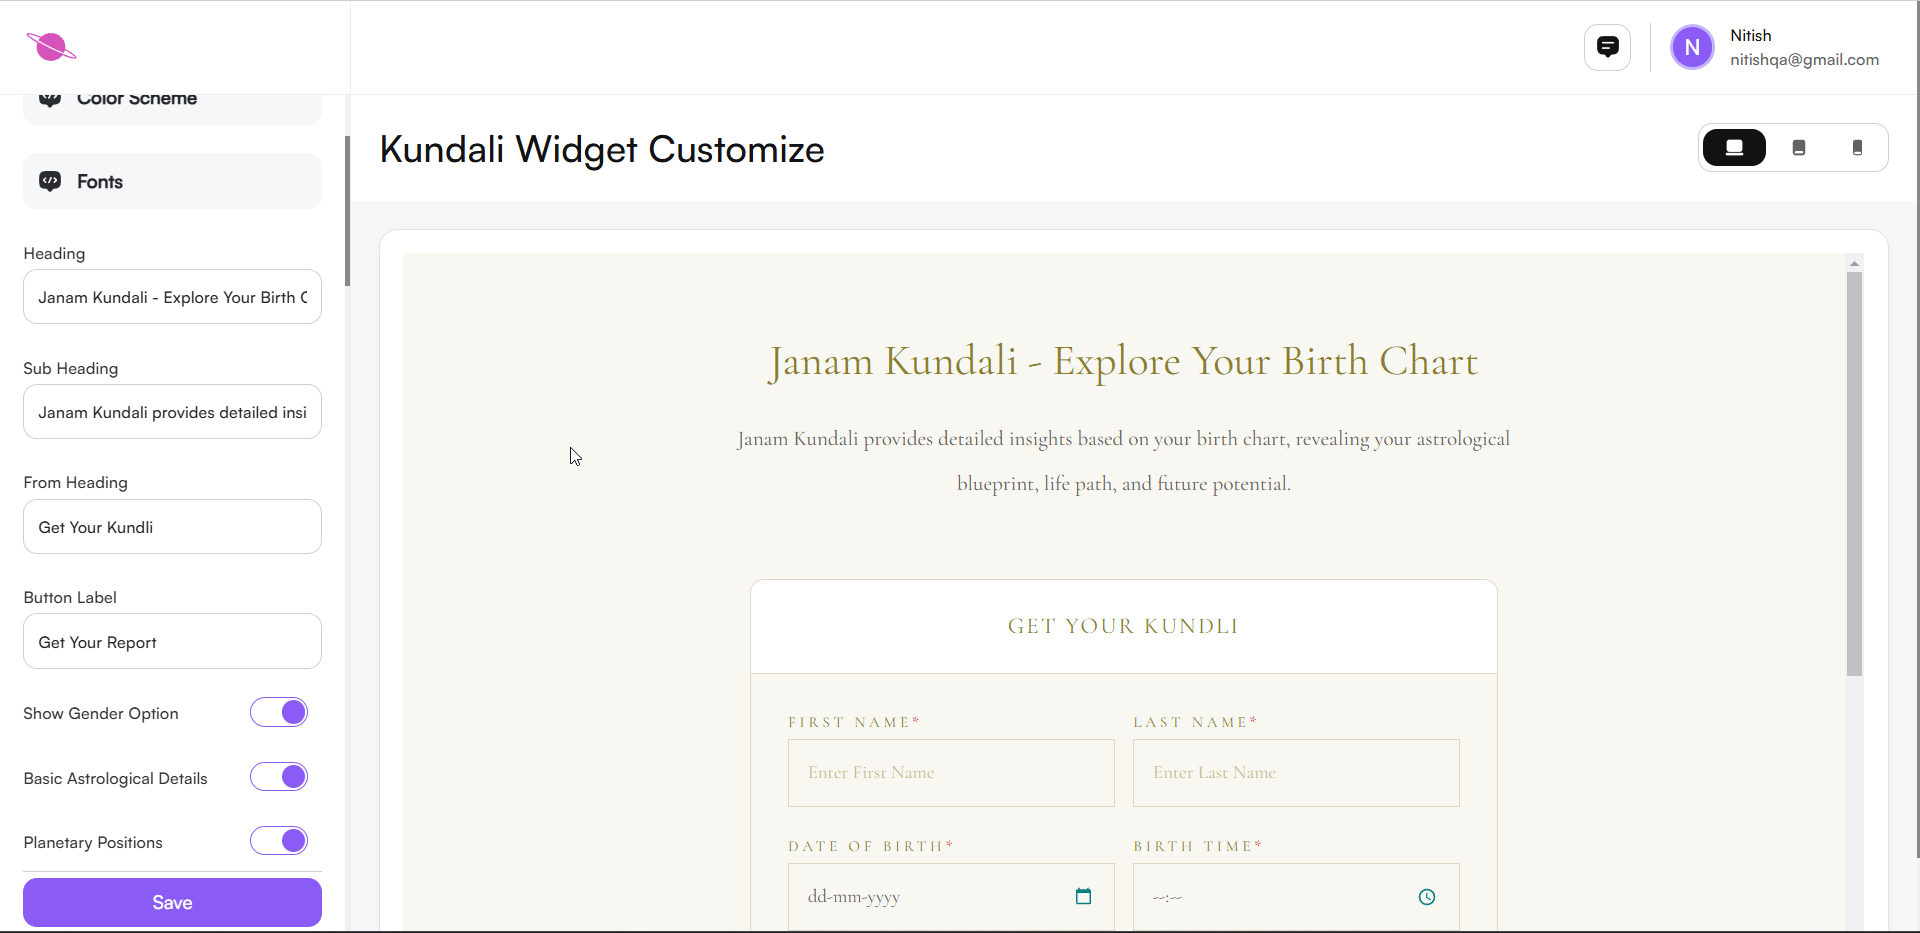
- In the customization options, locate the fields titled Form Heading and Button Label.
- These fields show the current text displayed on your widget for the form and button.

Step 3: Update the Form Heading
Modify the form heading to better suit your widget's purpose.
- Click on the Form Heading field.
- Enter a new heading text. For example:
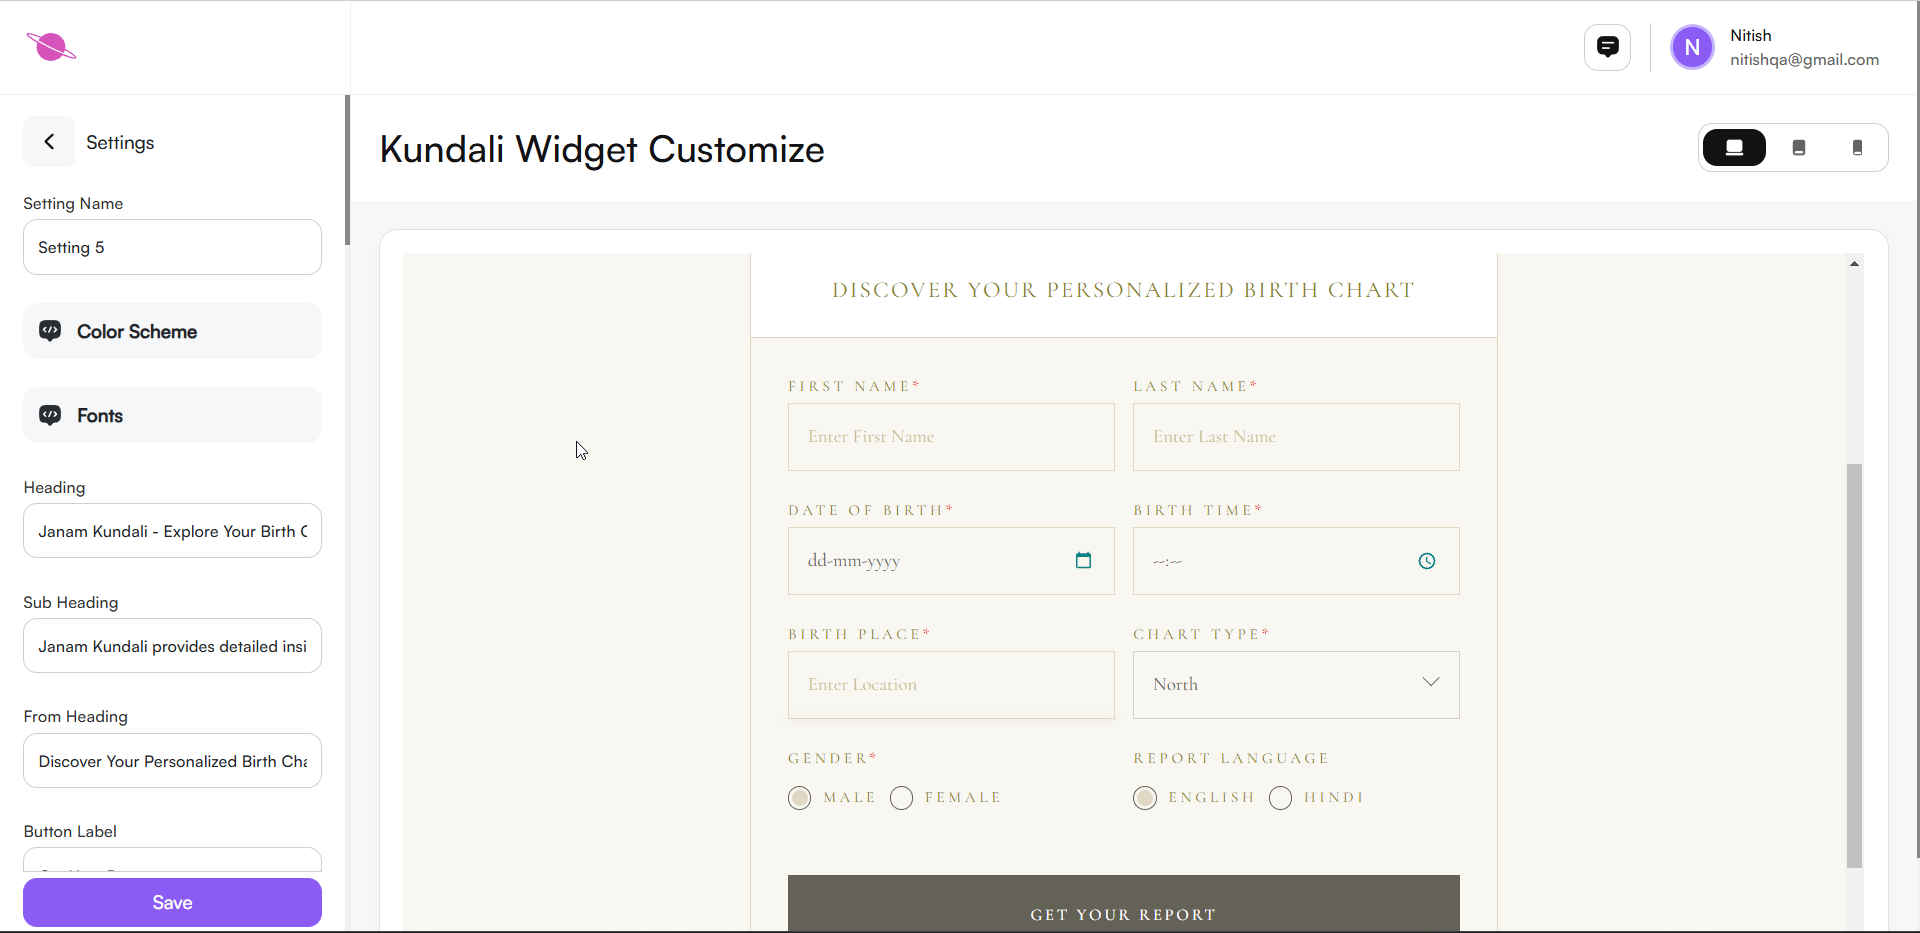
- Default: "Get Your Kundli"
- Updated: "Discover Your Personalized Birth Chart"
Step 4: Update the Button Label
Personalize the call-to-action button to make it more engaging.
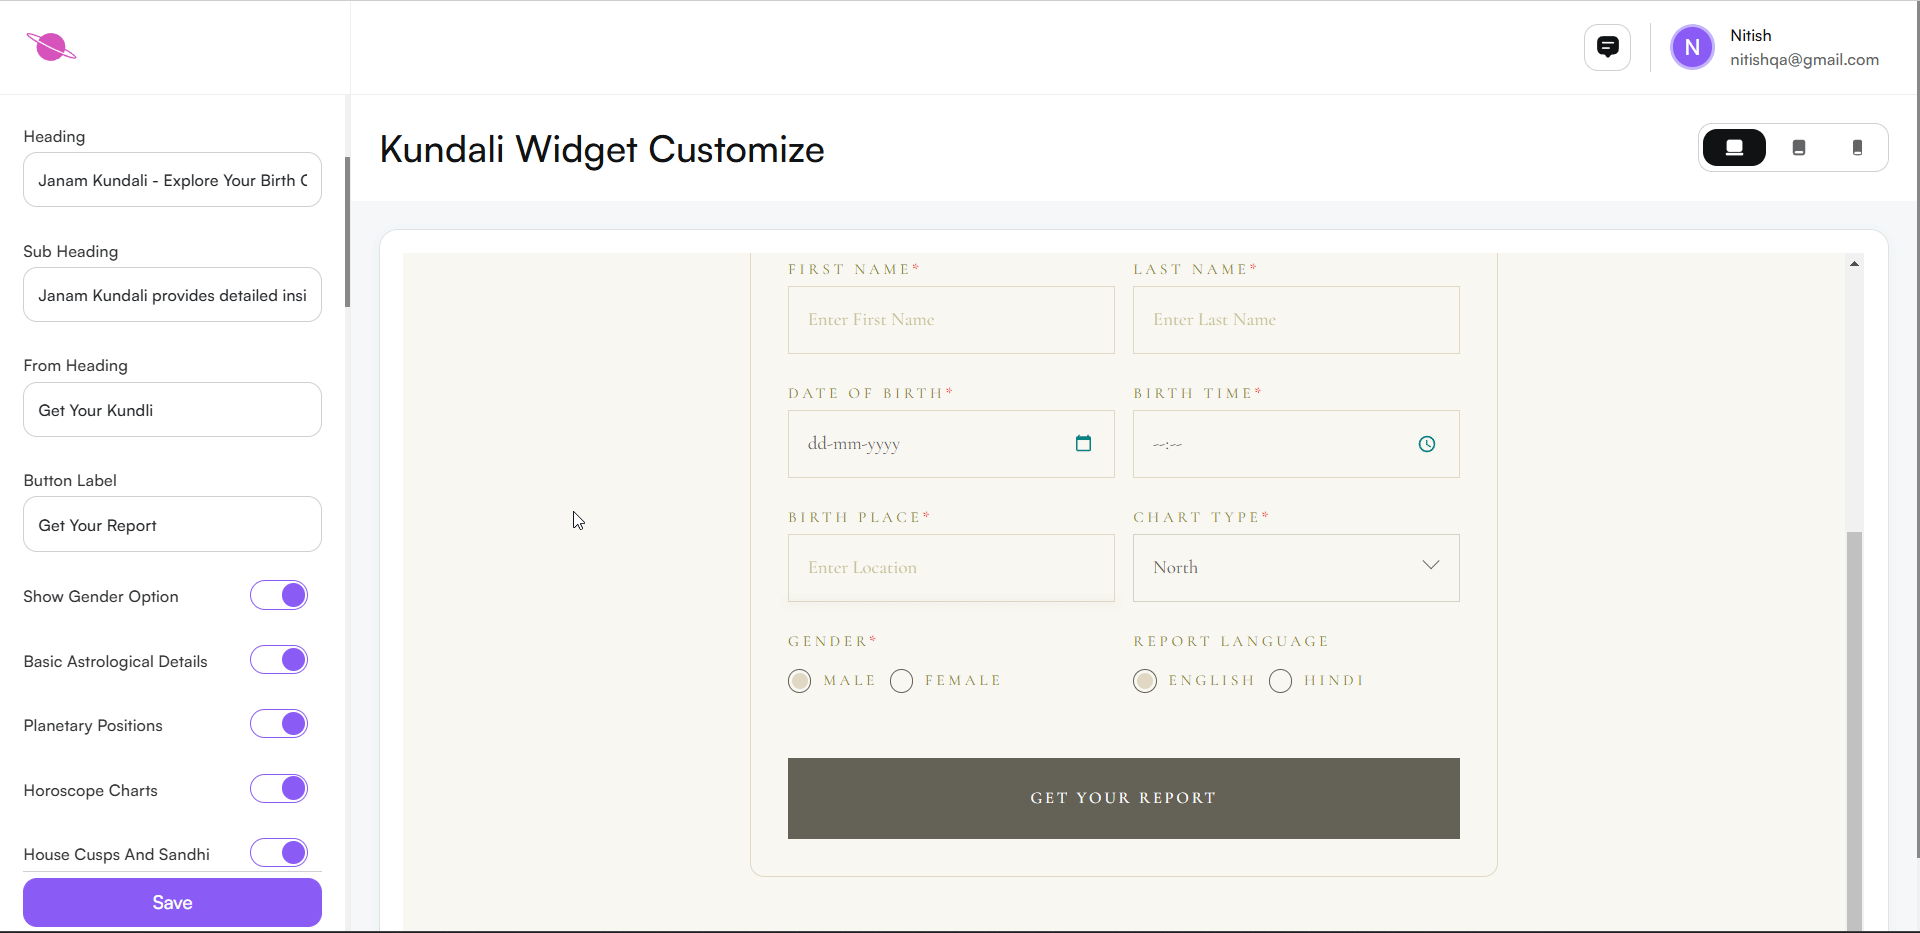
- Click on the Button Label field.
- Enter a new button text. For example:
- Default: "Get Your Report"
- Updated: "Generate My Report"
Step 5: Save Your Changes
Ensure your updates are applied to the widget.
- Scroll down to the bottom of the settings panel.
- Click the “Save” button to confirm your changes.
Step 6: Preview the Updated Widget
Verify the changes made to the form heading and button label.
- Scroll up to the widget preview section.
- Check how the new heading and button label look in real time.
Conclusion
By customizing the Form Heading and Button Label, you can create a more user-friendly and personalized experience for your website visitors. This simple yet effective tweak enhances the visual appeal and improves user engagement.