

Step 1: Log In to Your Dashboard
Open the Dashboard Login Page:
- Access the astrology dashboard login page in your preferred browser.
Enter Your Email and Password:
- Input your email address in the provided field.
- Type your password into the "Password" box. (Choose "Forgot Password" if required.)
Sign In to Your Account:
- Press "Sign In" to log into your dashboard.
Don’t Have an Account?
- Click "Sign Up" to register and start your 14-Day Free Trial.

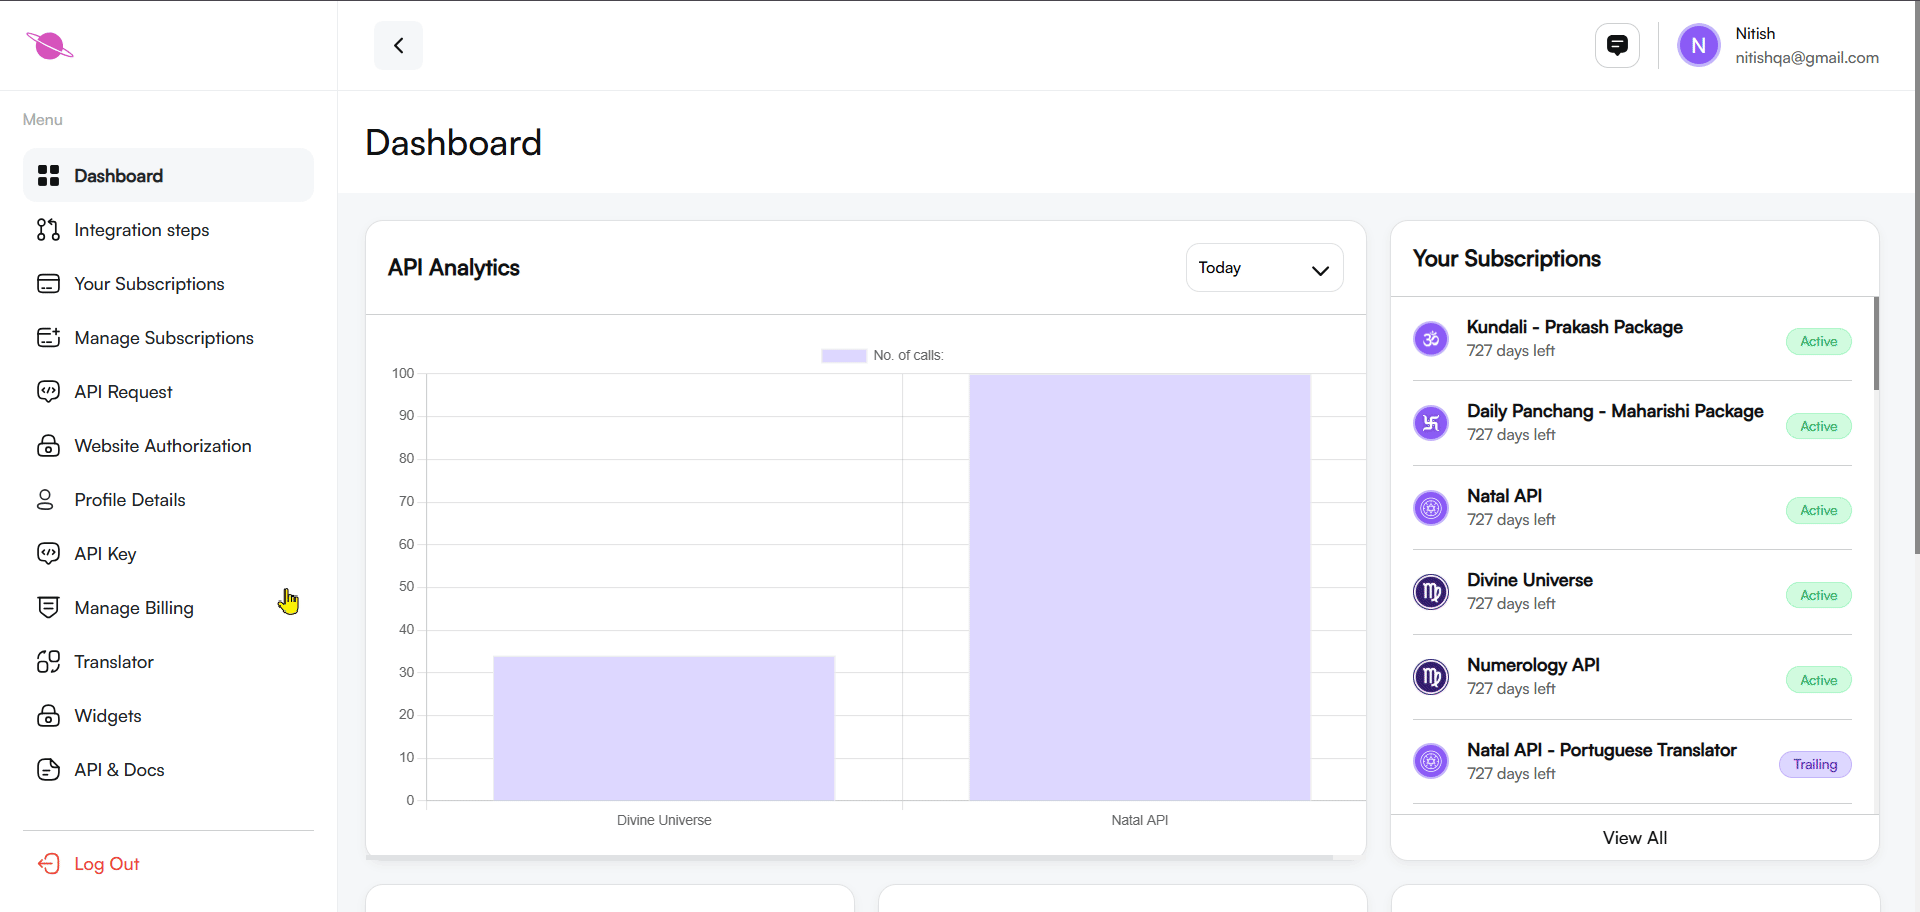
Step 2: Navigate to the Dashboard
After logging in, you will be directed to the main dashboard. Here, you can access multiple features like subscriptions, billing, API keys, and widgets.
- Locate the Widgets option in the left-hand menu.
- Click on it to view and manage your Coffee Cup Reading widgets.

Step 3: Select the Desired Widget
In the widget section, you’ll find a list of available widgets, such as Horoscope, Numeroscope, and Tarot widgets. Select Coffee Cup Reading Widgets to proceed.
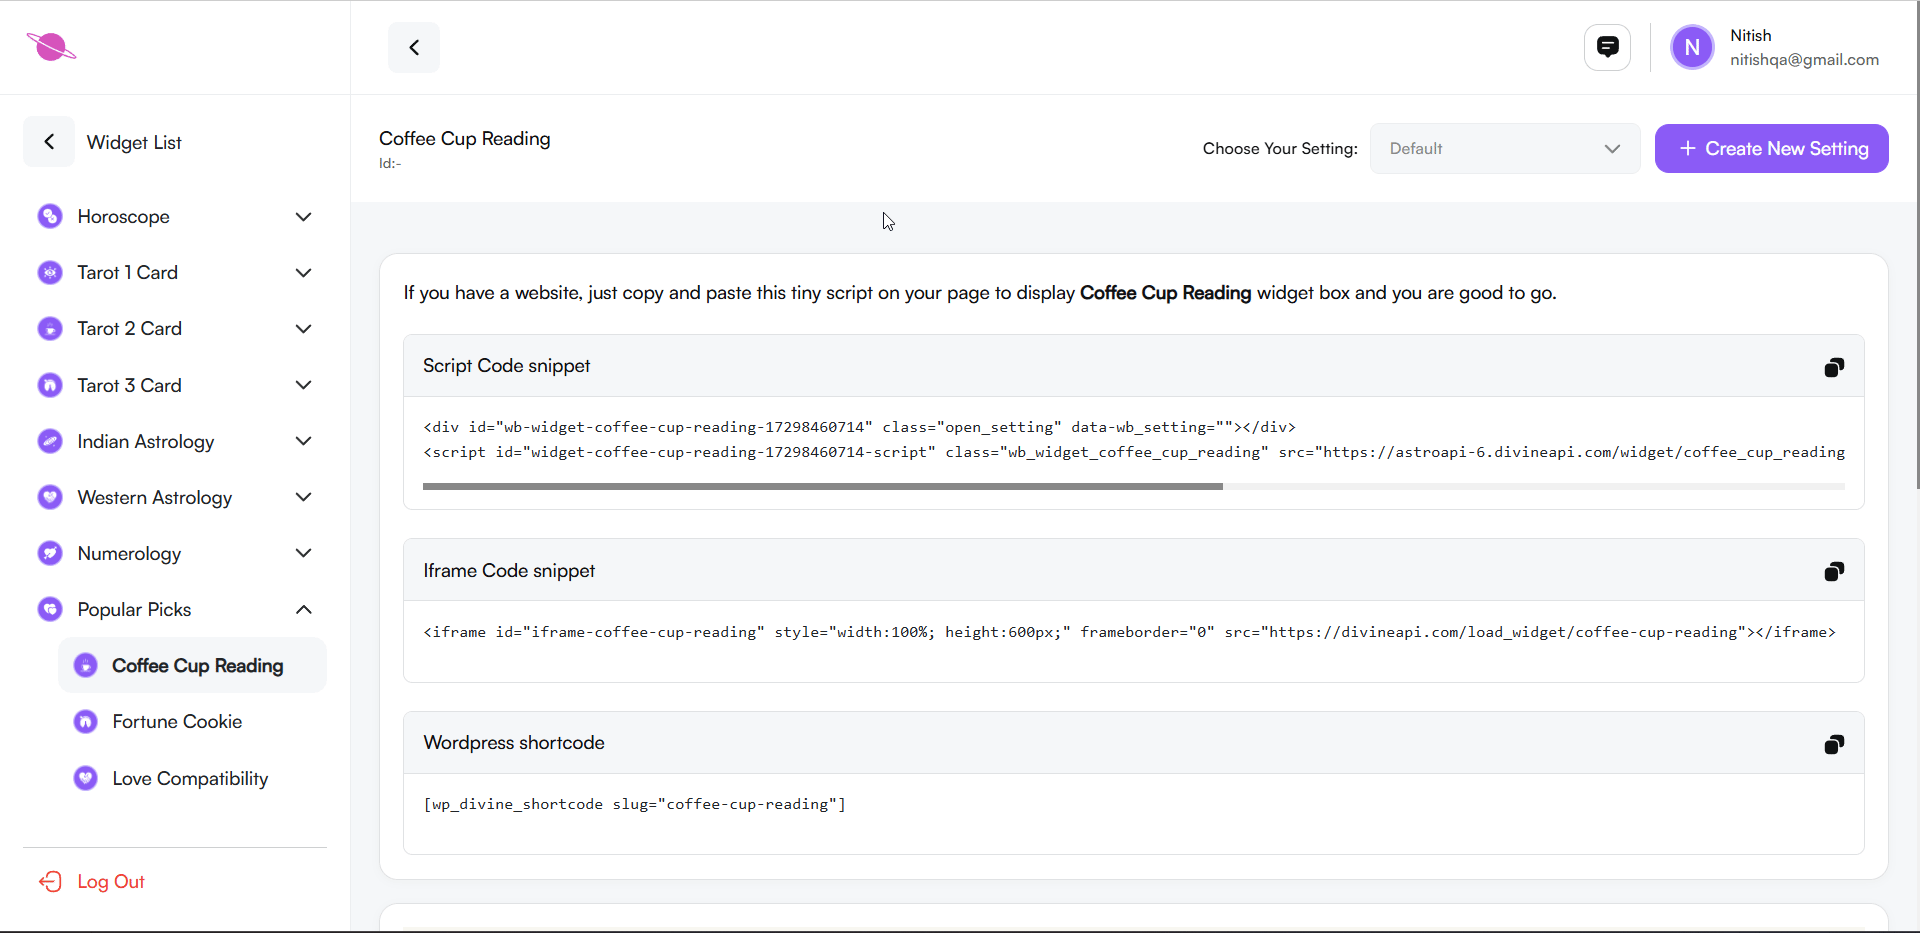
Step 4: Embed your Widget
Open the Customization Panel:
- Once the Coffee Cup Reading widget is selected, the customization panel will appear with integration options.
Choose Your Integration Method:
Select one of the following:
- Option 1: Script Code Snippet: Copy the script and insert it into your website's HTML.
- Option 2: Iframe Code Snippet: Embed the widget using iframe code, suitable for most platforms.
- Option 3: WordPress Shortcode: Copy the shortcode and paste it into your WordPress page or post.
- Note: Make sure the necessary plugin is installed and active for shortcode functionality.
Copy the Code:
- Click the copy icon beside the desired method and add the code to your site
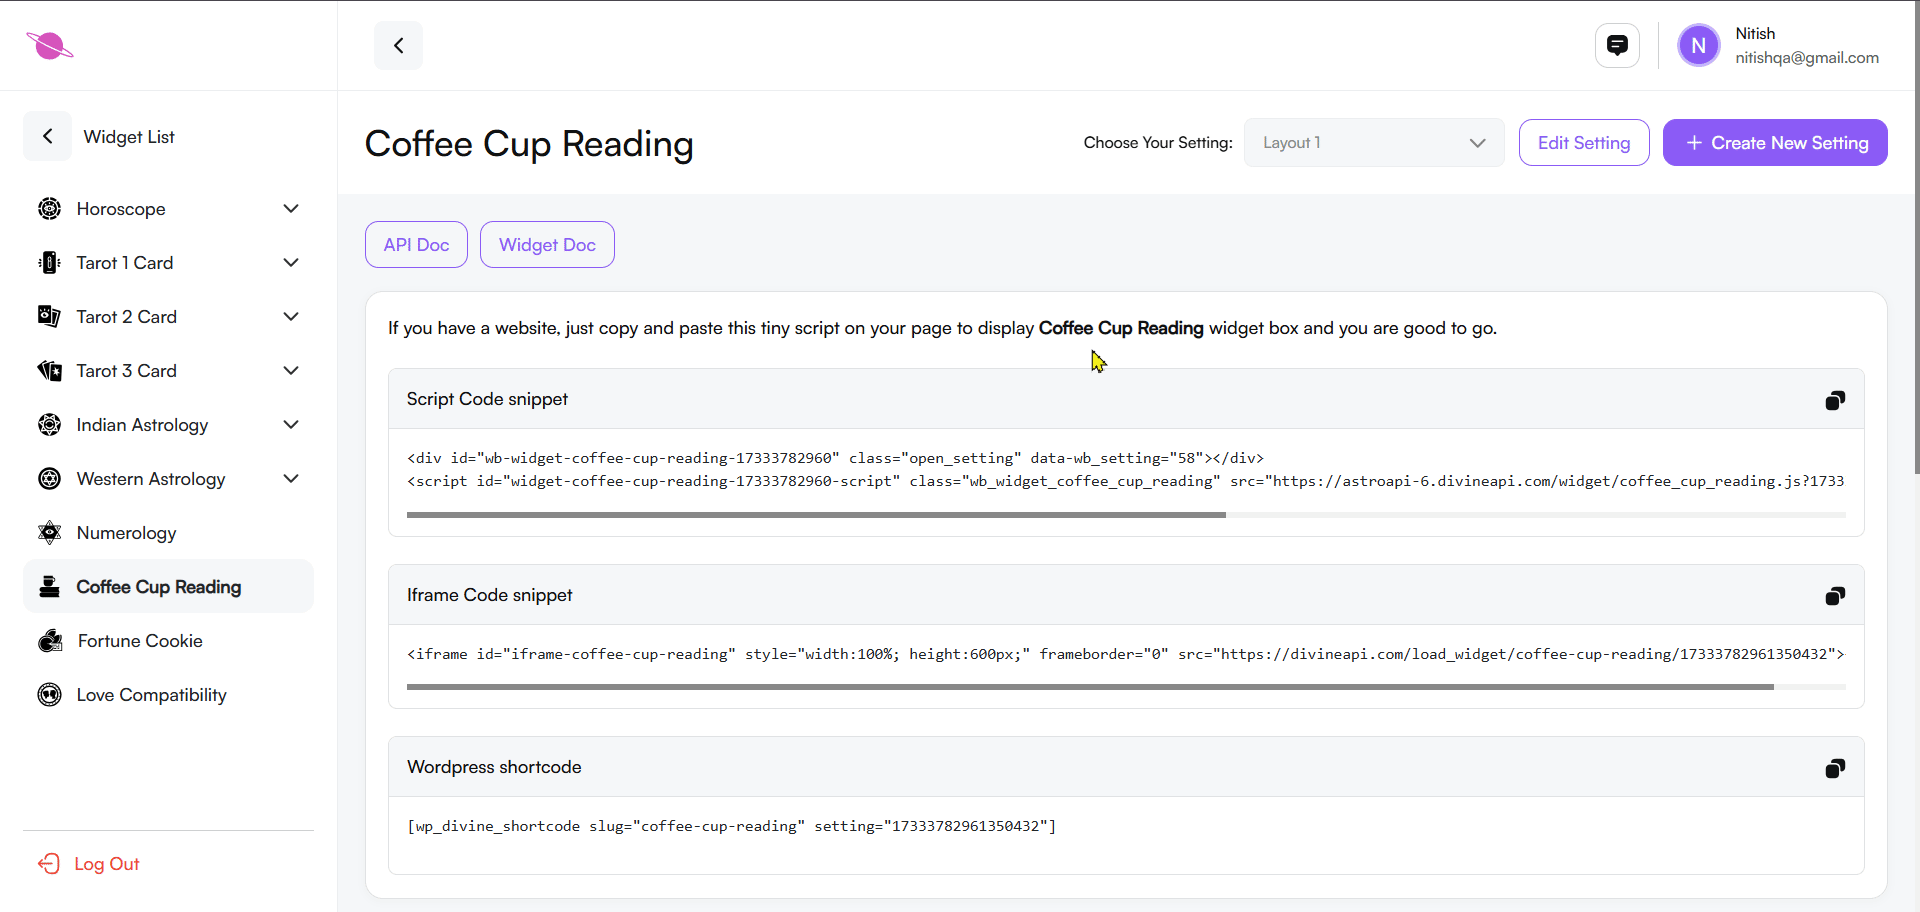
Step 5: Preview Coffee Cup Reading Content
The Coffee Cup Reading widget allows users to select a coffee cup, which reveals insights into their past, present, and future through the symbols in the coffee grounds. This widget offers a unique and mystical way for users to explore the hidden messages and guidance within their life's journey.
This preview ensures the widget fits your website’s design and engages your audience effectively.
- This helps you understand how the widget will look on your website.
- Ensure the content is engaging for your target audience.
Step 6: Configuring the Widget
Customize the widget's appearance and functionality to align with your page design and user preferences. Follow these steps:
1. Create a New Setting:
How to Add a New Setting for Coffee Cup Reading Widget:
- Select “+ Create New Setting” at the top-right of the settings interface.
- Name your setting appropriately (e.g., "Coffee Cup Reading - 01").
- Configure the widget by selecting color schemes, fonts, and layouts that fit your requirements.
How to Edit an Existing Widget Setting:
- From the “Choose Your Setting” dropdown, pick the setting you wish to revise.
- Click the “Edit Setting” button to open the editing panel.
- Make the necessary updates, like adjusting visual styles, toggling sections, or customizing layout elements.
For more information on managing multiple widget settings, refer to this detailed guide.

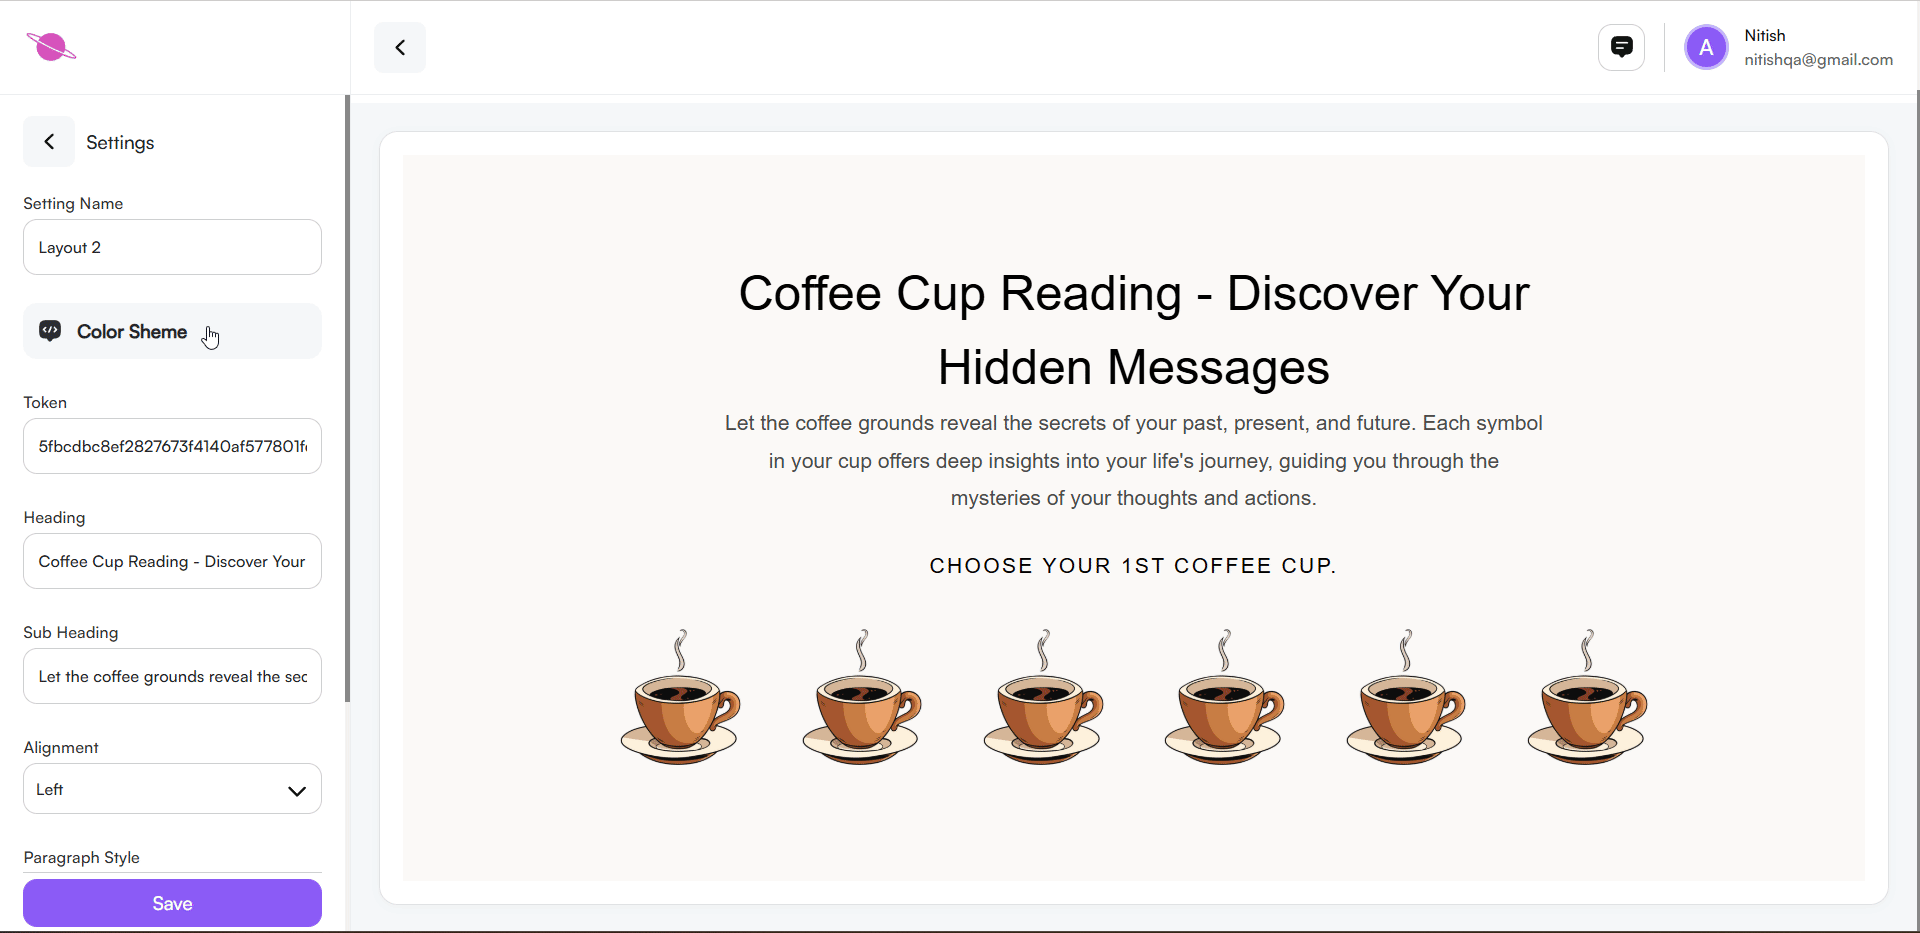
2. Change the Setting Name:
- Locate the Setting Name field in the settings panel.
- Enter your desired name to label this configuration.

3. Adjust the Color Scheme:
Go to the Color Scheme tab in the settings menu.
Pre-set Themes: Select from multiple pre-designed options with Light, Light Accent, Accent, Dark, and Dark Accent tones, offering a variety of combinations to suit subtle, bold, or modern styles.
Customize Shades: Each theme allows fine-tuning of its color palette for further personalization.
Edit Colors Individually: Use the Edit (Pencil Icon) to adjust:
- Primary Colors: Background, Headings, Text, and Lines.
- Secondary Colors: Background, Headings, Text, and Lines.
4. Adjust the Fonts:
Open the Fonts Tab:
- Go to the settings panel and click on the "Fonts" option.
Select a Font Style:
- Browse through the available font styles and pick one that fits your aesthetic needs.
Preview in Real-Time:
- The widget text updates instantly in the preview section, allowing you to fine-tune your selection.
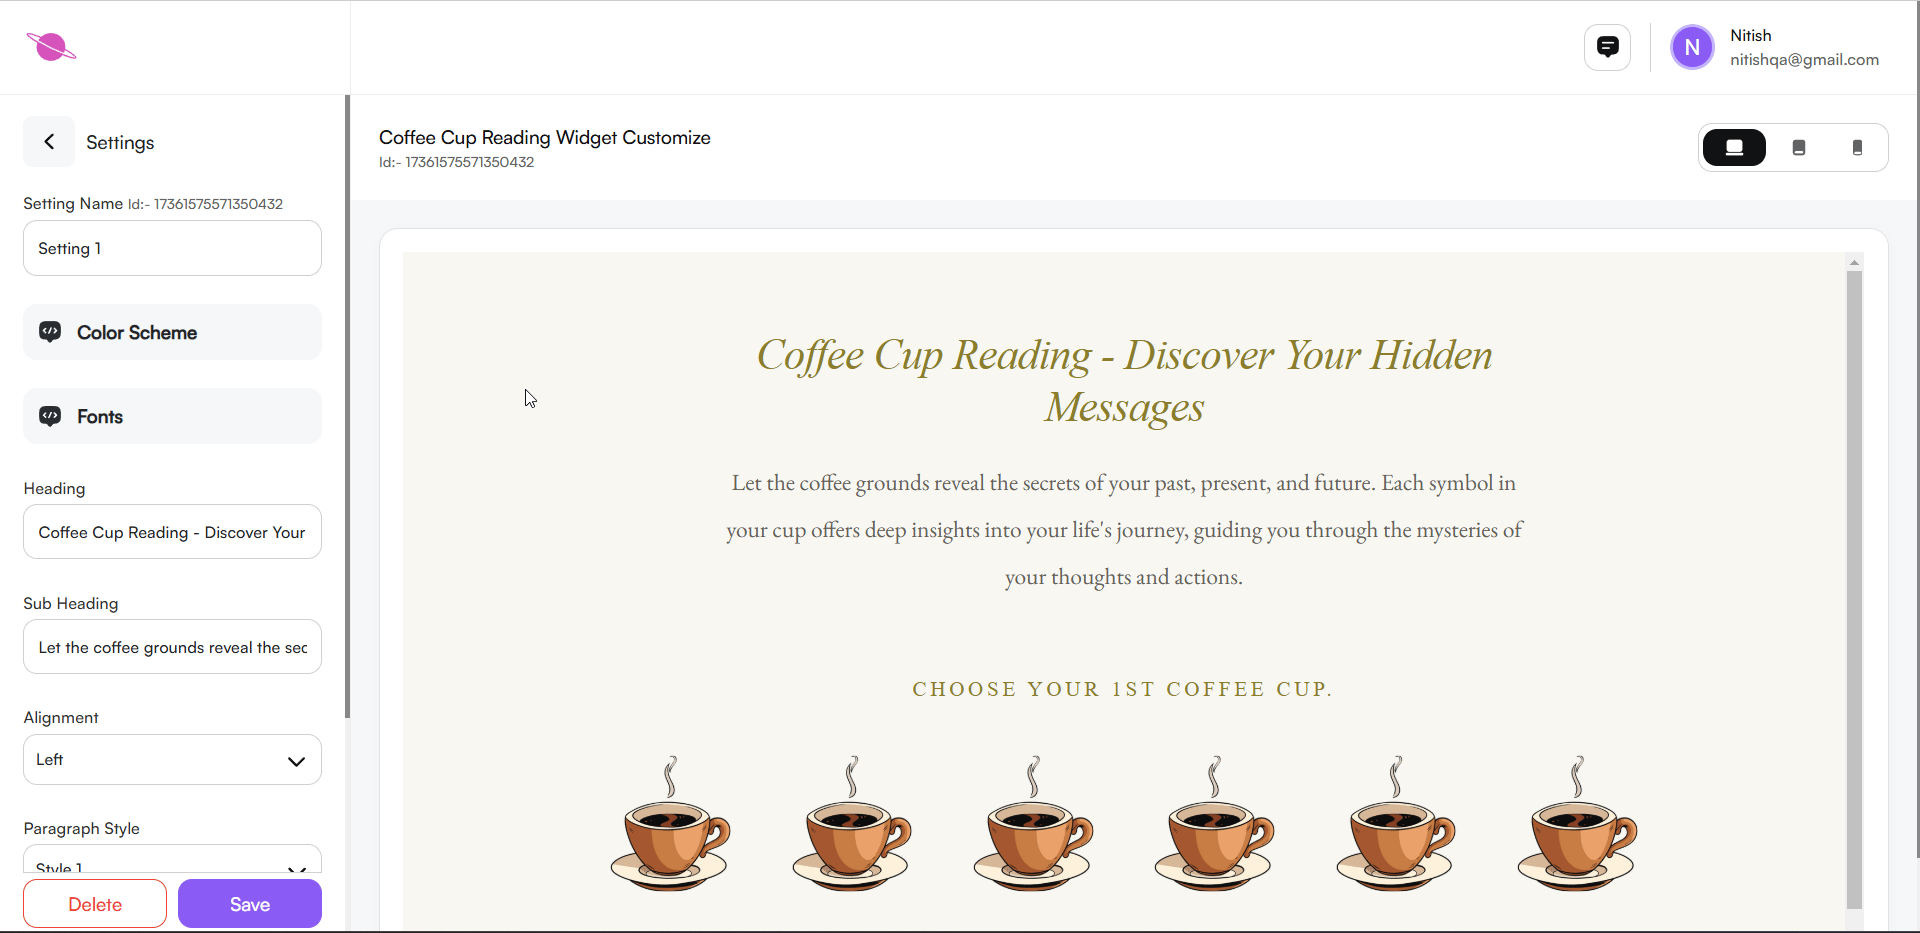
5. Widget Settings Configuration
Customize the widget's heading and subheading to align with your website's style and message.
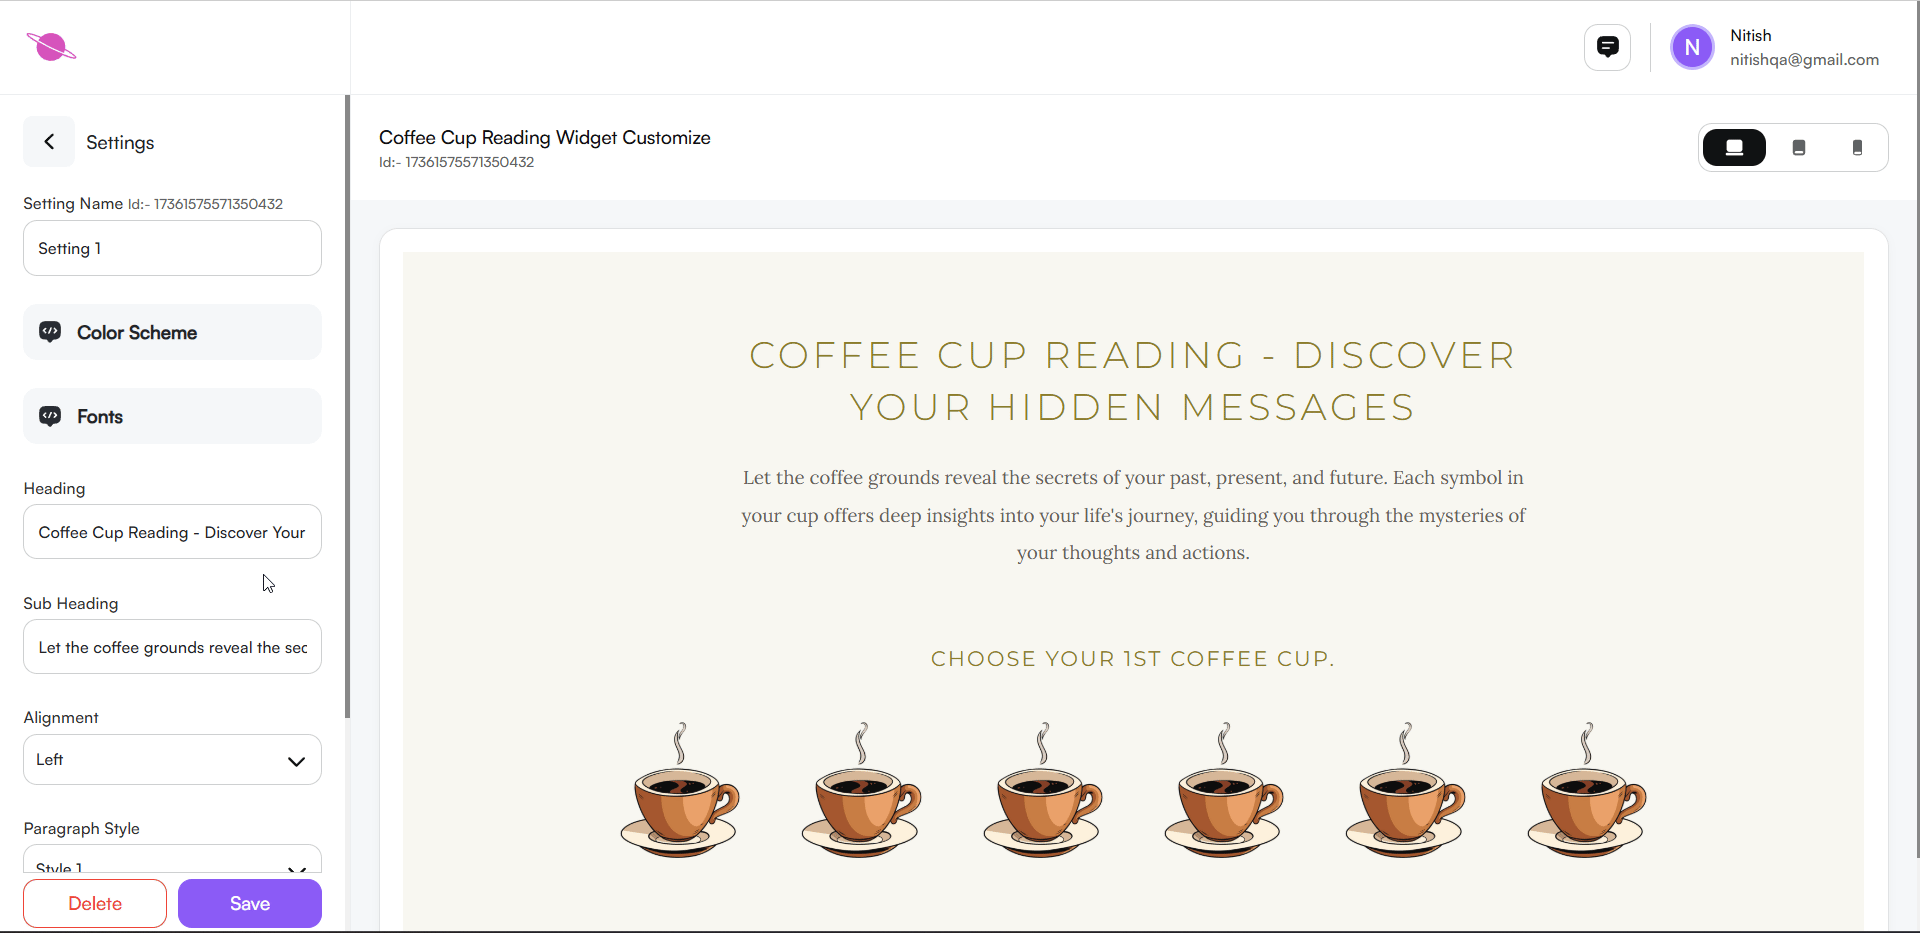
Heading:
- Enter your desired title in the Heading field (e.g., "Coffee Cup Reading - Discover Your Hidden Messages").
Subheading:
- Add a brief description in the Subheading field (e.g., "Let the coffee grounds reveal the secrets of your past, present, and future. Each symbol in your cup offers deep insights into your life's journey, guiding you through the mysteries of your thoughts and actions.").
Note:
You can personalize these texts to suit your needs. Changes will reflect instantly in the widget preview.

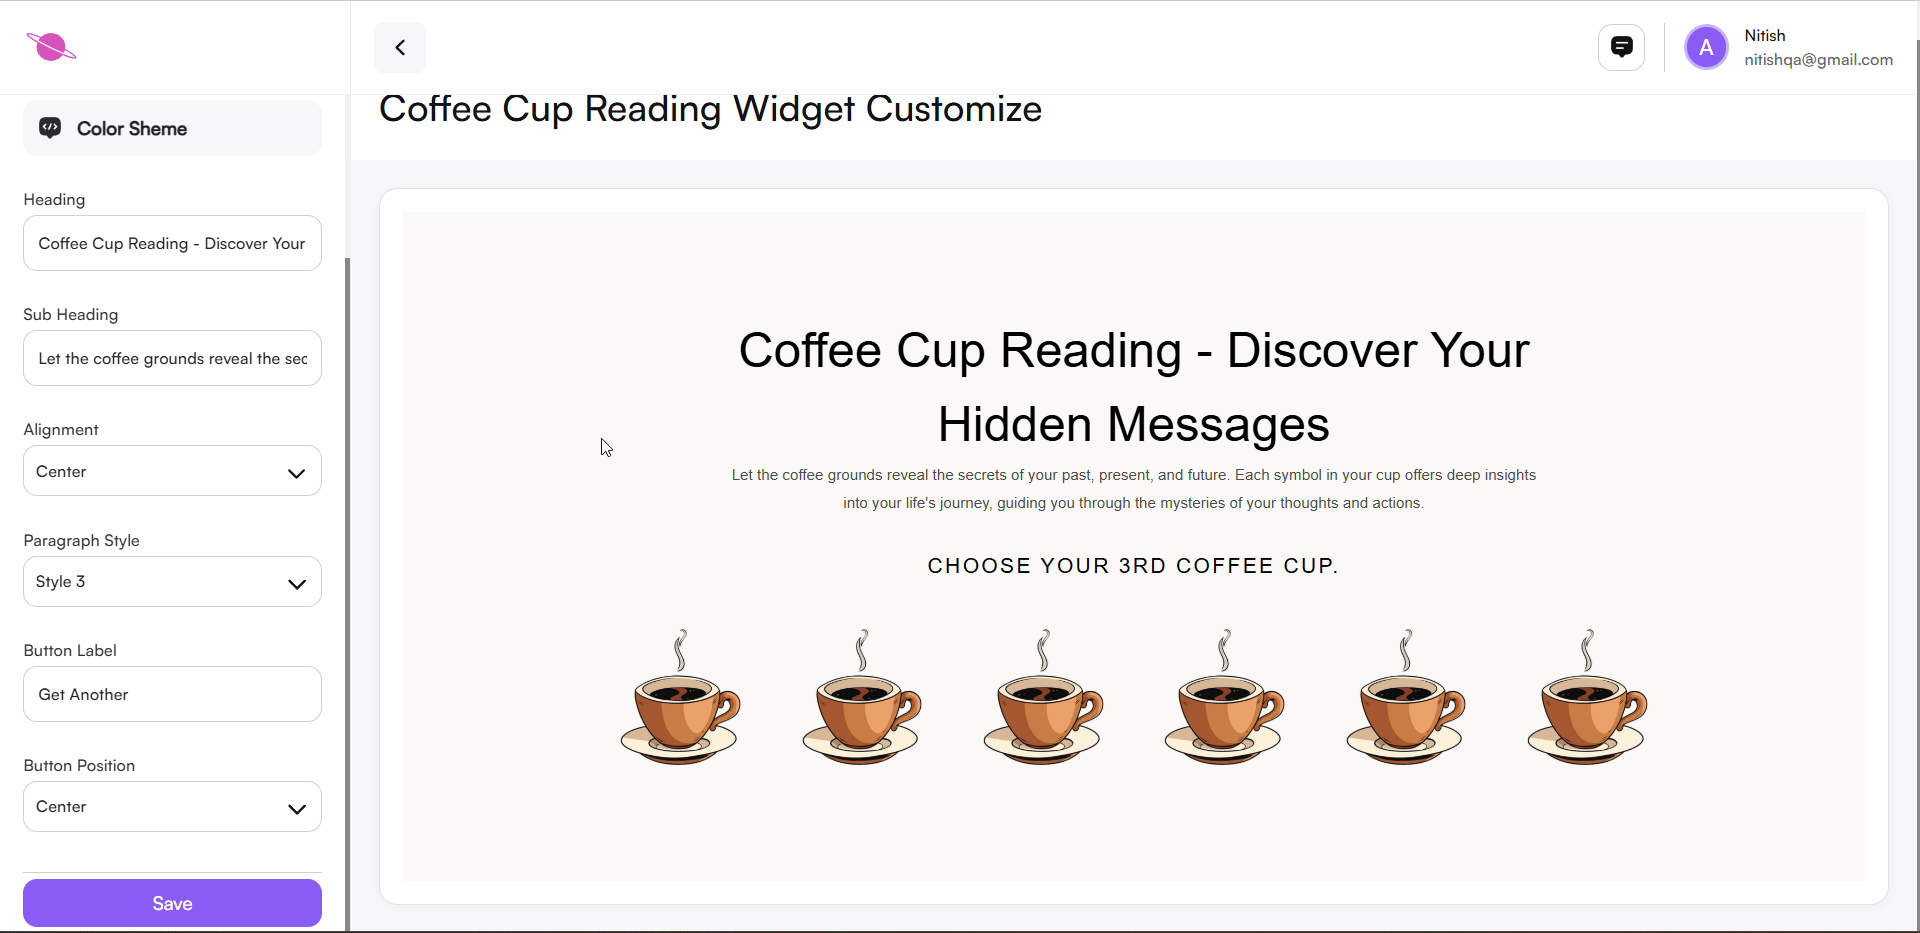
- Alignment: Adjust the alignment of coffee cup reading details (e.g., Left, Center, Right) to control the placement of content and ensure it fits your desired layout.
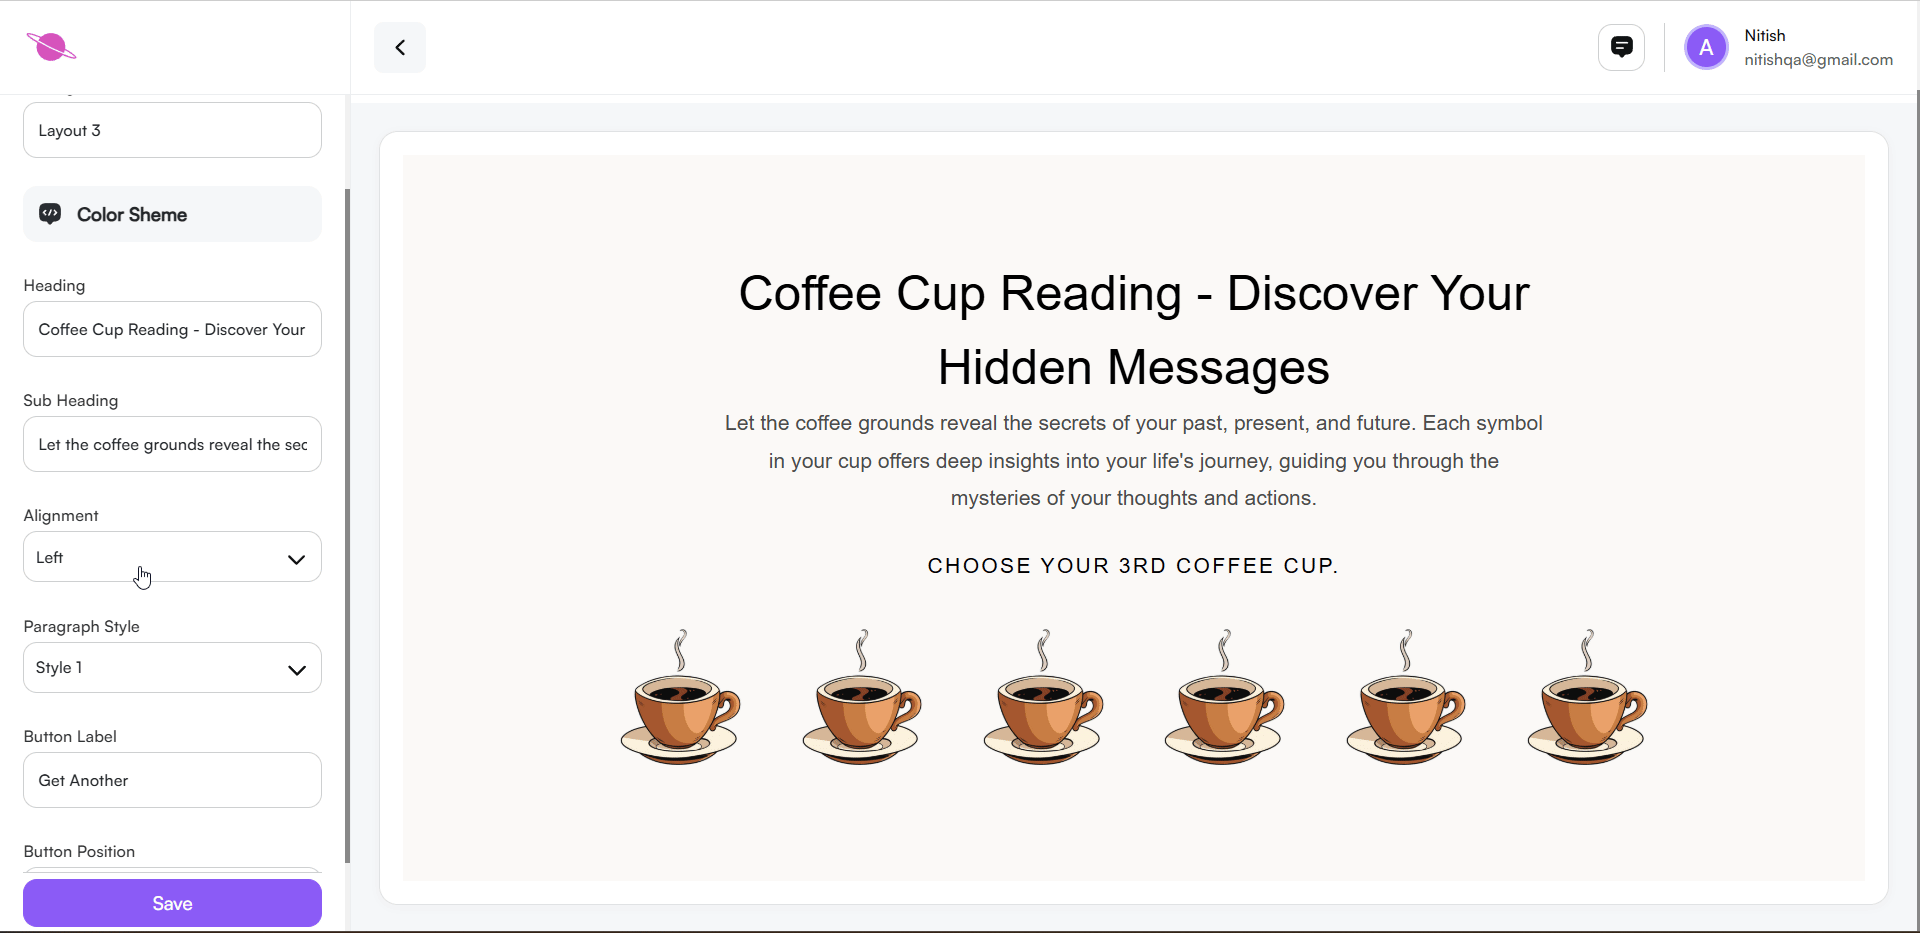
- Paragraph Style: Choose a paragraph style for text formatting, with options such as Default, Style 1, Style 2, etc.

- Button Label: This button is typically used for users to initiate the reading. You can customize the text to something like "Get Your Reading" or any other relevant phrase.

- Button Position: Set the position of the result button (e.g., Left, Right, Center).
Step 7: Save and Embed the Widget
- Save Customizations: Once done with your modifications, click the Save button at the bottom of the settings panel to secure your changes.
- Go Back to Dashboard: Scroll up and click the Back button to navigate to the Yes or No Tarot widget home page.
- Review Updates: Check the preview section to ensure your customizations are reflecting properly.
- Embed the Widget: Copy the provided code snippet and add it to your website.
Verify Functionality: Confirm the widget displays as expected and aligns with your website’s design
Conclusion
Coffee Cup Reading widget provides users with insightful messages about their life’s journey, helping them explore past, present, and future through coffee grounds. It offers a unique and engaging experience that aligns with your website's design to enhance user interaction.