

Step 1: Start by Logging Into Your Dashboard
- Open the Login Page: In your browser, go to the astrology dashboard login portal.
- Enter Login Information: Fill in your email address and password in the respective input fields. (Use the "Forgot Password" option if needed.)
- Log In: Press the "Sign In" button to access the dashboard.
- Create an Account if Necessary: If you don’t have an account, click on the "Sign Up" and start your 7-Day Free Trial.

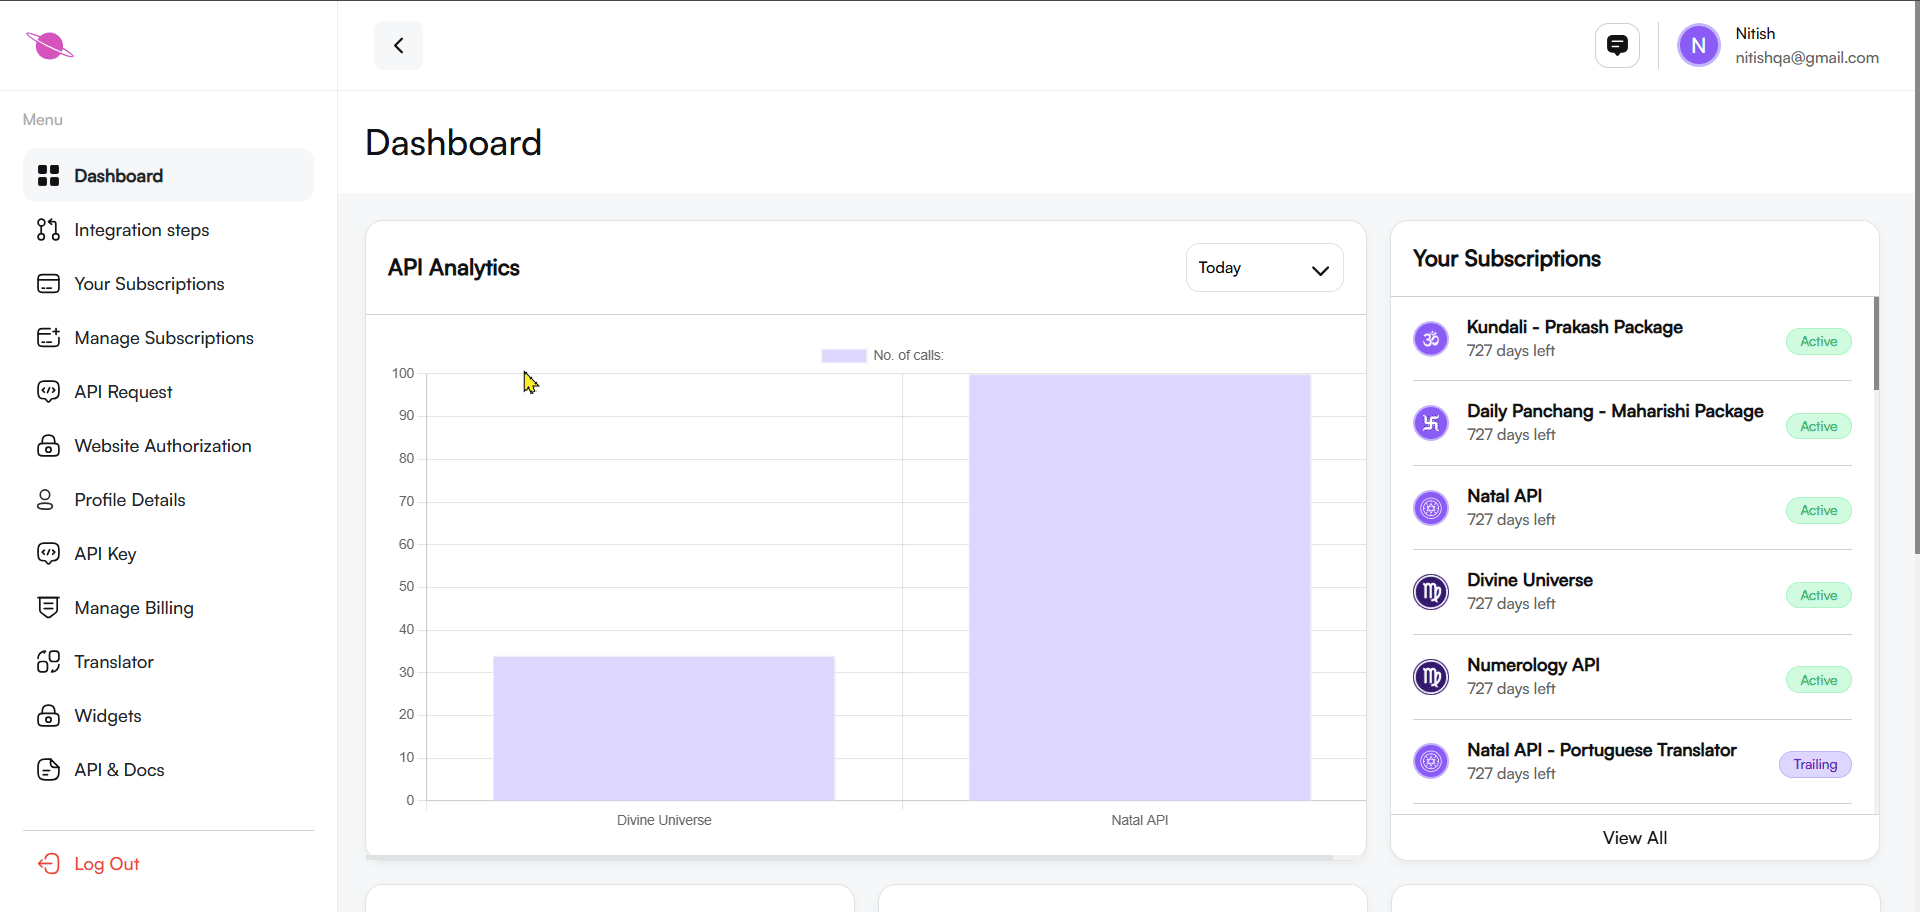
Step 2: Navigate to the Dashboard
After logging in, you will be directed to the main dashboard. Here, you can access multiple features like subscriptions, billing, API keys, and widgets.
- Locate the Widgets option in the left-hand menu.
- Click on it to view and manage your Fortune cookie Widgets widgets.

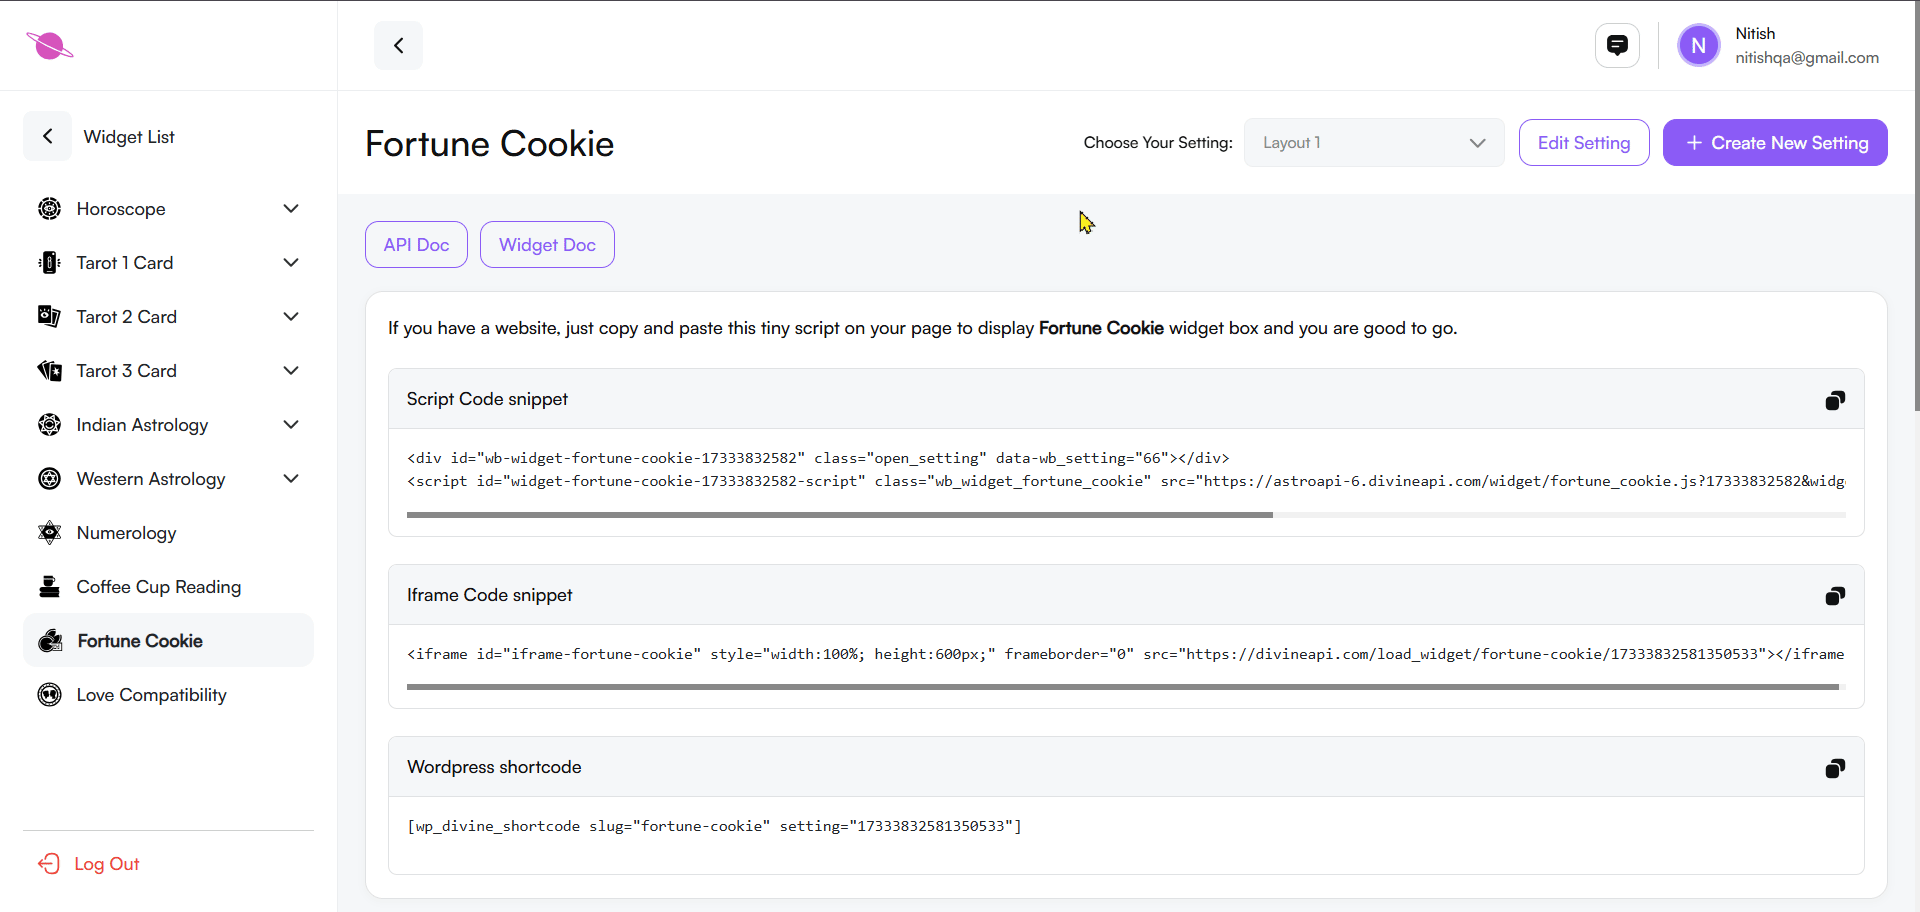
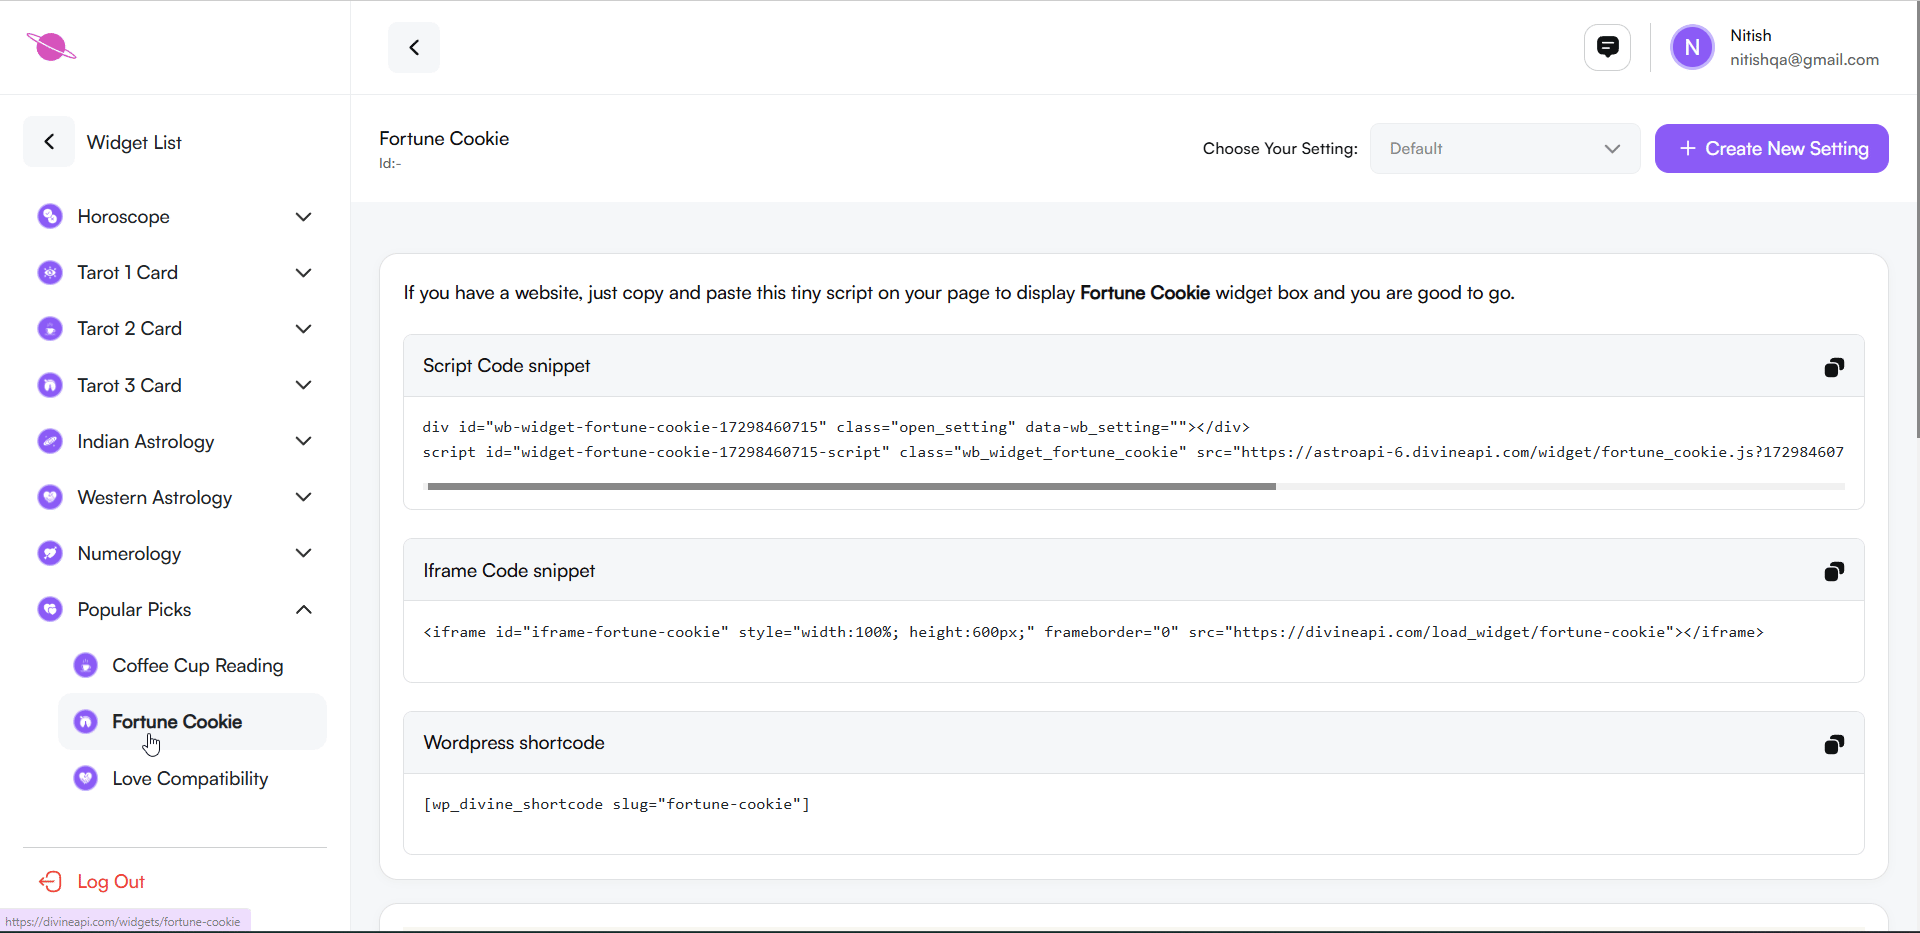
Step 3: Select the Desired Widget
In the widget section, you’ll find a list of available widgets, such as Horoscope, Numeroscope, and Tarot widgets. Select Fortune Cookie Widgets to proceed.
Step 4: Customize and Embed Your Widget
Open the Customization Panel:
- Once the Fortune Cookie widget is selected, the customization panel will display various integration methods.
Select Your Preferred Integration:
- Option 1: Script Code Snippet: Add this code snippet to your website's HTML.
- Option 2: Iframe Code Snippet: Embed the widget using iframe code.
- Option 3: WordPress Shortcode: Copy this shortcode for WordPress and paste it into your page or post.
- Note: Activate the necessary plugin on WordPress for shortcode functionality.
Copy the Code:
- Click the copy icon, select your method, and paste it into the appropriate area of your site.

Step 5: Preview Fortune Cookie Reading Content
The Fortune Cookie widget lets users "crack open" a virtual fortune cookie for daily wisdom. This fun and interactive widget provides users with a positive message each day to guide them through life's challenges.
This preview ensures the widget fits your website’s design and engages your audience effectively.
- This helps you understand how the widget will look on your website.
- Ensure the content is engaging for your target audience.
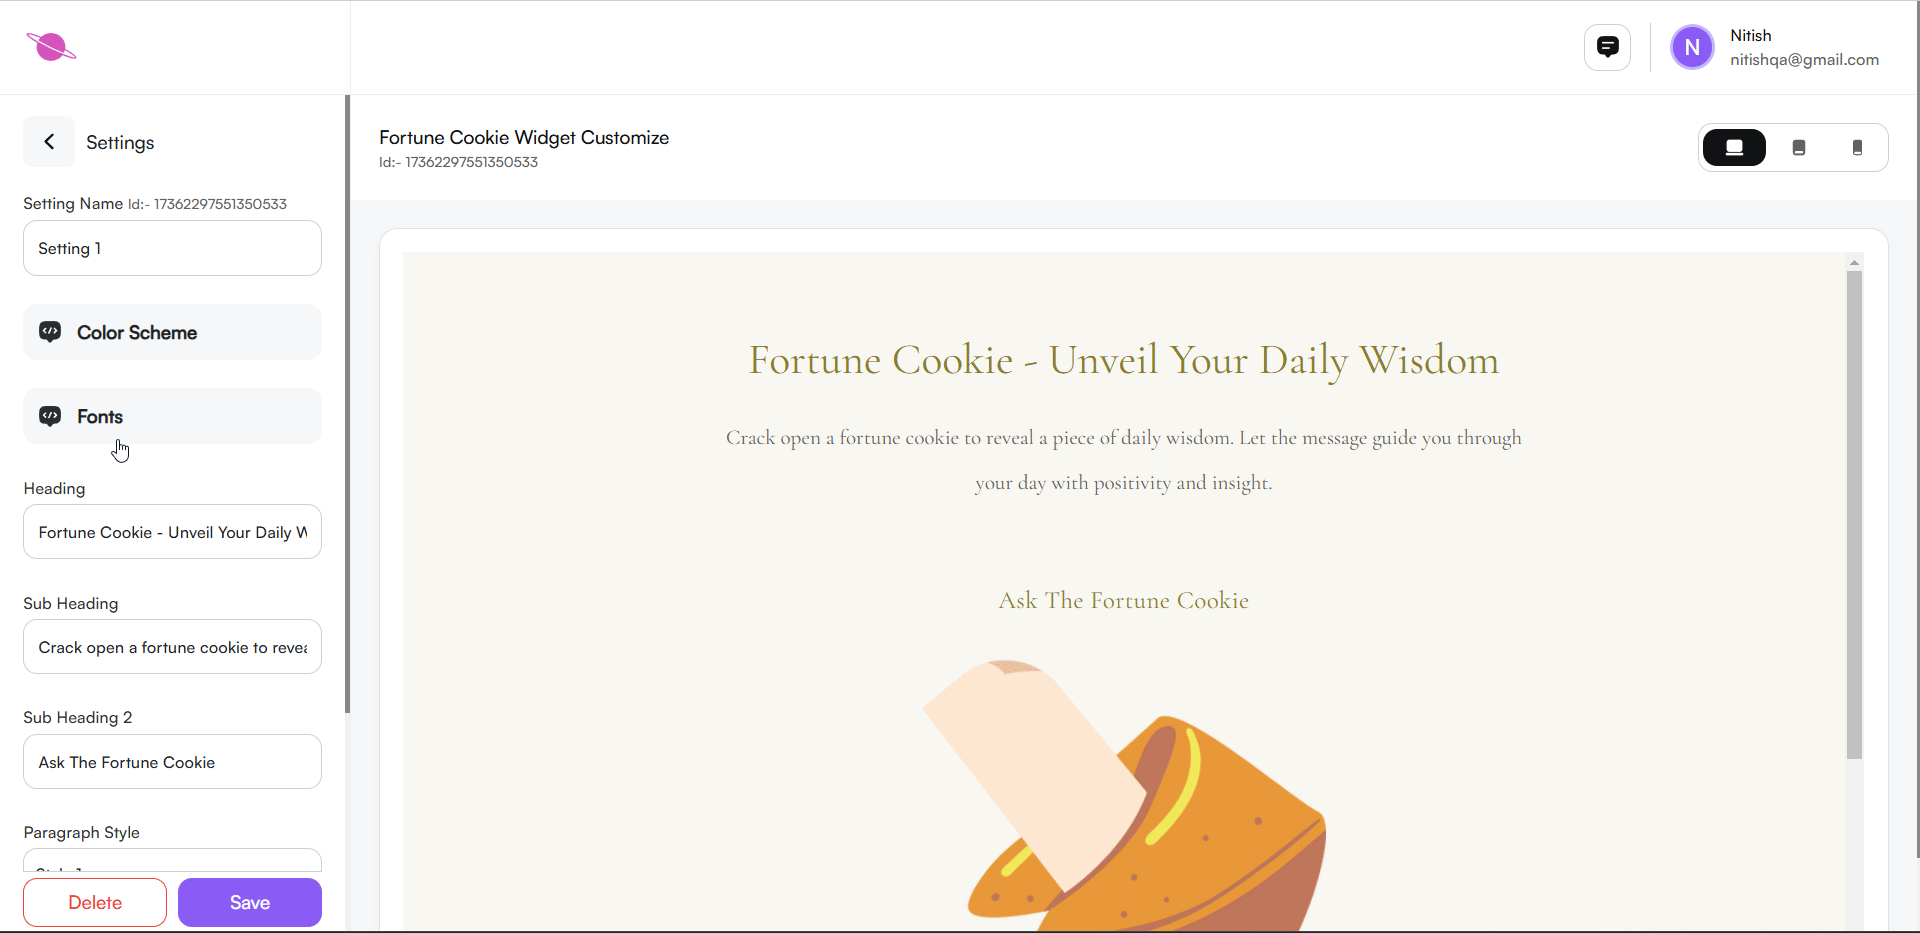
Step 6: Configuring the Widget
Customize the widget's appearance and functionality to align with your page design and user preferences. Follow these steps:
1. Steps to Create and Edit a Fortune Cookie Widget Setting:
Creating a New Setting:
- Select the “+ Create New Setting” option available at the top-right of the settings page.
- Provide a clear and relevant name for your new setting, such as "Tarot Setting 01."
- Customize the widget by selecting colors, fonts, and layout options that match your website’s style.
Editing an Existing Setting:
- Locate the setting to edit using the “Choose Your Setting” dropdown.
- Click on “Edit Setting” to access the settings editor.
- Learn more about managing multiple settings by reading this detailed guide.
2. Create a New Setting:
- Click on the Create New Setting button located at the top right of the settings panel.
- This allows you to create and save a new configuration with a specific name and settings.

3. Change the Setting Name:
- Locate the Setting Name field in the settings panel.
- Enter your desired name to label this configuration.

4. Adjust the Color Scheme:
Navigate to the Color Scheme tab in your customization panel.
Pre-set Color Styles: Select from a wide range of themes that include Light, Light Accent, Accent, Dark, and Dark Accent tones. These themes are designed to adapt to subtle, vibrant, or modern preferences.
Enhance Your Colors: Use built-in fine-tuning options to refine the look and feel of the theme to suit your website.
Customize Elements: Use the Edit (Pencil Icon) to adjust:
- Primary Colors: Background, Headings, Paragraphs, and Lines.
- Secondary Colors: Background, Headings, Paragraphs, and Lines.

5.Update Fonts for Your Widget
Open the Fonts Section:
- Click on the "Fonts" option in the settings menu to view font customization options.
Explore and Choose Fonts:
- Browse through the available fonts and select one that enhances your widget’s appearance.
Real-Time Preview:
- The widget preview updates instantly as you apply a new font, giving you a live view of the changes.
6.Widget Settings Configuration
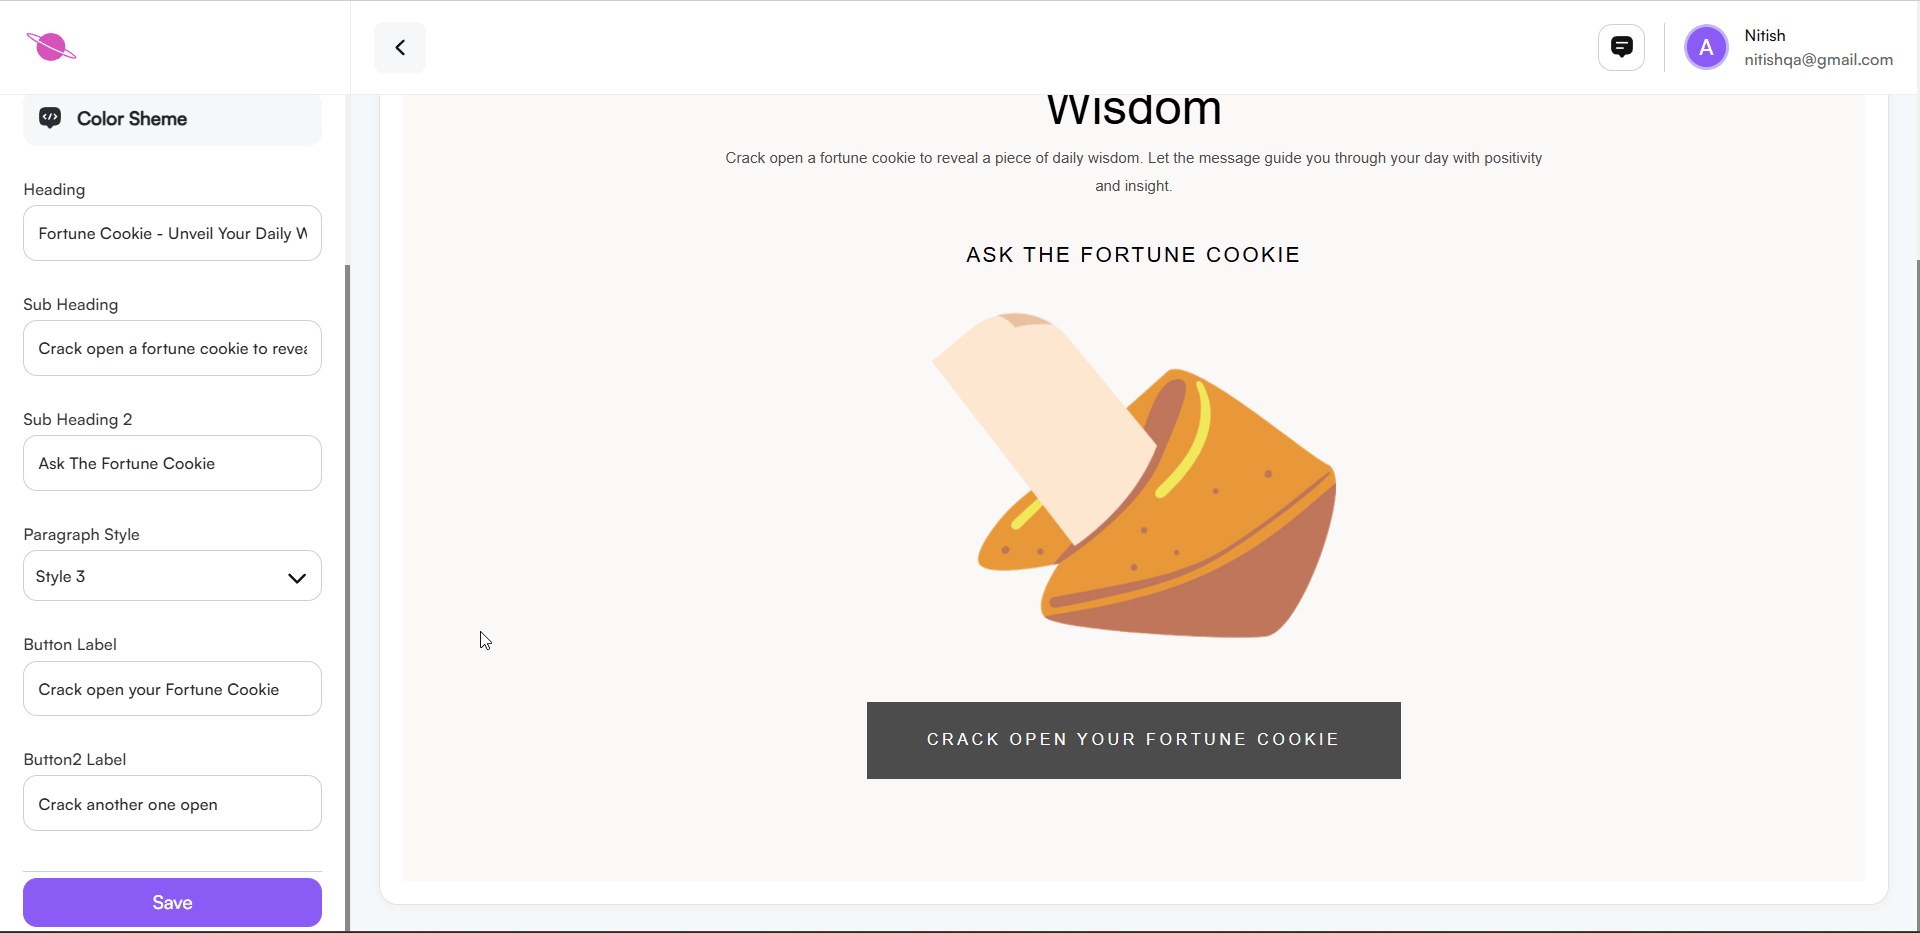
Customize the widget's heading and subheading to align with your website's style and message.
Heading:
- Enter your desired title in the Heading field (e.g., "Fortune Cookie - Unveil Your Daily Wisdom").
Subheading:
- Add a brief description in the Subheading field (e.g., "Crack open a fortune cookie to reveal a piece of daily wisdom. Let the message guide you through your day with positivity and insight.").
Note:
You can personalize these texts to suit your needs. Changes will reflect instantly in the widget preview.

- Paragraph Style: Choose a paragraph style for text formatting, with options such as Default, Style 1, Style 2, etc.
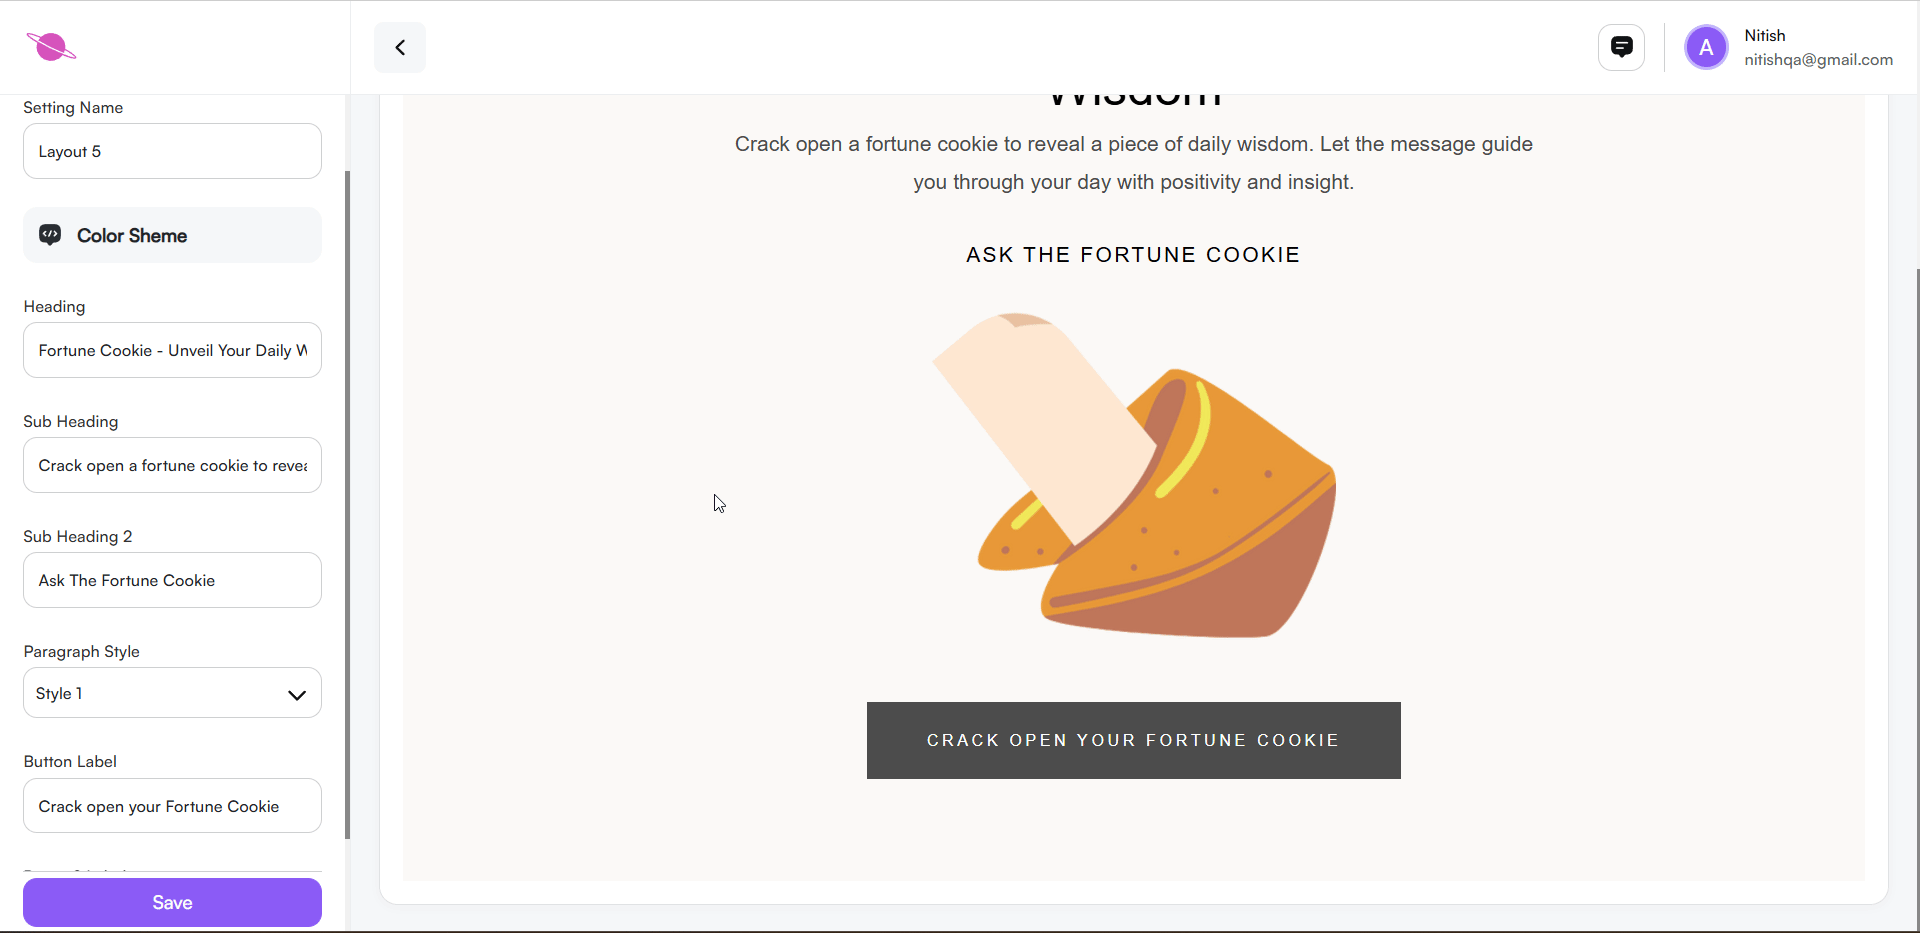
In the Fortune Cookie widget, you can customize the button labels to enhance the user experience. There are two buttons that can be personalized:
- First Button Label: This is the button users click to receive their daily fortune. Customize the label to something inviting like "Crack Open Your Fortune Cookie" or any other engaging phrase that aligns with your website's tone.
- Result Button Label: After receiving their fortune, users can click this button to get a new reading. You can modify this to phrases like "Crack Another One Open" or any action-oriented call-to-action.
Step 7: Completing the Widget Setup
Save Customizations:
- After finishing your edits, click Save to store the changes.
Navigate Back to Home:
- Tap the Back button on the upper side to return to the widget's main page.
Verify Updates:
- Preview the widget on the home page to ensure all modifications are visible.
Embed the Widget Code:
- Copy the integration code and add it to your website.
Test the Widget:
- Check the widget on your site to ensure it’s functional and visually aligned

Conclusion
The Fortune Cookie widget offers users daily wisdom through an interactive and engaging experience. It provides insightful messages that guide users with positivity and inspiration, making it a fun and meaningful addition to any website.