

Step 1: Log In to Your Dashboard
Log In to Your Account:
Visit the Login Page: Open your browser and navigate to the astrology dashboard login page.
Enter Your Credentials:
- Type your registered email in the "Email" field.
- Enter your password in the "Password" field. (Use the Forgot Password option if needed.)
Sign In: Click the purple "Sign In" button to access your dashboard.
New to the Dashboard? You can sign up for a 7-day Free Trial.

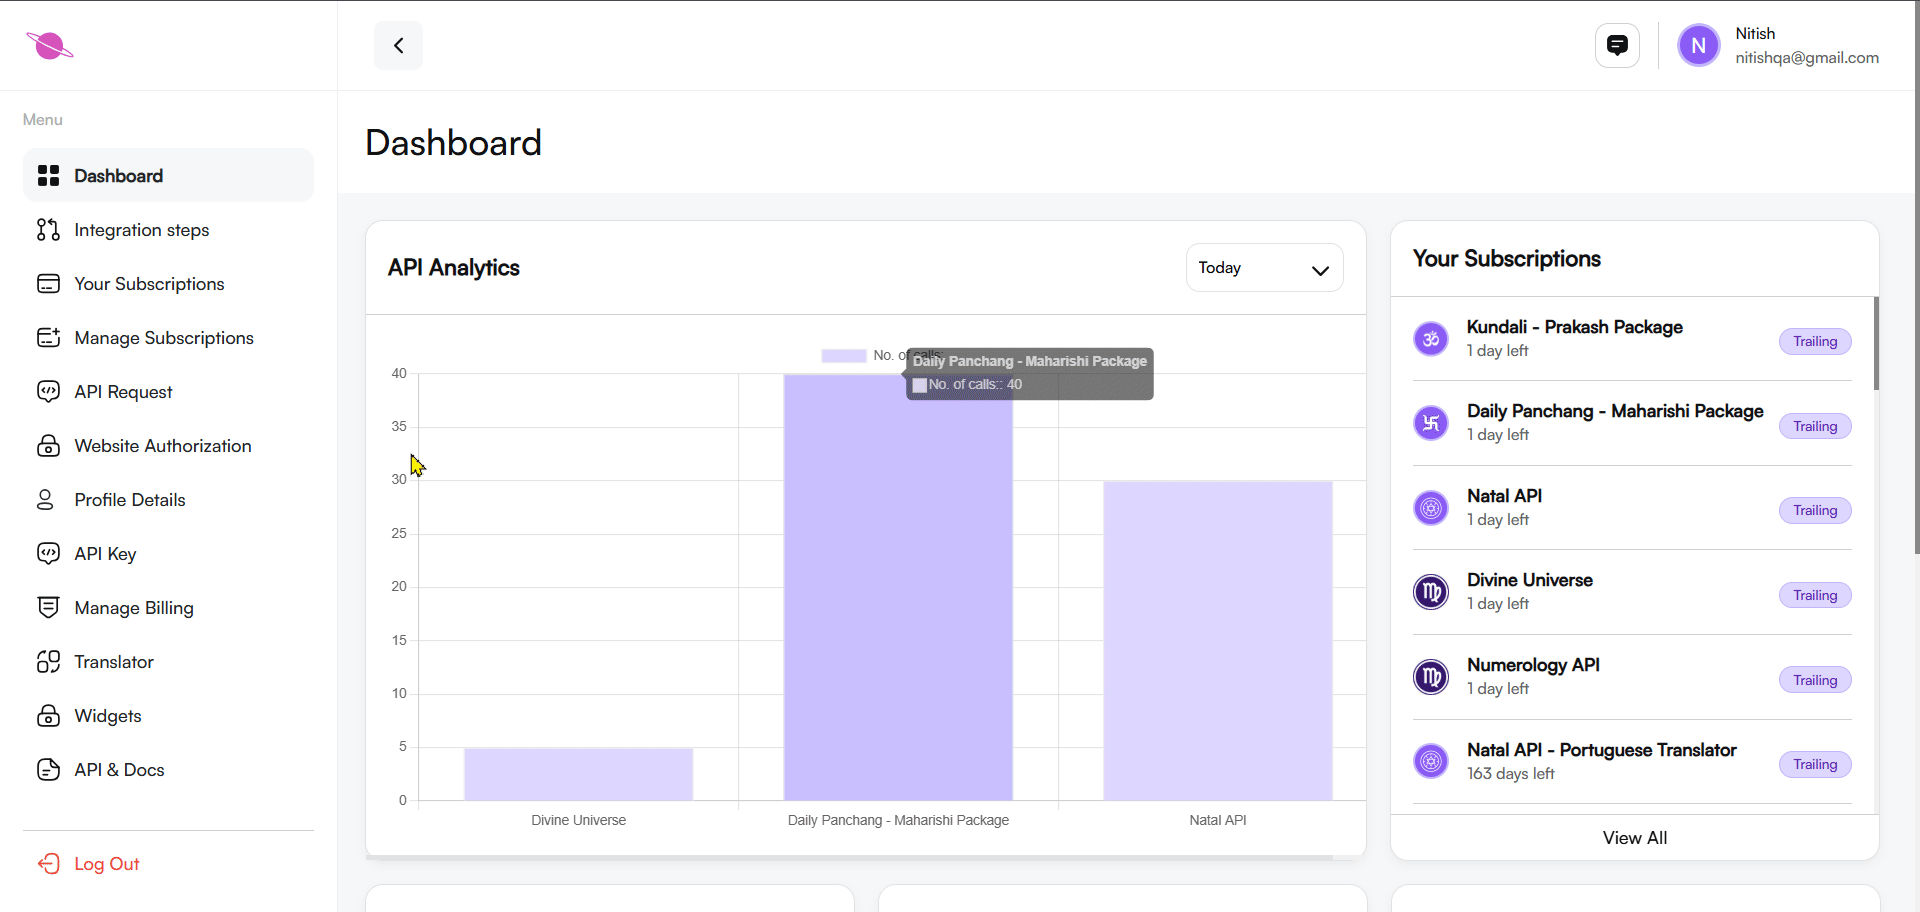
Step 2: Navigate to the Dashboard
Once logged in, you will land on the main dashboard, where various features like subscriptions, billing, API keys, and widgets are available.
Locate the Widgets Section:
- On the left-hand menu, find and click the Widgets option.
- This will take you to the section where you can view and manage all available widgets, including Kundli widgets.

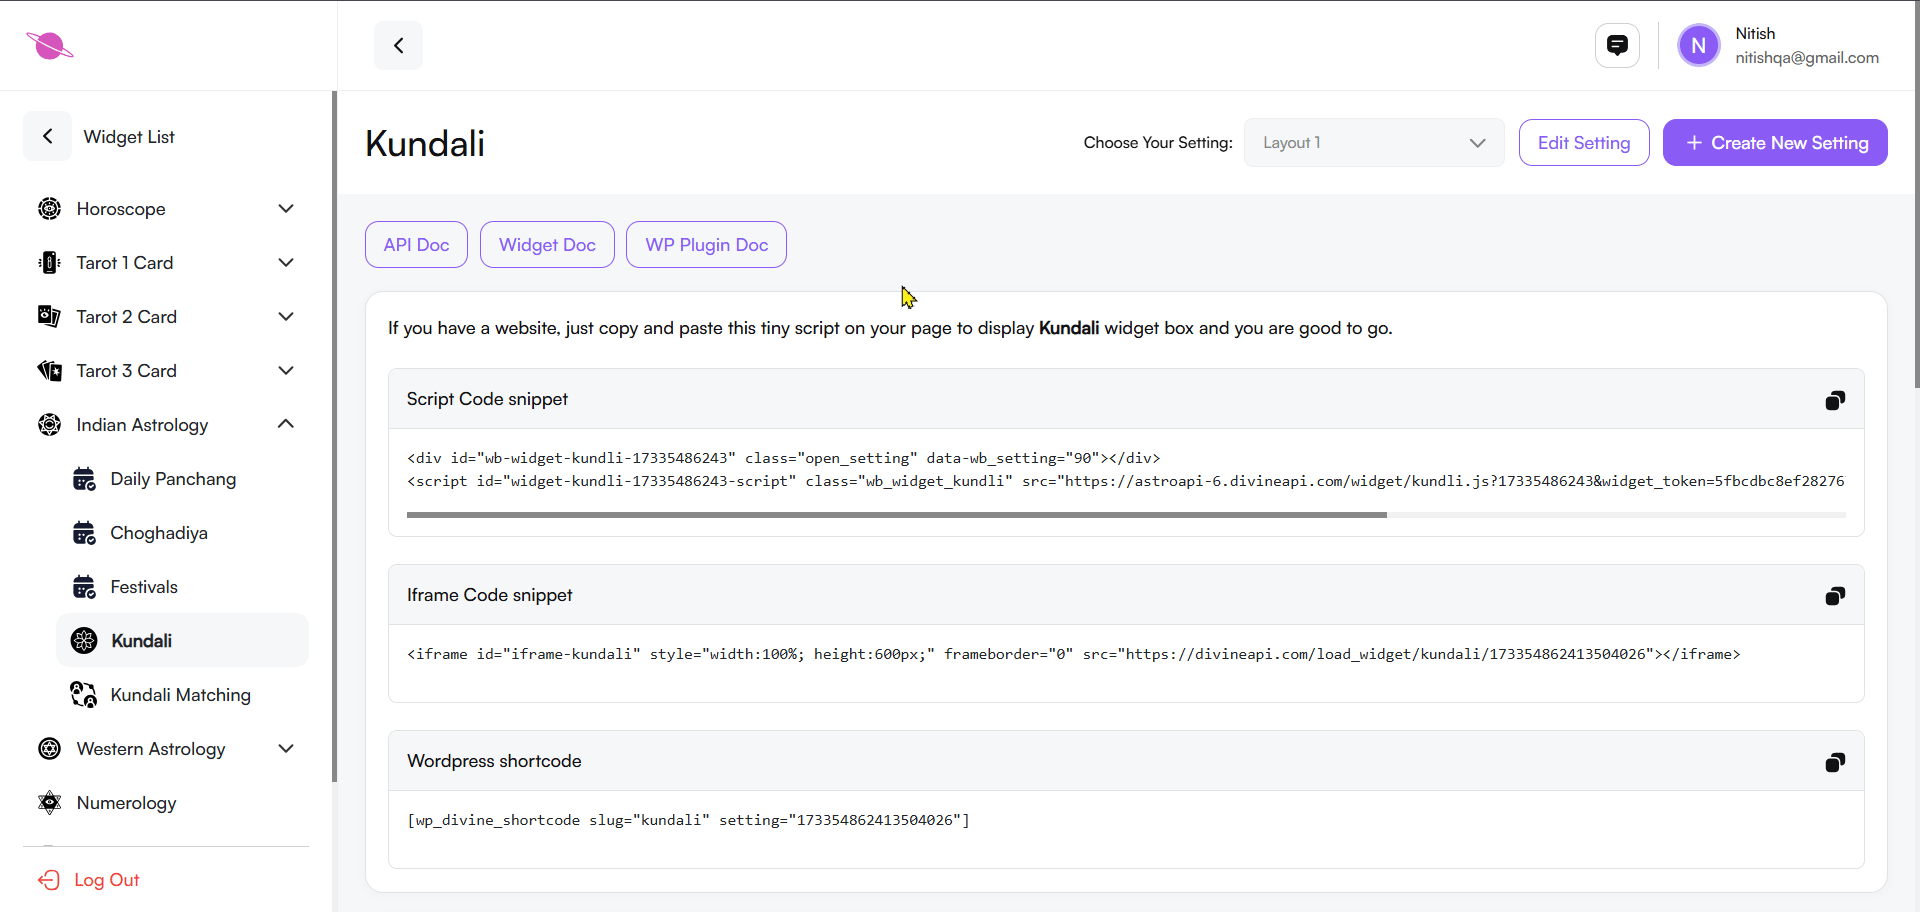
Step 3: Select the Kundli Widget
In the widgets area, you’ll find a list of available widgets such as Horoscope, Indian Astrology, and Tarot Widgets.
Proceed with the Kundli Widget:
- Click on Indian Astrology from the list.
- Select the Kundli Widget to access its settings and customization panel.
Step 4: Access the Widget Customization Panel
Open the Customization Panel:
After selecting the Kundli widget, you will see the customization panel with a variety of integration and personalization options.
Integration Options:
Depending on your website’s platform, select one of the following integration methods:
- Script Code Snippet: Copy this code and paste it into your website's HTML to embed the widget.
- Iframe Code Snippet: Use iframe embedding for flexible integration across various platforms.
- WordPress Shortcode: Copy and paste this shortcode into a page or post on your WordPress site.
WordPress Plugin Users:
If you’re using WordPress, make sure the required plugin is installed and activated to use the shortcode seamlessly.
Embed the Widget:
- Choose your preferred integration method.
- Click the Copy Icon next to the code snippet, then paste it into the appropriate section of your website.

Step 5: Preview the Kundli Widget Content
The Kundli Widget allows users to generate personalized Janam Kundli (birth charts) by entering their birth details.
Key Features Include:
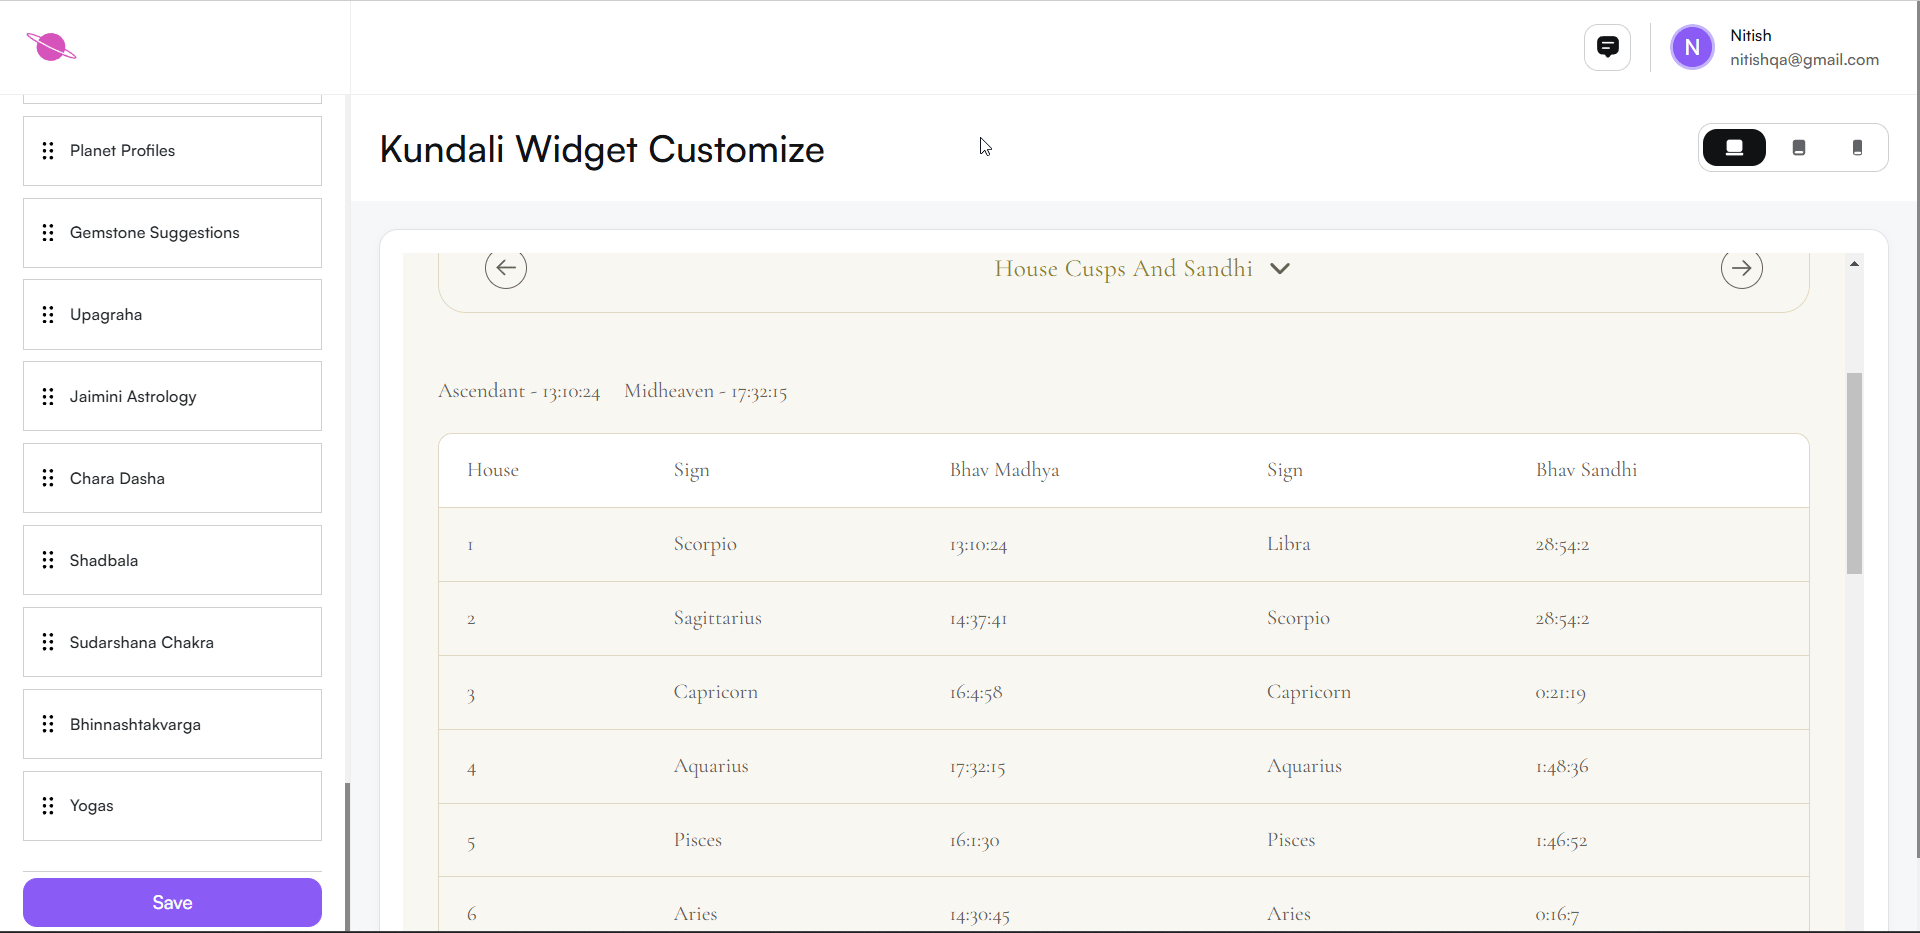
- Planetary Positions: Insights into the positions of planets at the time of birth.
- Horoscope Charts: Includes Lagna, Navamsa, and other divisional charts.
- Dasha Periods: Detailed timelines for astrological influences.
By adding this widget, you provide valuable astrological insights to your users, enhancing their experience and engagement.
Step 6: Configuring the Widget
Customize the widget's appearance and functionality to align with your page design and user preferences. Follow these steps:
Create a New Setting:
- Click on “+ Create New Setting” at the top-right corner of the page.
- Provide a name, such as "Kundli - Custom Setting 1," to identify it later.
- Customize the widget by choosing color schemes, fonts, and layouts.
Edit an Existing Setting:
- Use the “Choose Your Setting” dropdown menu to find an existing configuration.
- Click Edit Setting to make changes to the widget’s appearance or functionality.
For more information on managing multiple widget settings, refer to this detailed guide.
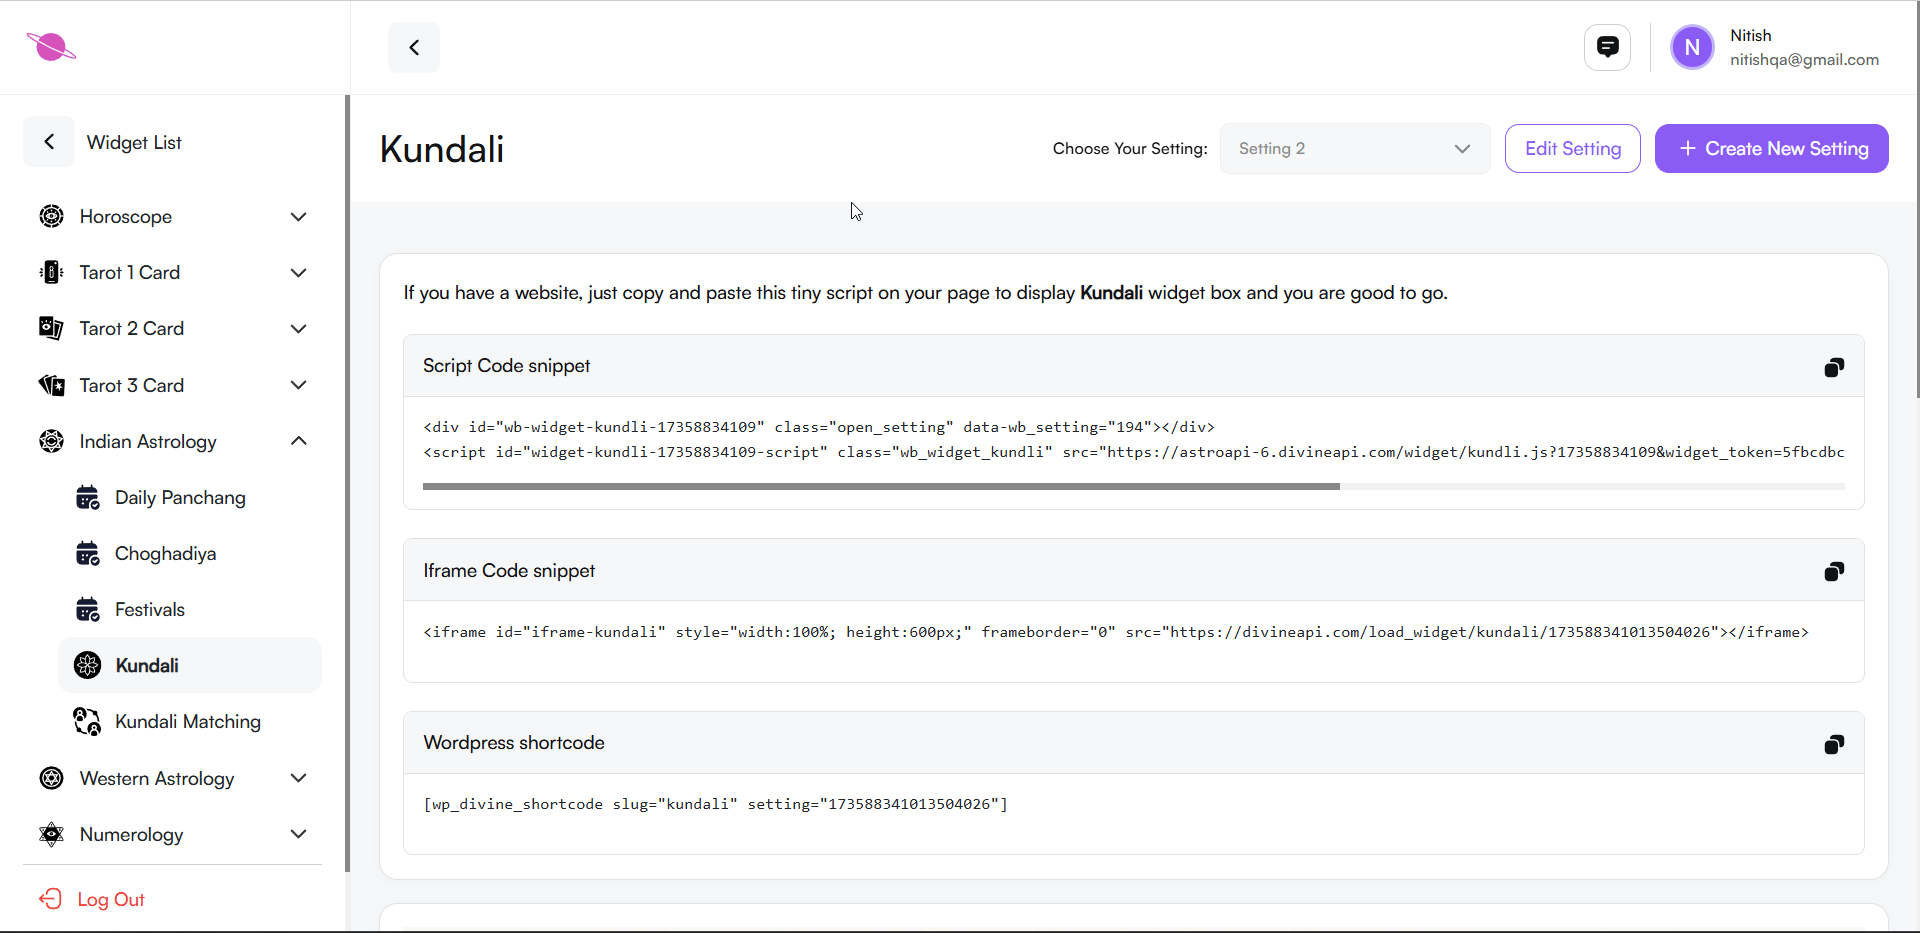
2. Change the Setting Name:
- Locate the Setting Name field in the settings panel.
- Enter a unique name to label this configuration for easy management.

3. Personalize Design Elements
Update the Color Scheme:
- Access the Color Scheme settings in the panel.
- Choose Pre-set Themes: Select from a variety of professionally designed themes to set the tone for your widget.
- Fine-Tune Colors: Customize primary and secondary colors to align with your website’s overall design.
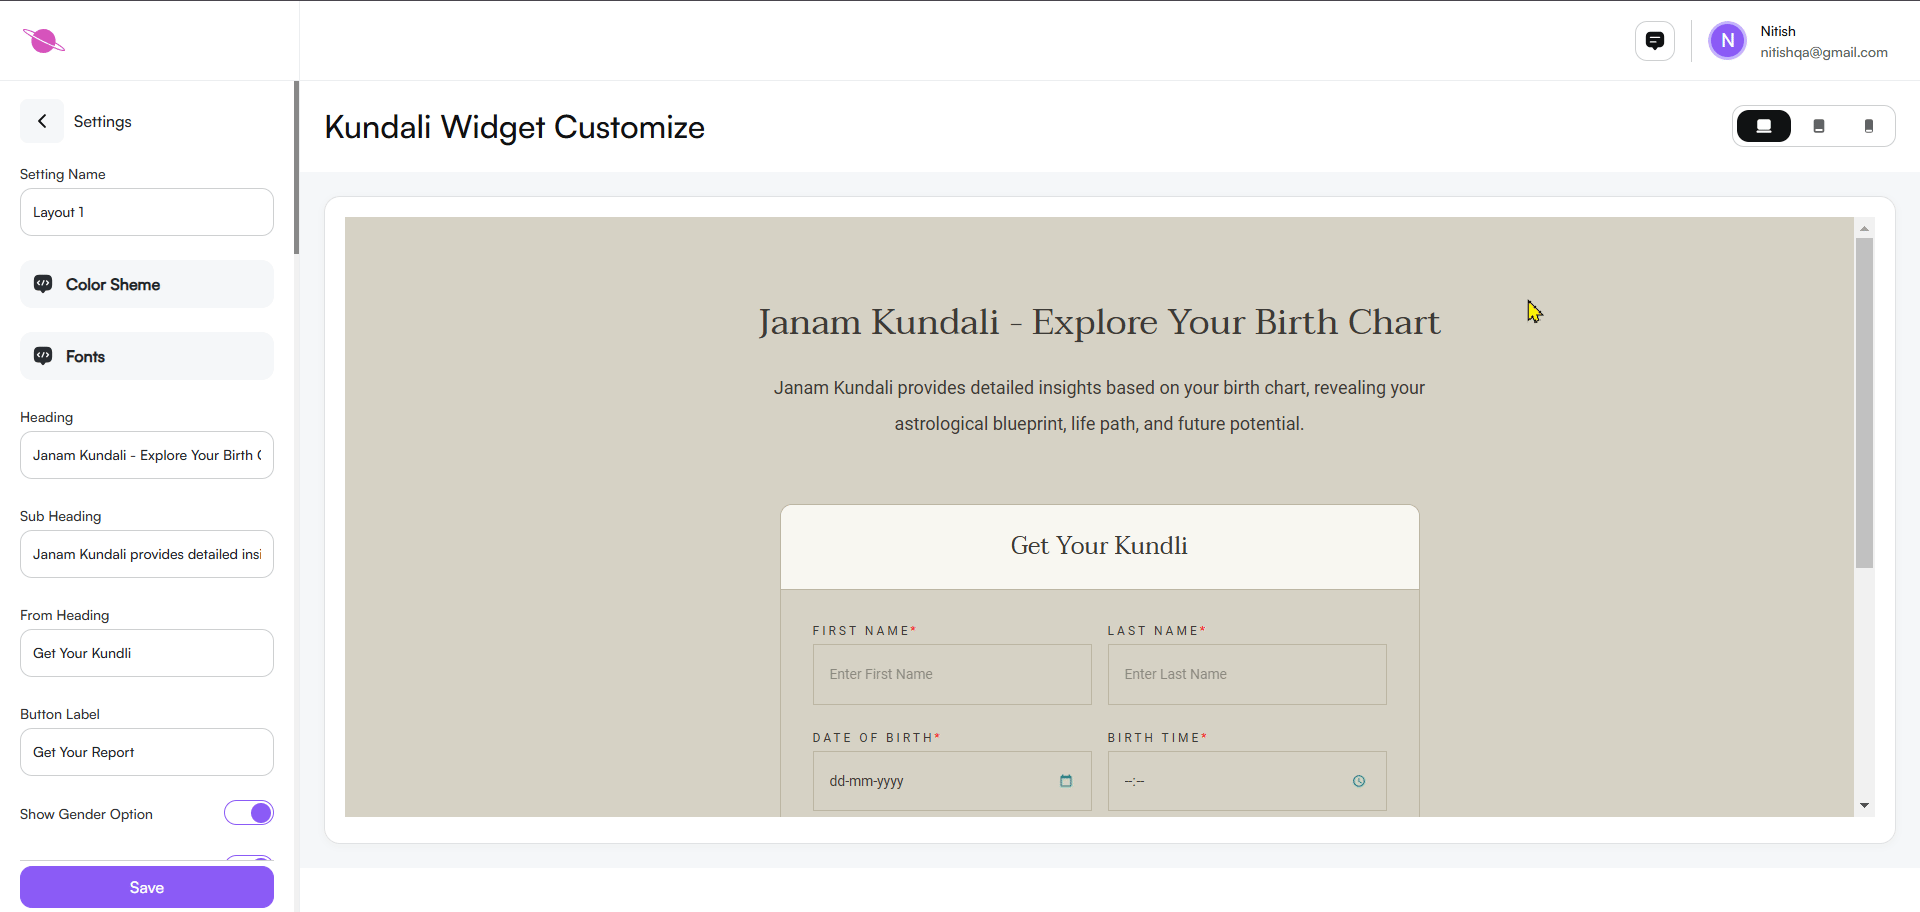
- Live Preview: Instantly see how your changes affect the widget in the preview area.
4. Adjust the Fonts:
- Open the Fonts section in the customization settings.
- Explore Font Styles: Choose a font that complements your website’s style and enhances readability.
- Real-Time Preview: As you select a font, the changes are displayed immediately in the widget preview area.
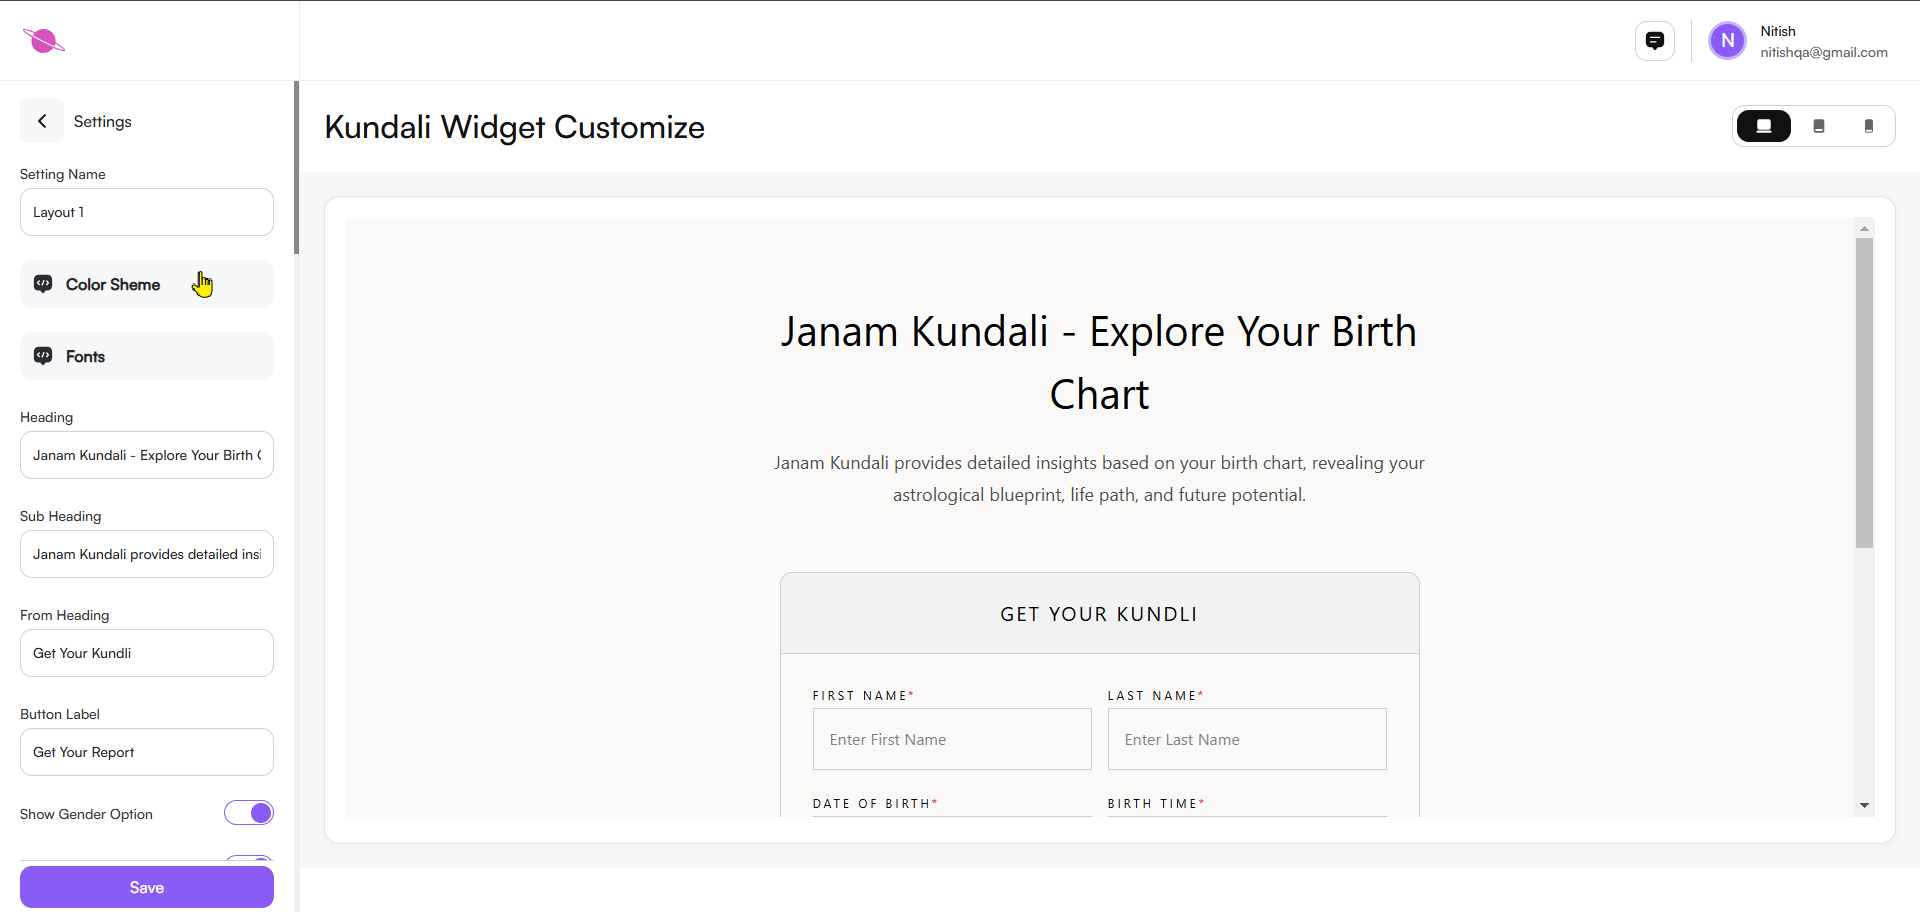
5. Widget Settings Configuration
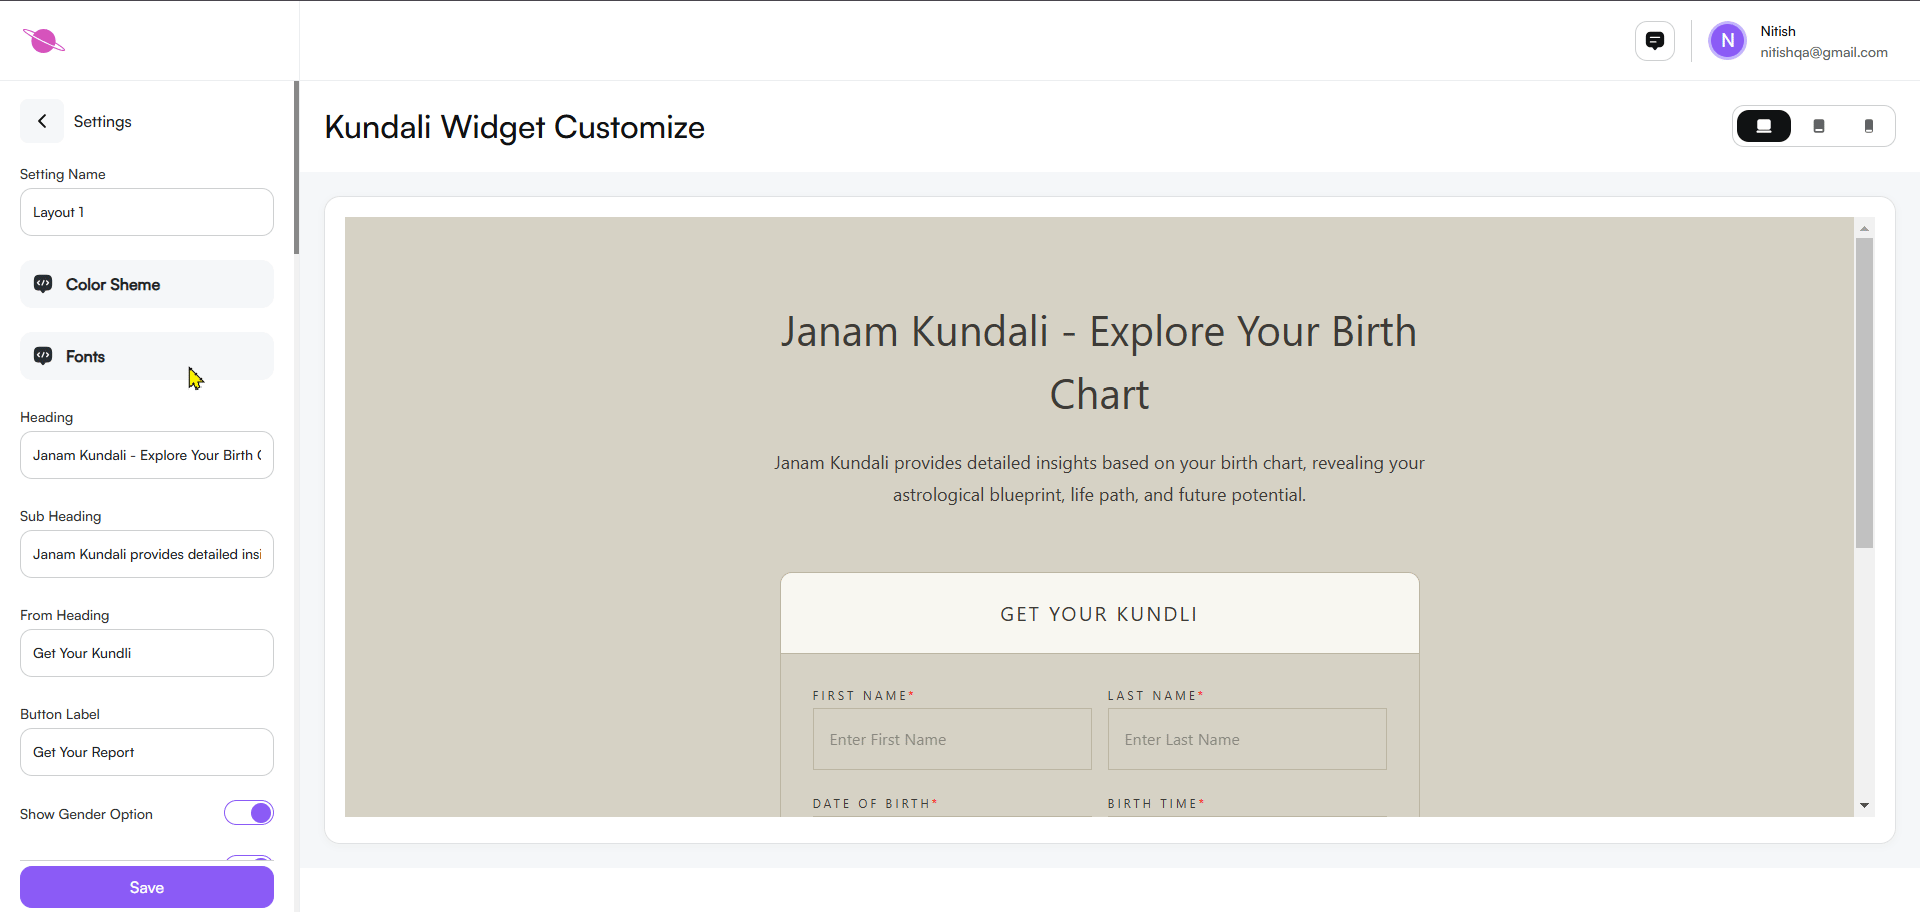
Customize the widget's heading and subheading to align with your website's style and message.
Heading:
- Add a title in the Heading field to match your website’s tone and purpose (e.g., "Discover Your Unique Birth Chart" or "Janam Kundali - Unlock Your Future").
Subheading:
- Write a short and engaging description in the Subheading field (e.g., "Your Janam Kundali reveals personalized insights into your astrological journey, helping you understand your destiny and life’s potential.").
Pro Tip:
- Tailor the text to resonate with your audience. For example, use a friendly, professional, or mystical tone depending on your target users.
- All edits will update in real time on the widget preview, so you can instantly see how the changes look.

- Form Heading: Customize the heading for the input section, like "Enter Your Kundli"
- Button Label: Set or customize a label for the action button, such as “Get Your Report.”

- Show Gender Option: In the settings, enable or disable the gender selection feature to allow users to specify their gender, if relevant to the Kundli report. This can provide more personalized insights for the user.

6. Customizing Content Sections
You can control the visibility of specific sections in the Kundli widget to suit your audience’s preferences:
- Basic Astrological Details: Display or hide foundational details like ascendant, moon sign, and sun sign.
- Planetary Positions: Choose to show or hide the positions of key planets at the time of birth.
- Horoscope Charts: Display or hide detailed charts, including Lagna, Navamsa, and other divisional charts.
- Dasha Analysis: Show or hide detailed Dasha information, such as Vimshottari, Yogini, and SadheSati Analysis.
- Dosha Analysis: Display options like Kalsarpa Dosha and Manglik Analysis.
- Other Sections: Configure other advanced sections, such as Gemstone Suggestions, Bhav Kundli, and Upagraha, based on your audience's interest.

7. Section Order Adjustment
- Reorder Sections: Customize the display order by dragging and arranging sections based on priority, such as placing the Basic Astrological Details at the top, followed by Planetary Positions and Horoscope Charts. Adjusting section order can improve user experience by prioritizing the information's relevance.

Step 7: Use the Preview Functionality
Use the Preview Functionality in the top-right corner of the customization panel to see how the widget appears on different devices:
- Desktop View: Check the full-screen layout.
- Tablet View: Ensure compatibility on medium-sized screens.
- Mobile View: Confirm responsiveness and readability for mobile users.
Toggle between these views to ensure consistent design and user experience across platforms.
Step 8: Save and Embed the Widget
After finalizing the customization:
- Save Your Changes: Click Save at the bottom of the settings panel.
- Return to Widget Home: Use the Back button to go back to the widget overview.
- Copy the Integration Code: Grab the code snippet and embed it into your website.
This process ensures your changes are saved, visible, and ready for integration on your platform.
Conclusion
By following these steps, you can effortlessly integrate a Kundli widget into your page, providing users with an engaging, personalized astrological experience. The widget’s customizable features allow you to tailor the content to align with user interests, enhancing their connection with traditional Kundli insights.