

Step 1: Access Your Dashboard by Logging In
- Visit the Dashboard Login Page: Open your preferred browser and navigate to the astrology dashboard login screen.
- Input Your Credentials: Enter your email address and password in their designated fields. (Use "Forgot Password" if you can’t recall your password.)
- Sign In to Proceed: Hit the "Sign In" button to log into your dashboard.
Not Registered Yet? Click "Sign Up" to create a new account and start your 7-Day Free Trial.

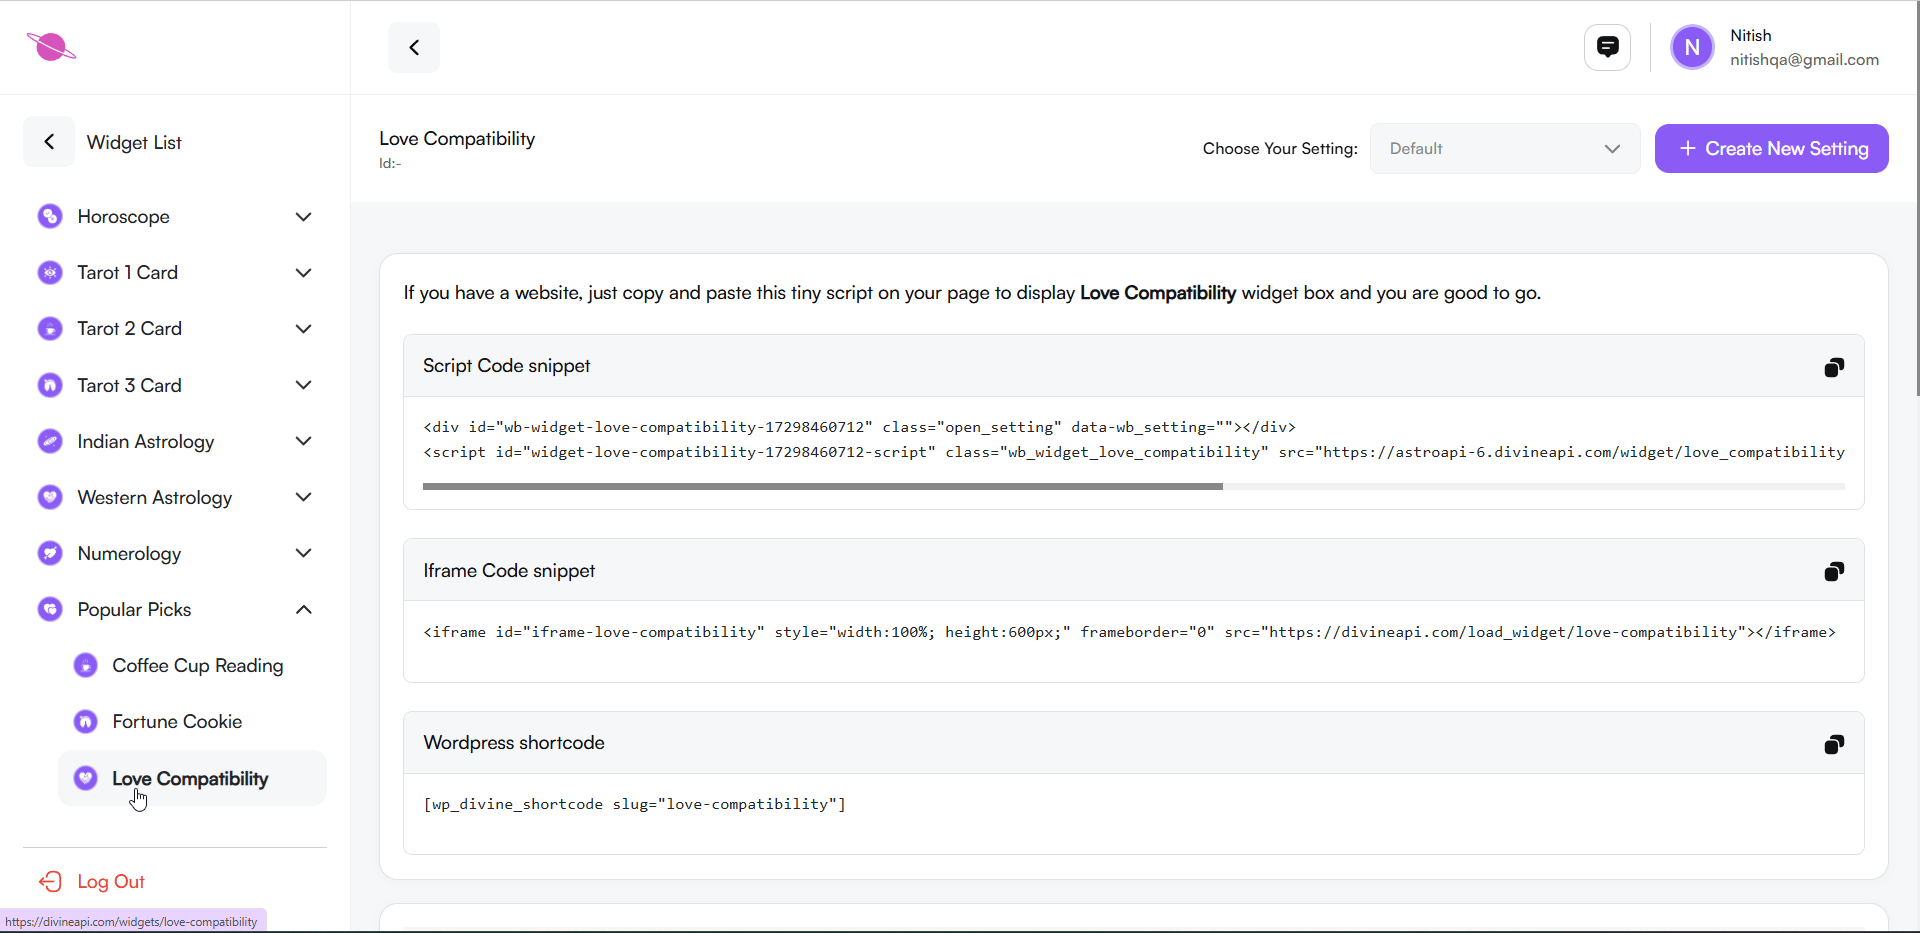
Step 2: Navigate to the Dashboard
After logging in, you will be directed to the main dashboard. Here, you can access multiple features like subscriptions, billing, API keys, and widgets.
- Locate the Widgets option in the left-hand menu.
- Click on it to view and manage your Love Compatibility widgets.

Step 3: Select the Desired Widget
In the widget section, you’ll find a list of available widgets, such as Horoscope, Numeroscope, and Tarot widgets. Select Love Compatibility to proceed.

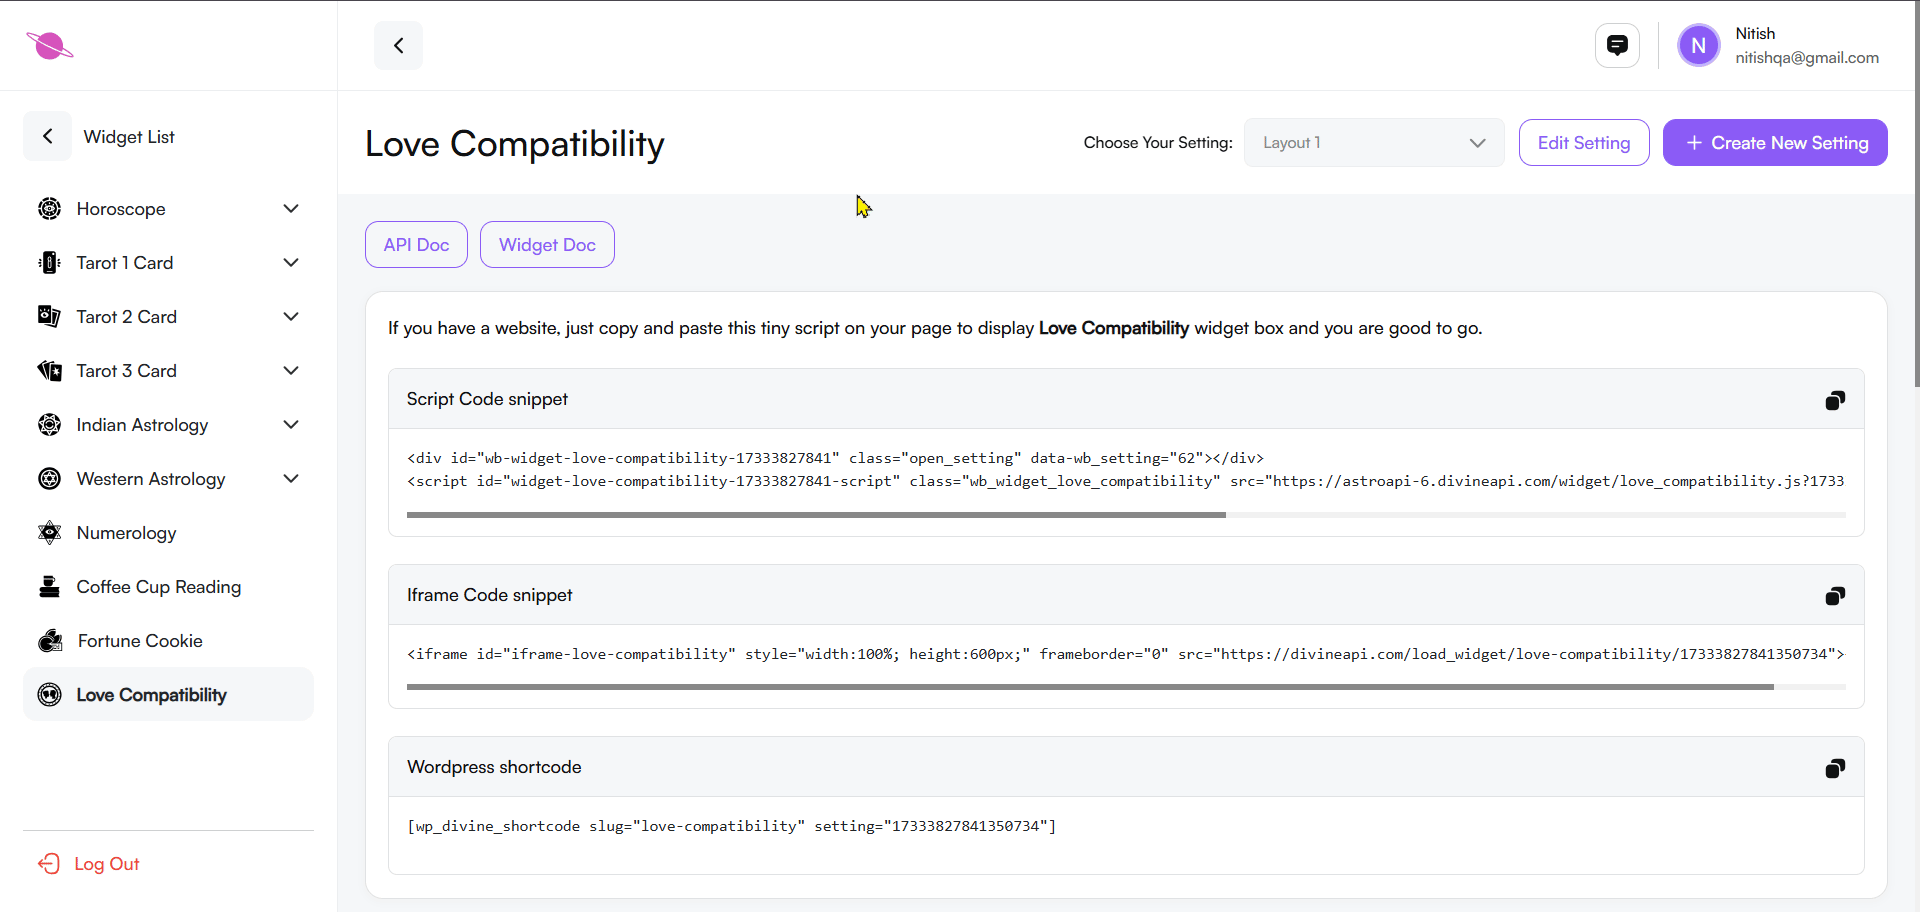
Step 4: Widget Integration Made Easy
Access the Customization Panel:
- After selecting the Love Compatibility widget, open the panel to view integration settings.
Choose Your Integration Method:
- Option 1: Script Code Snippet: Copy the script and embed it in your HTML.
- Option 2: Iframe Code Snippet: Use iframe code for easy embedding.
- Option 3: WordPress Shortcode: For WordPress users, copy the shortcode and paste it into your post or page.
- Note: Ensure the required WordPress plugin is installed and activated.
Copy and Embed the Code:
- Click the copy icon to select your code and paste it into your site.

Step 5: Preview Love Compatibility Content
The Love Compatibility widget helps users find out how compatible they are with their lover, friend, or colleague based on zodiac signs. The preview allows users to select their sign and the other person's sign to view their compatibility results.
- This helps you understand how the widget will look on your website.
- Ensure the content is engaging for your target audience.
Step 6: Configuring the Widget
Customize the widget's appearance and functionality to align with your page design and user preferences. Follow these steps:
1. How to Create or Modify a Yes or No Tarot Widget Setting:
Creating a New Setting:
- Click the “+ Create New Setting” button located in the top-right corner.
- Name your setting (e.g., "Yes or No Tarot - Theme 1") for easy identification later.
- Adjust the widget’s appearance by customizing the colors, fonts, and layout.
Editing an Existing Setting:
- From the “Choose Your Setting” dropdown, pick the setting you want to modify.
- Press the “Edit Setting” button to open the customization options.
- For further guidance, refer to this article on managing multiple widget settings.
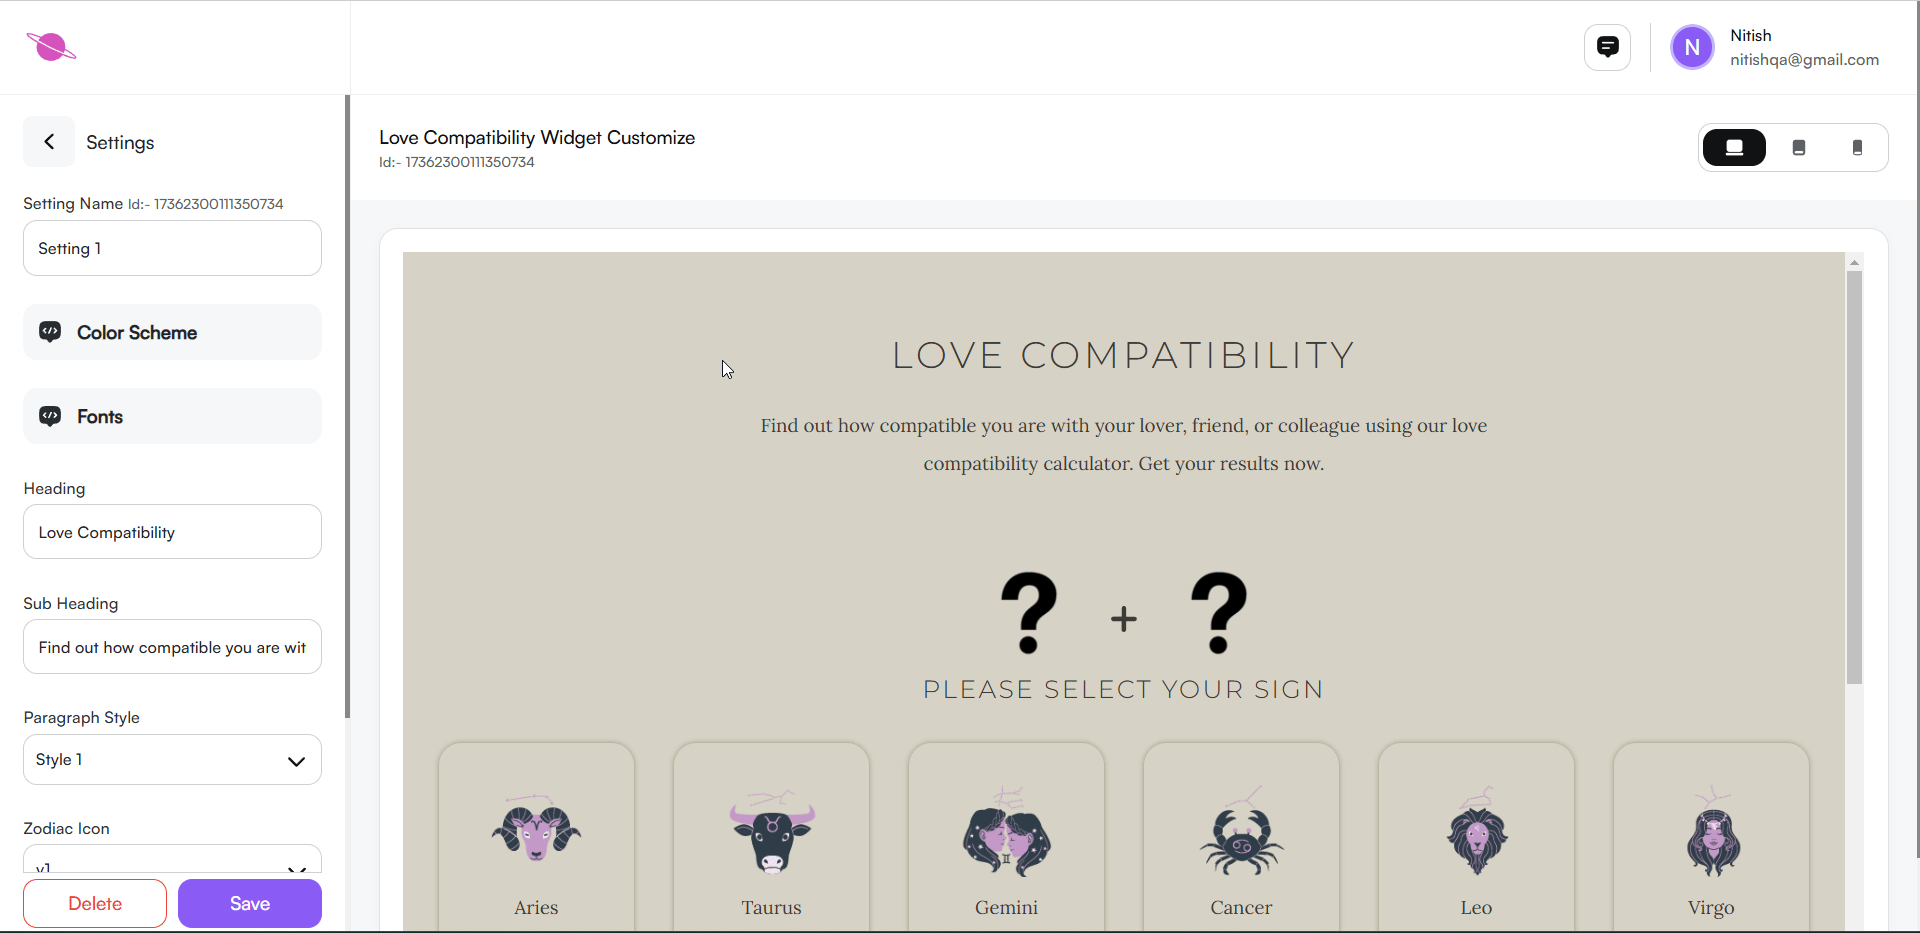
2. Change the Setting Name:
- Locate the Setting Name field in the settings panel.
- Enter your desired name to label this configuration.

3. Adjust the Color Scheme:
Open the Color Scheme menu in your customization settings.
Select Pre-set Themes: Choose from themes that offer combinations of Light, Light Accent, Accent, Dark, and Dark Accent tones. These are designed to suit a wide range of aesthetics, from minimalist to vibrant.
Refine the Palette: Adjustments within each pre-set theme provide flexibility for more personalized color options.
Edit Colors: Click the Edit (Pencil Icon) to customize the following:
- Primary Colors: Apply to Background, Headings, Paragraphs, and Lines.
- Secondary Colors: Apply to Background, Headings, Paragraphs, and Lines.

4. Update Font Styles for Your Widget
Access Font Settings:
- Navigate to the "Fonts" tab in the settings panel to start customizing font styles.
Pick a Font Style:
- Choose a font from the available options that complements your branding and design.
Instant Visual Feedback:
- The preview section displays the selected font in real-time, helping you finalize your choice.
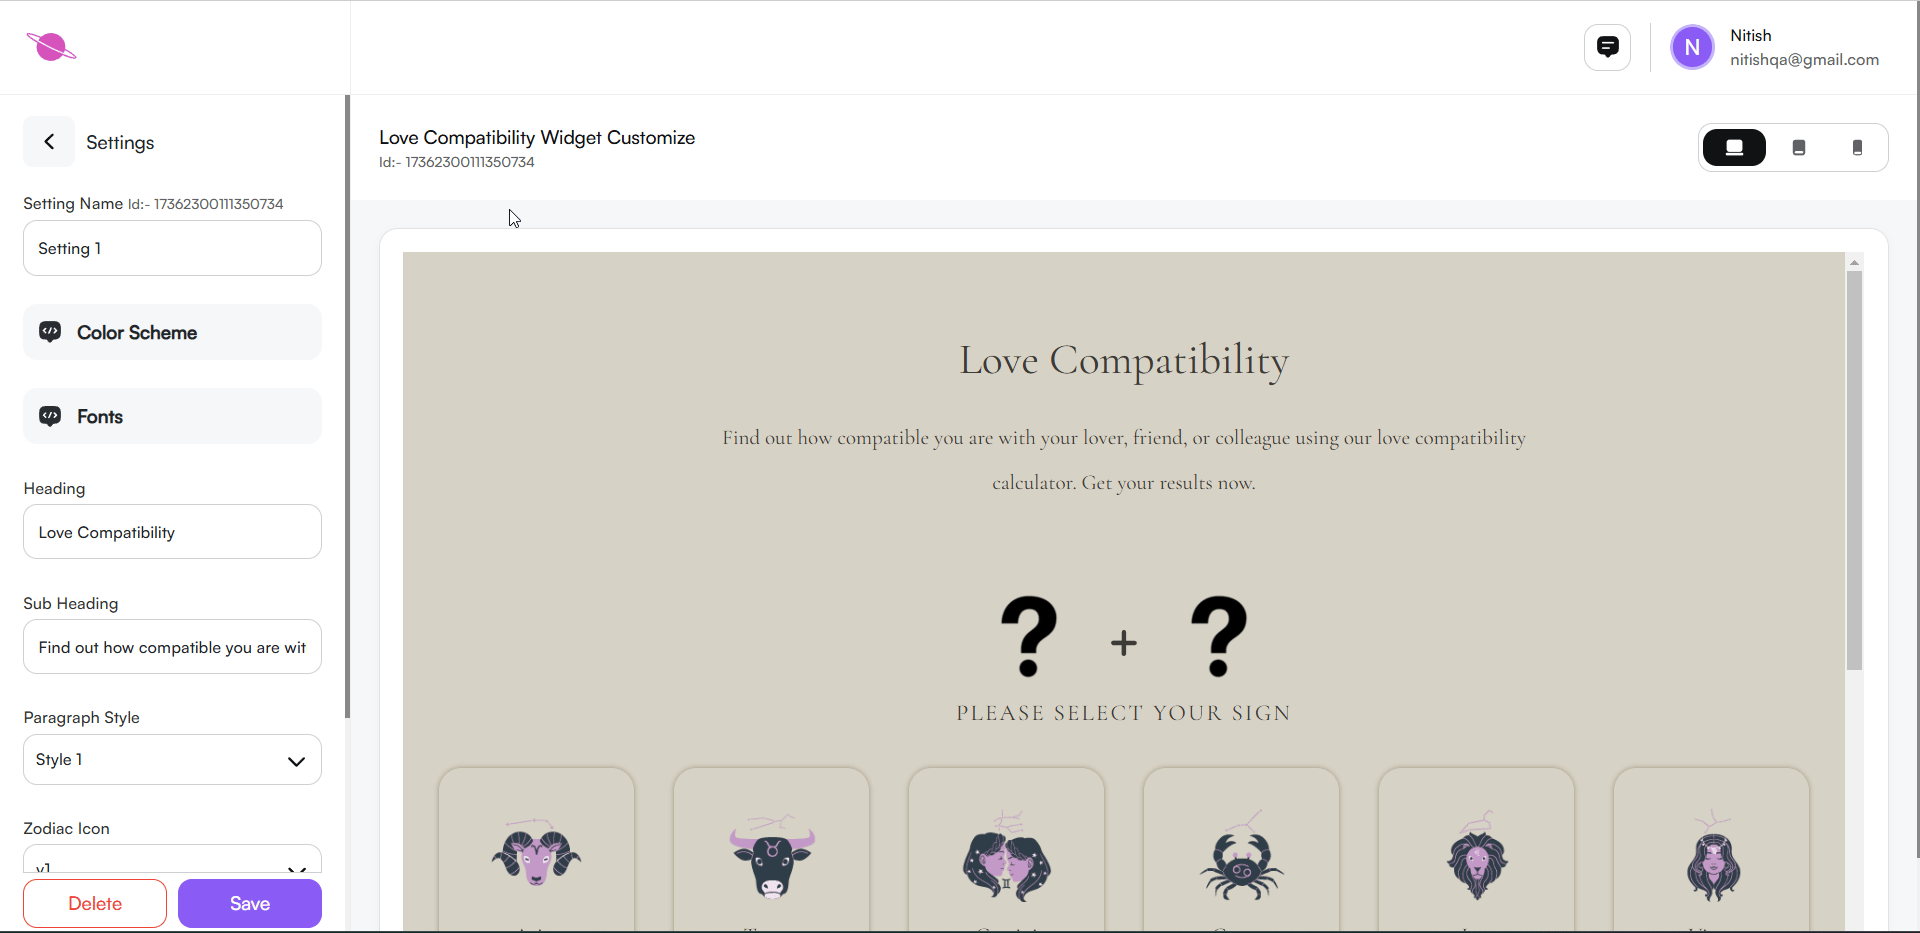
4. Heading and Subheading
Customize the widget's heading and subheading to align with your website's style and message.
Heading:
- Enter your desired title in the Heading field (e.g., "Love Compatibility").
Subheading:
- Add a brief description in the Subheading field (e.g., "Find out how compatible you are with your lover, friend, or colleague using our love compatibility calculator. Get your results now.").
Note:
You can personalize these texts to suit your needs. Changes will reflect instantly in the widget preview.

6. Default Zodiac Sign
- You will see a dropdown menu under Zodiac Icon with multiple versions (e.g., v1, v2, v3, etc.).
- Choose the version that best suits the design and aesthetic of your website.
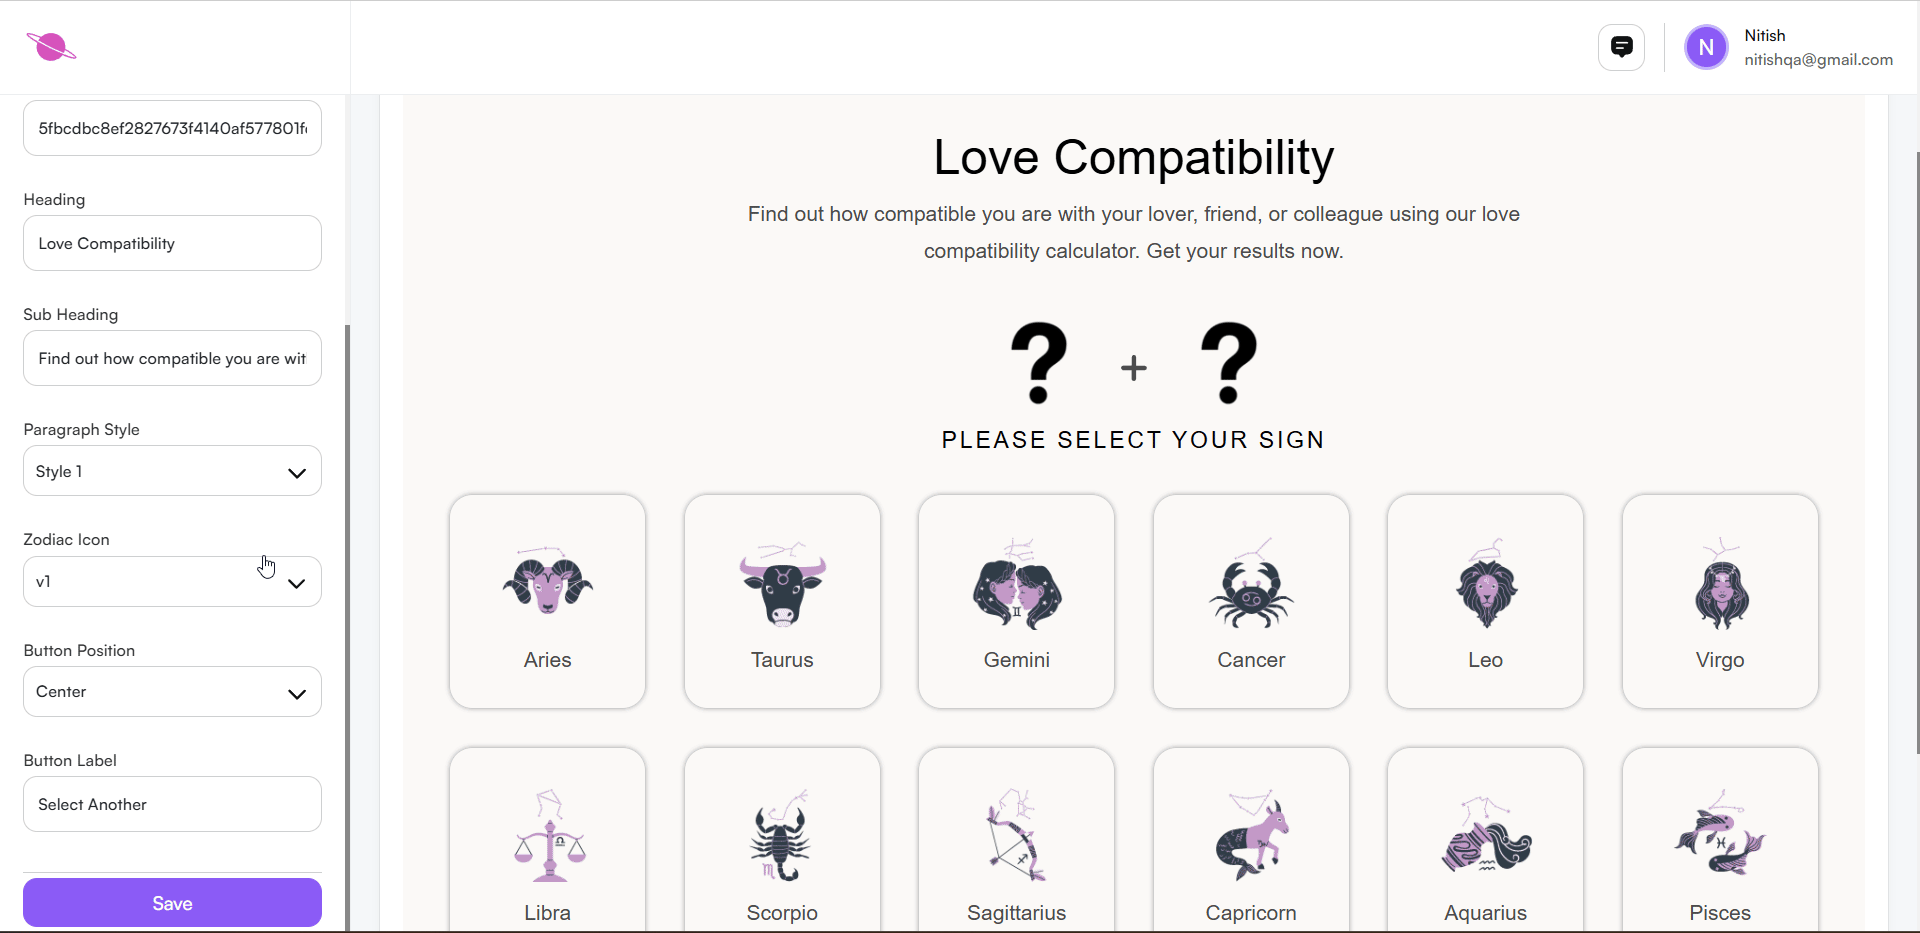
Step 7: Additional Customizations for Widget Display
- Button Position: Set the position of the result button (e.g., Left, Right, Center).
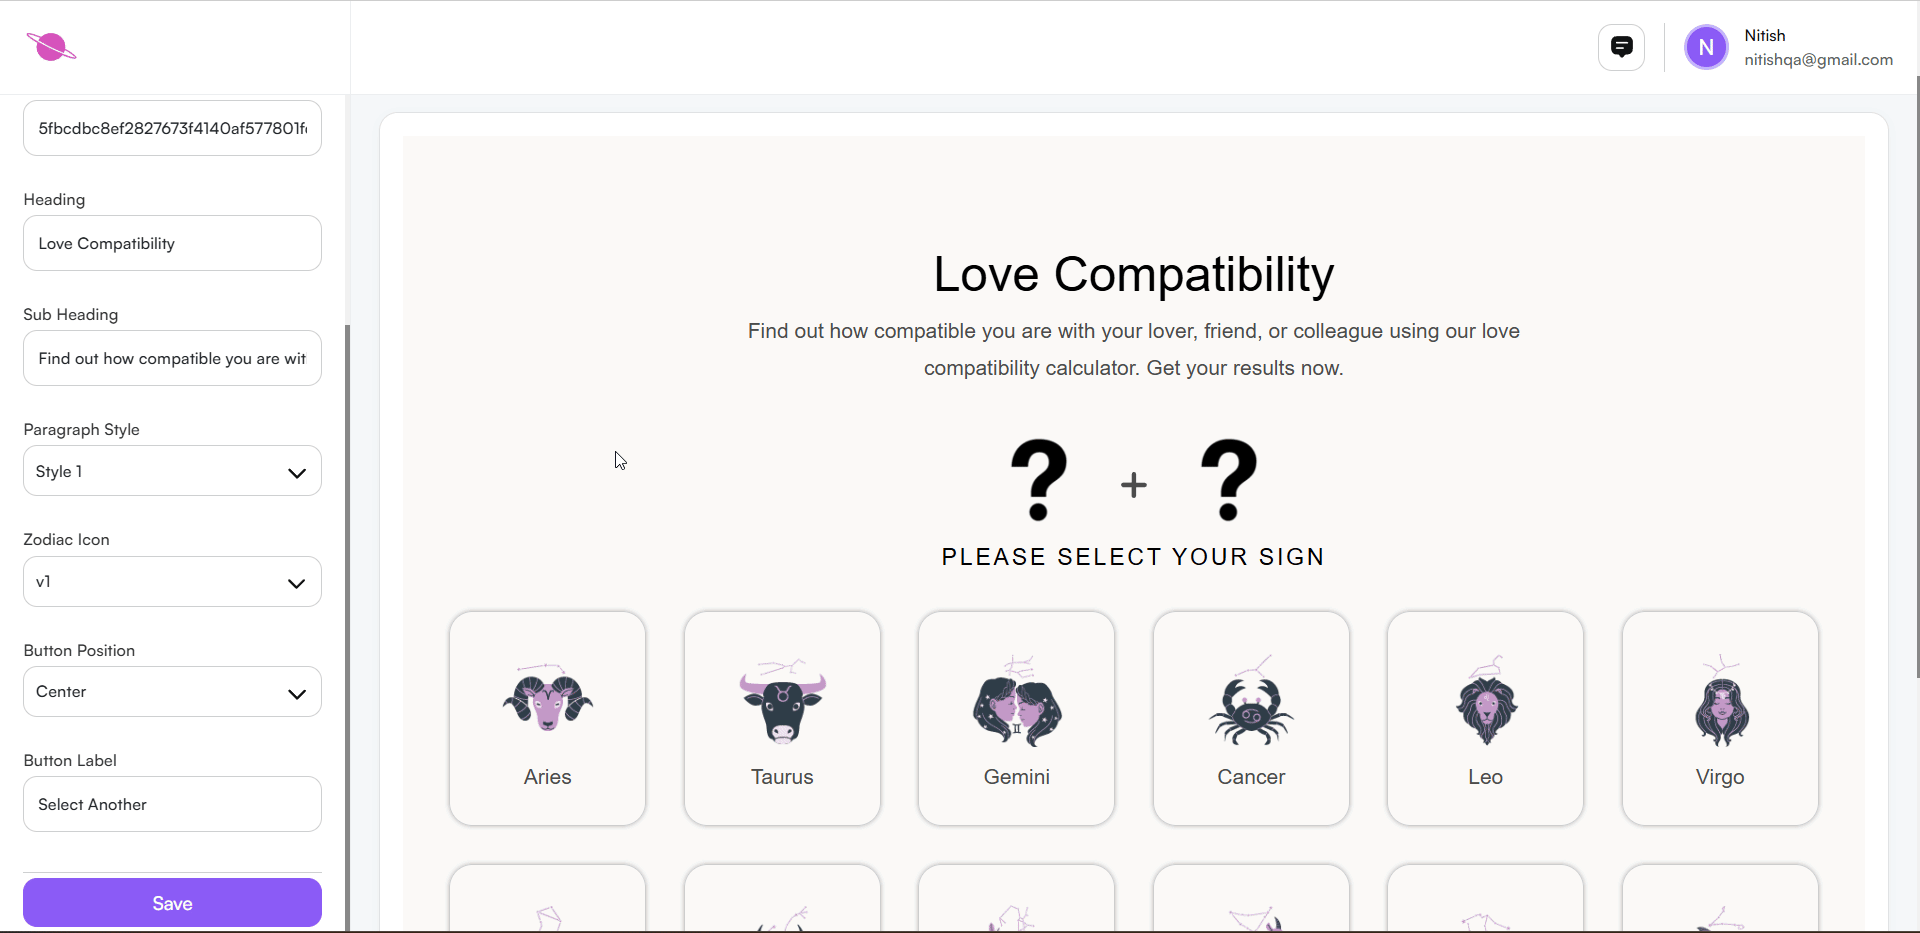
- Button Label: This button is typically used for users to initiate the reading. You can customize the text to something like "Get Your Reading" or any other relevant phrase.

Step 8: Securing and Applying Your Widget Changes
Save Edits:
- Click Save at the bottom to ensure your customization settings are stored.
Return to the Widget Overview:
- Scroll up and click Back to go back to the Yes or No Tarot widget home screen.
Confirm Customizations:
- Review the preview section to verify that all updates are reflected as intended.
Integrate the Widget:
- Copy the code snippet and embed it into your site’s HTML structure.
Validate Performance:
- Test the widget to confirm it displays and operates correctly on your website.
Conclusion
By integrating the Love Compatibility Widget on your website, you provide users with an engaging and interactive way to explore their compatibility with others based on their zodiac signs. This tool helps users gain insights into their relationships, promoting self-reflection and understanding while offering a fun, personalized experience.