Step-by-Step Guide to Access and Customize Zodiac Gift Guru Widgets Using Your Dashboard
The Zodiac Gift Guru widget is a perfect addition to your website, helping users discover personalized gift ideas based on zodiac signs. This guide walks you through the steps to set up and customize the widget to align with your platform's design and functionality.
Choose from options like Cormorant Garamond, Montserrat, DM Sans, and more.
Preview fonts in real-time as you select to ensure they fit your website's style.
Pick a font that enhances readability and aligns with your design.
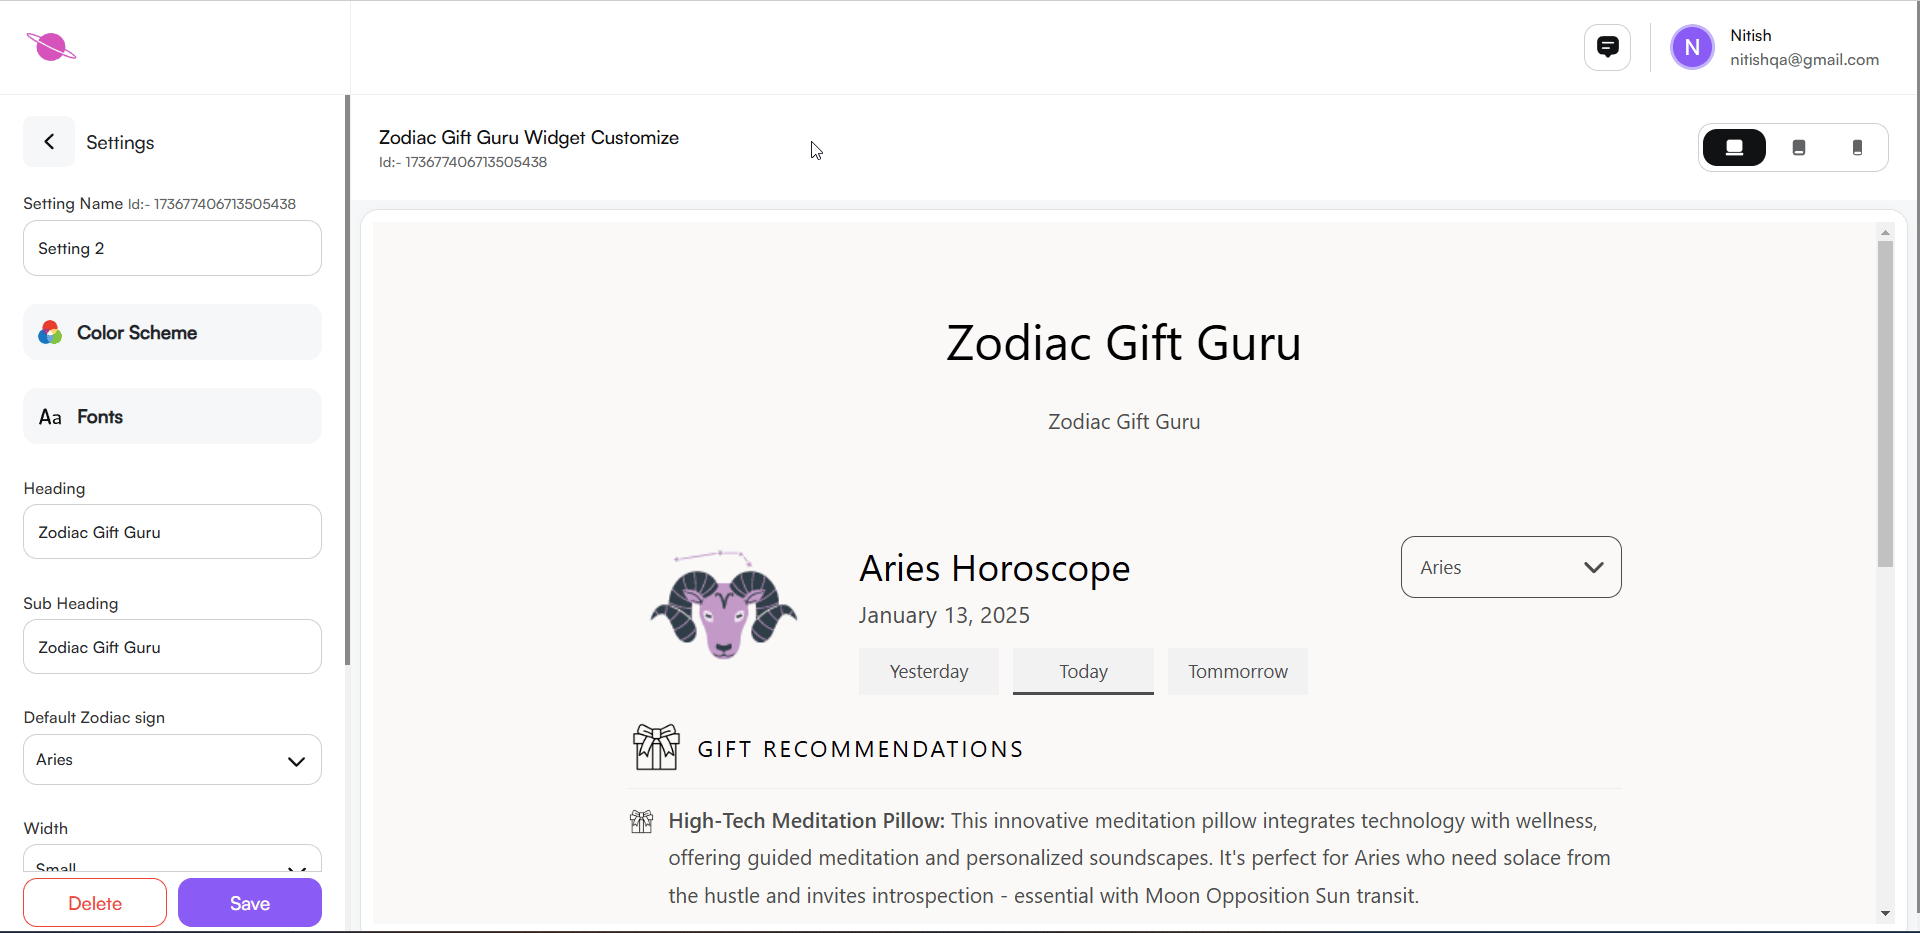
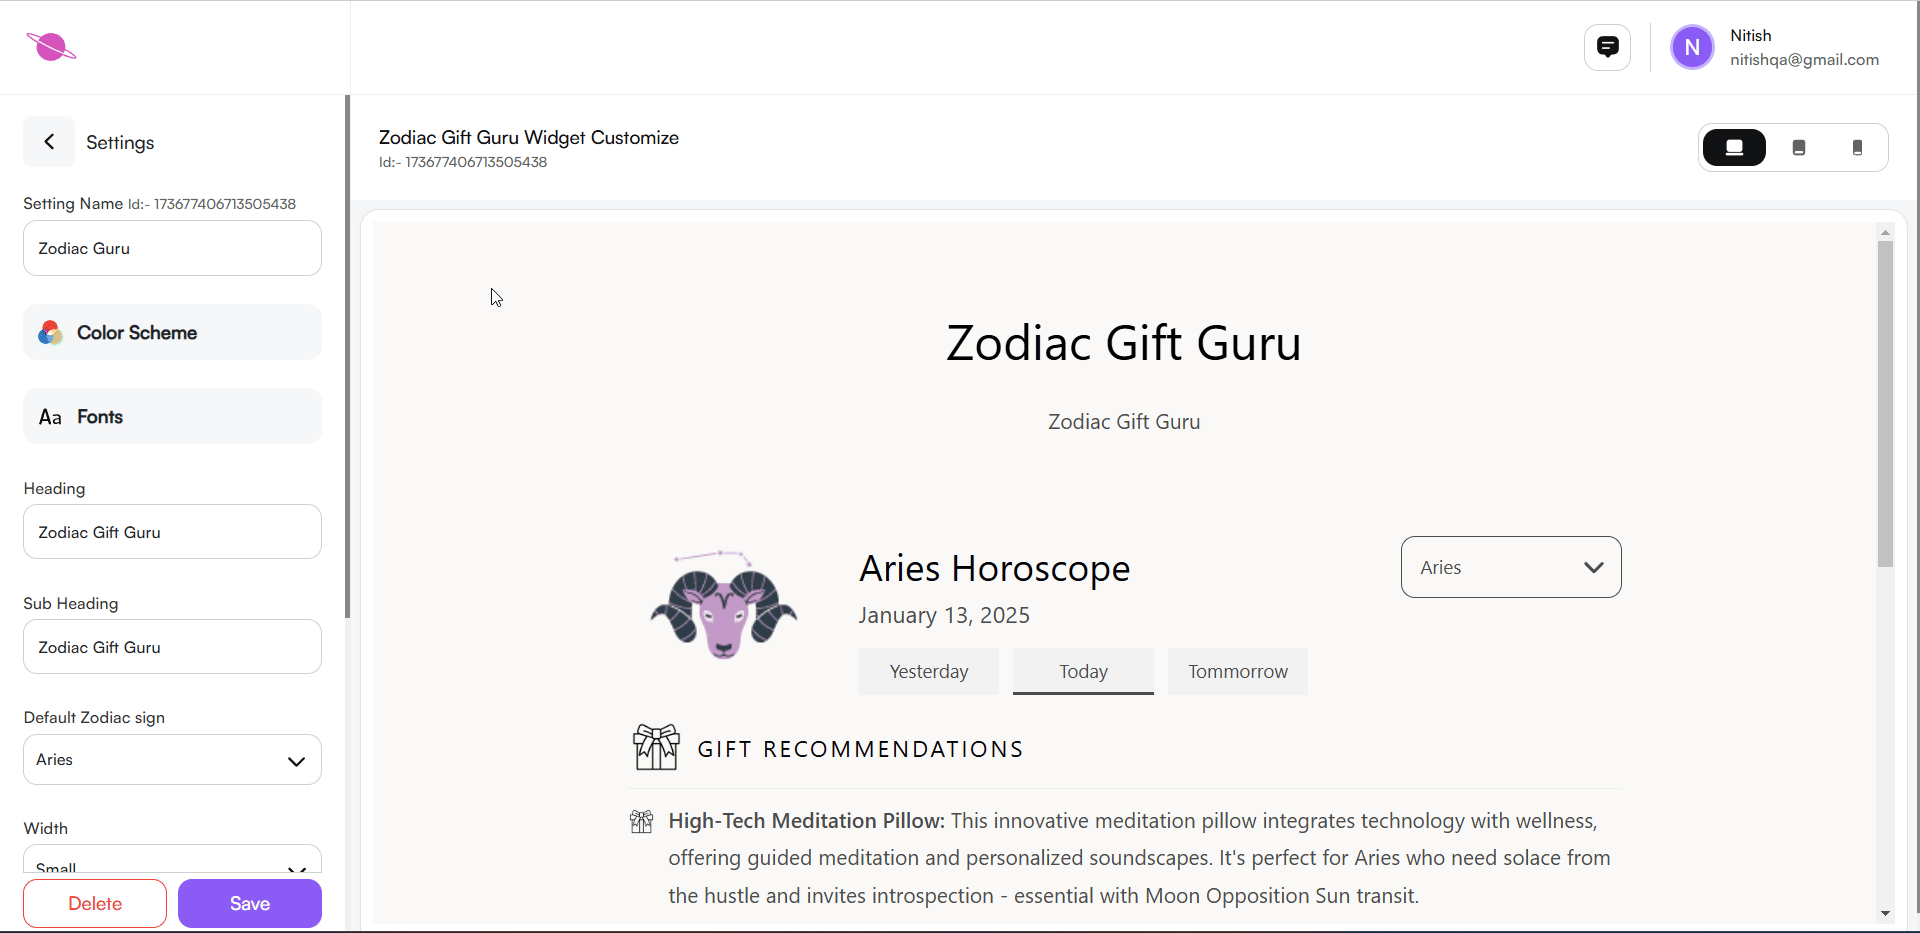
5. Customize the Heading and Subheading
Navigate to the Heading field and input your desired title (e.g., "Zodiac Gift Guru").
Use the Subheading field to add a brief description (e.g., "Zodiac Gift Guru").
Tailor these texts to match your brand's tone and style.
Instantly preview the updates in the widget to ensure alignment with your website design.
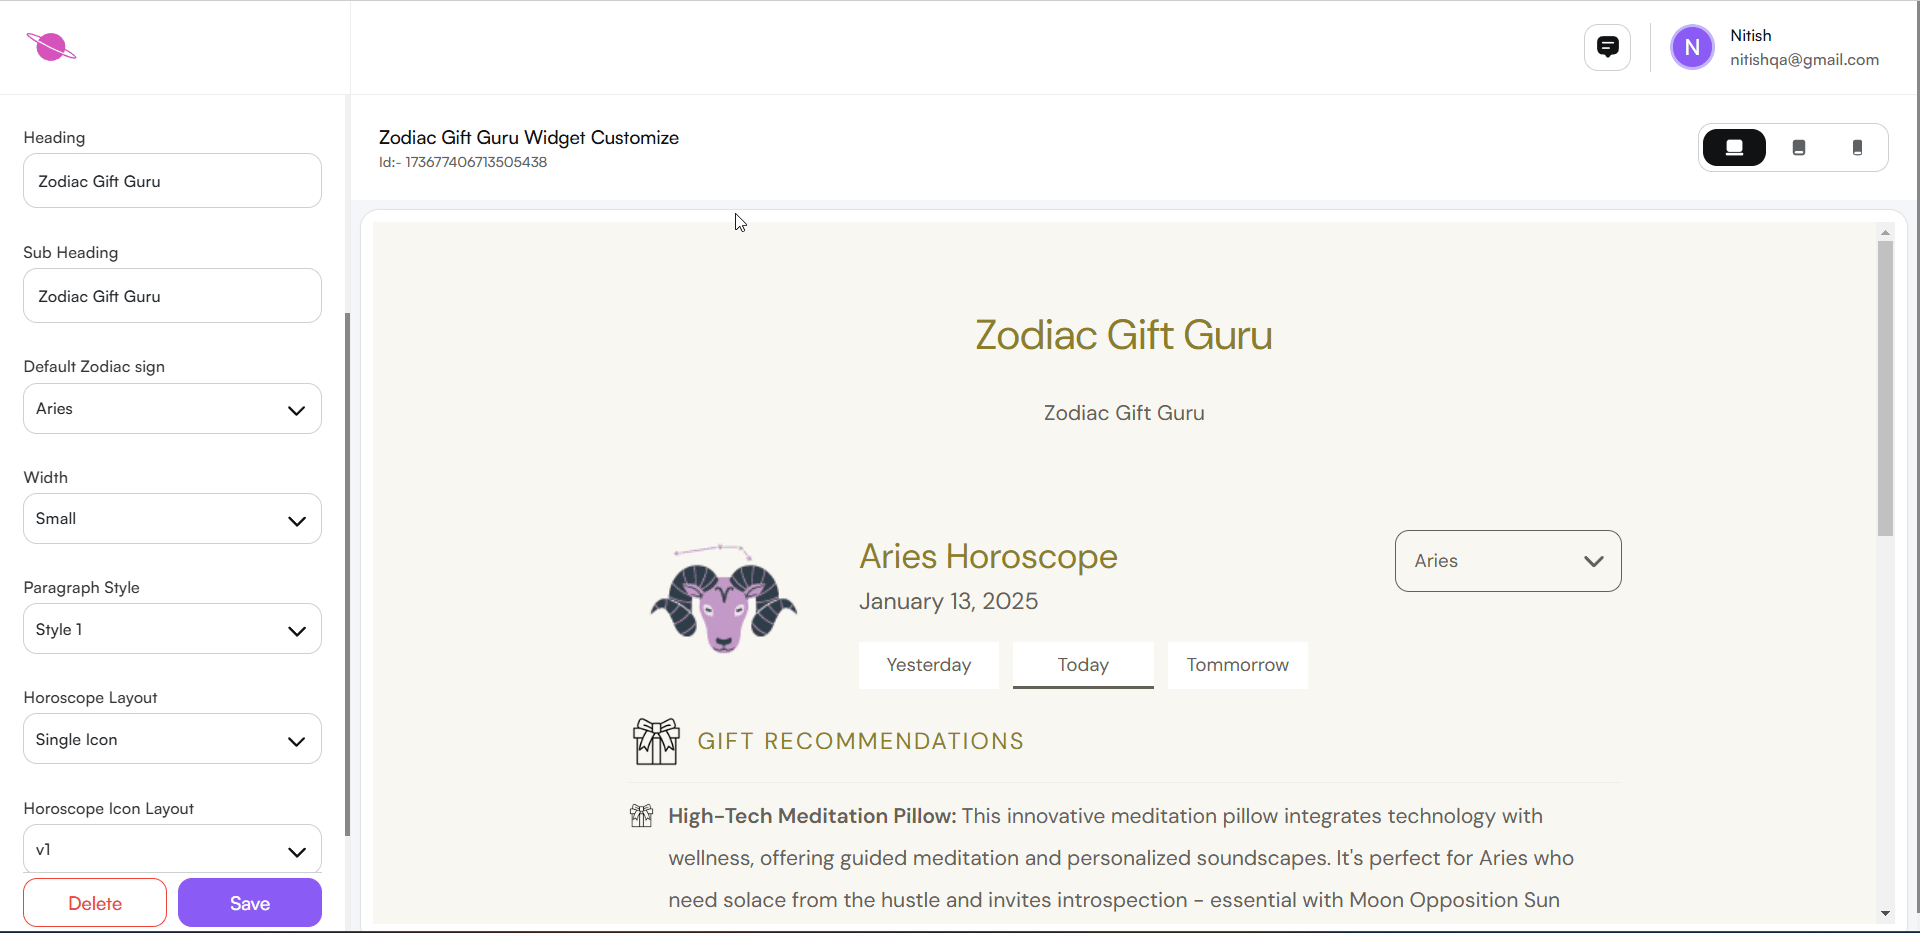
6. Set the Default Zodiac Sign
Locate the Default Zodiac Sign dropdown in the settings panel.
Choose a zodiac sign (e.g., Aries, Taurus, Capricorn) to display by default when the widget loads.
This ensures users see relevant content immediately upon visiting the widget.
7. Adjust the Widget Width
Go to the Width Settings in the panel.
Select from Small, Medium, or Large options based on your page layout.
Pick the size that best integrates with your website’s design and enhances user experience.
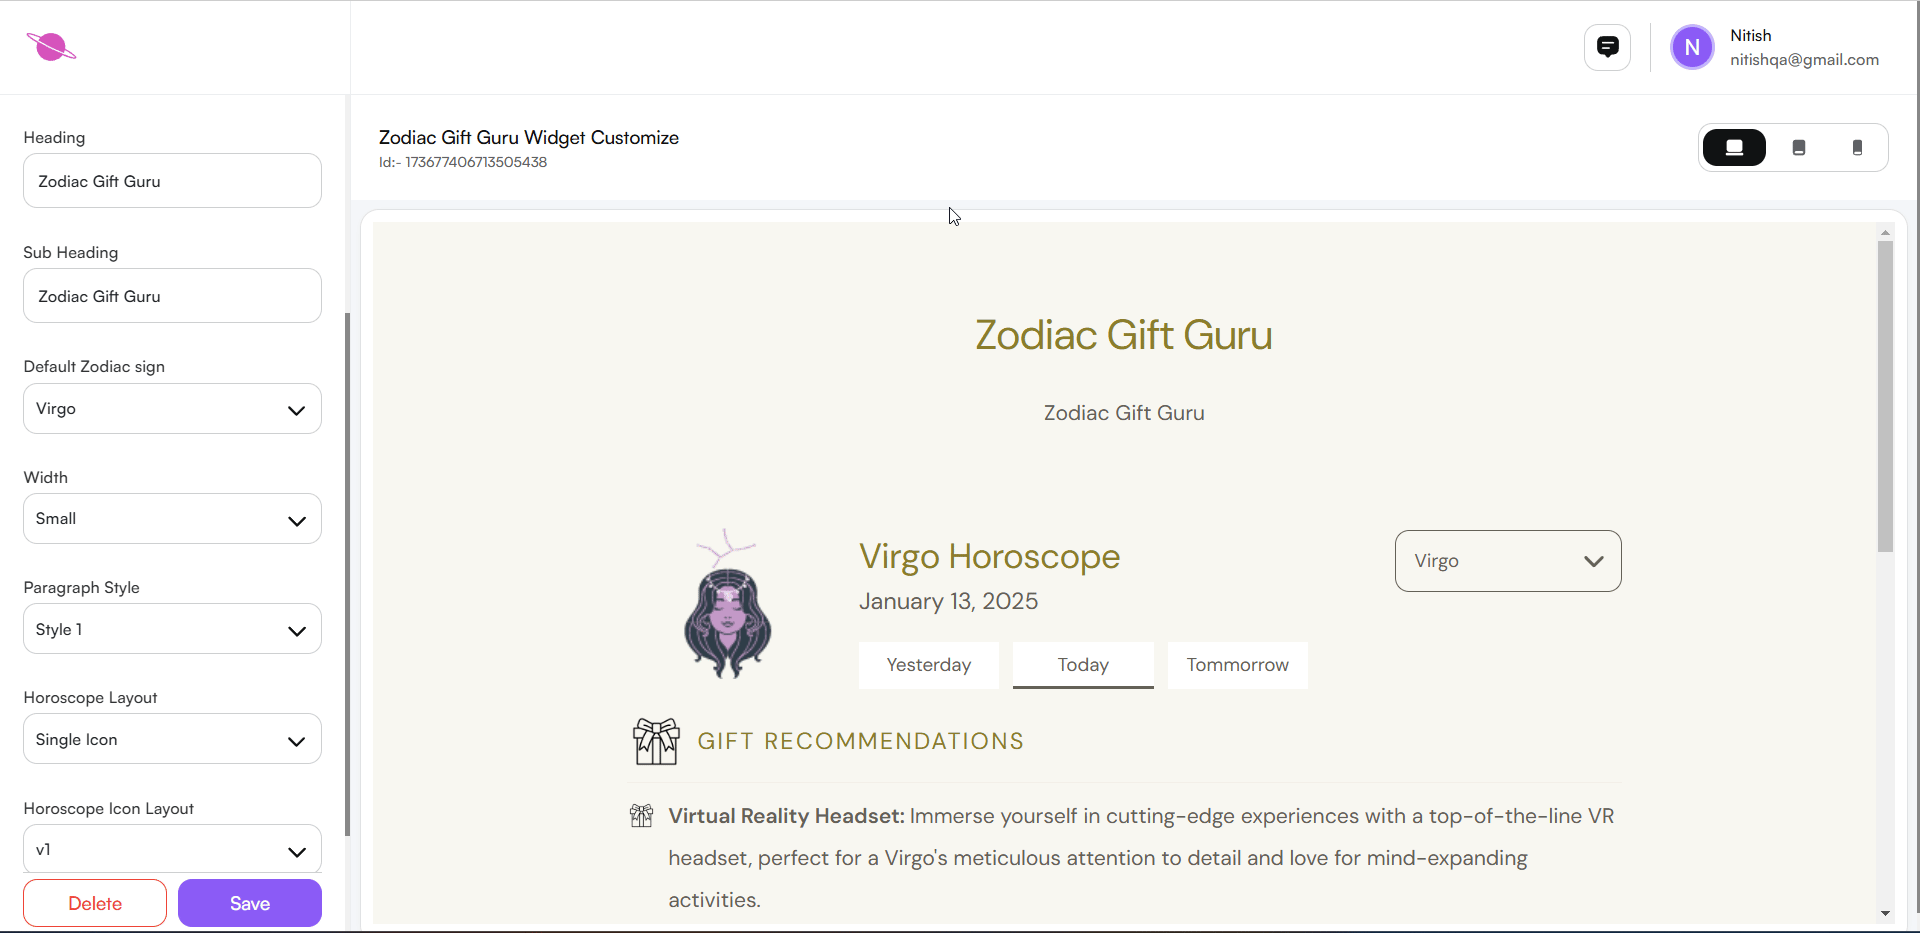
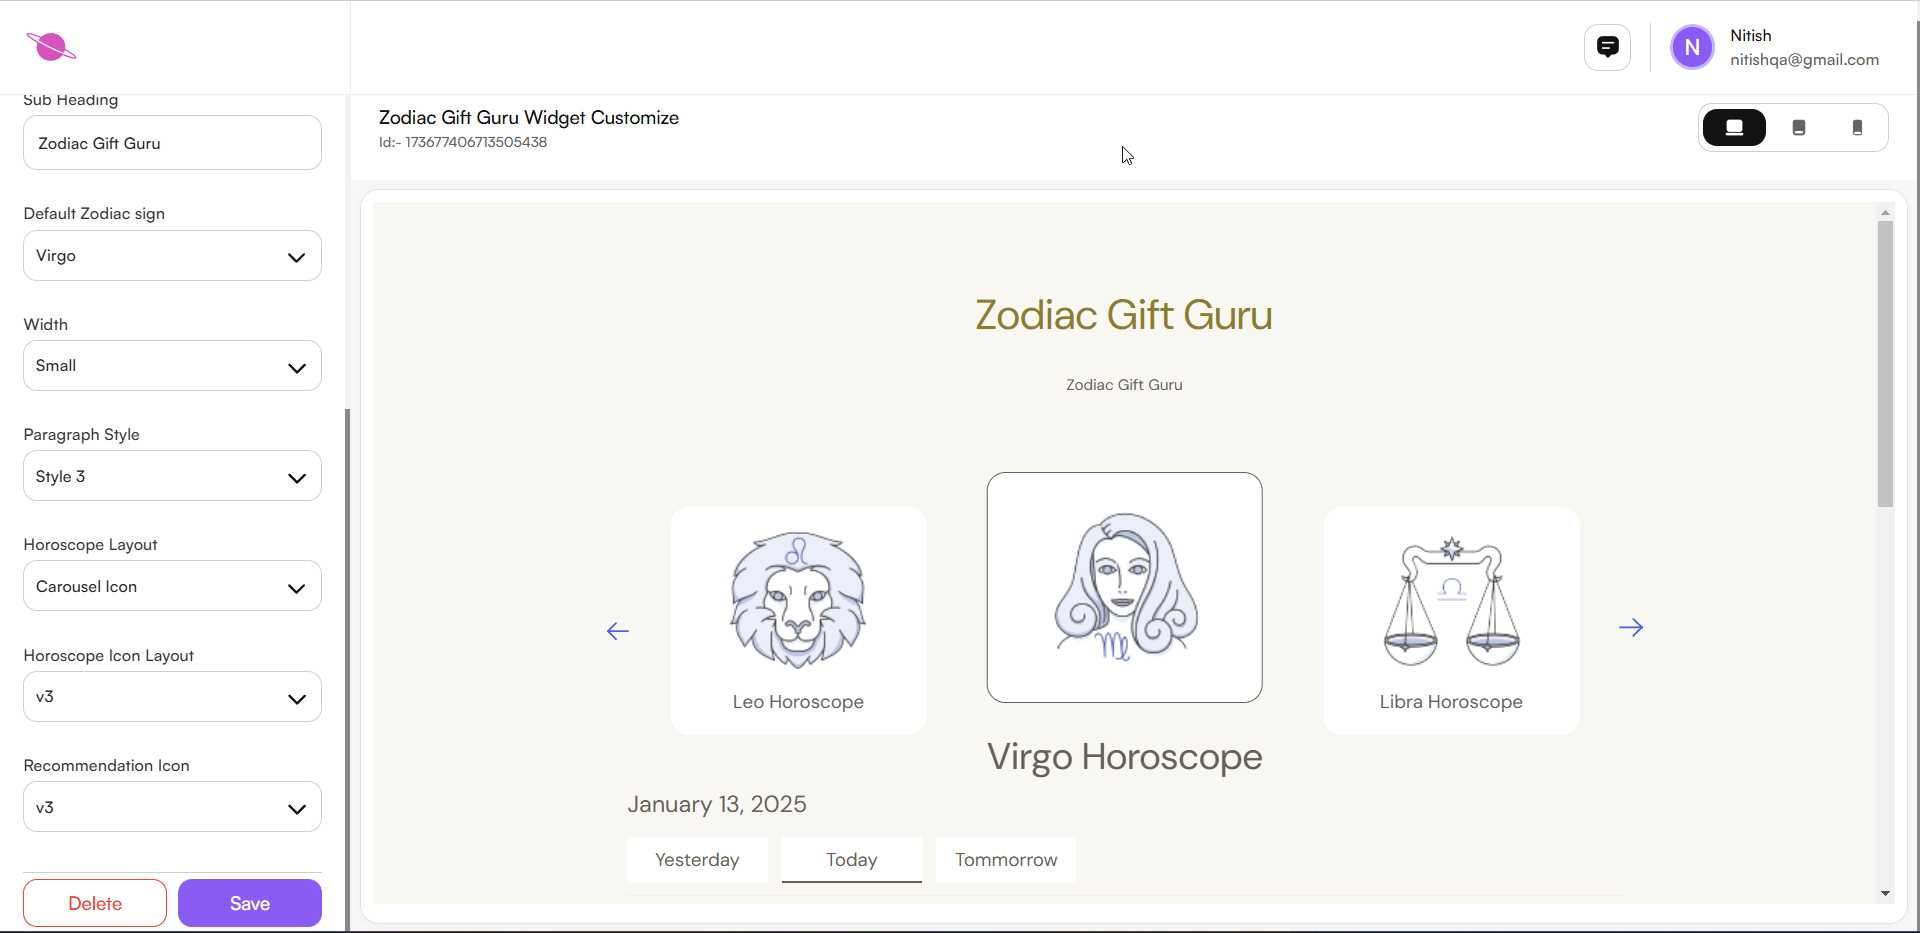
8. Customize the Horoscope Layout
Navigate to the Horoscope Layout dropdown in the settings panel.
Choose a layout style that aligns with your website's design:
Single Icon: Displays one horoscope icon at a time.
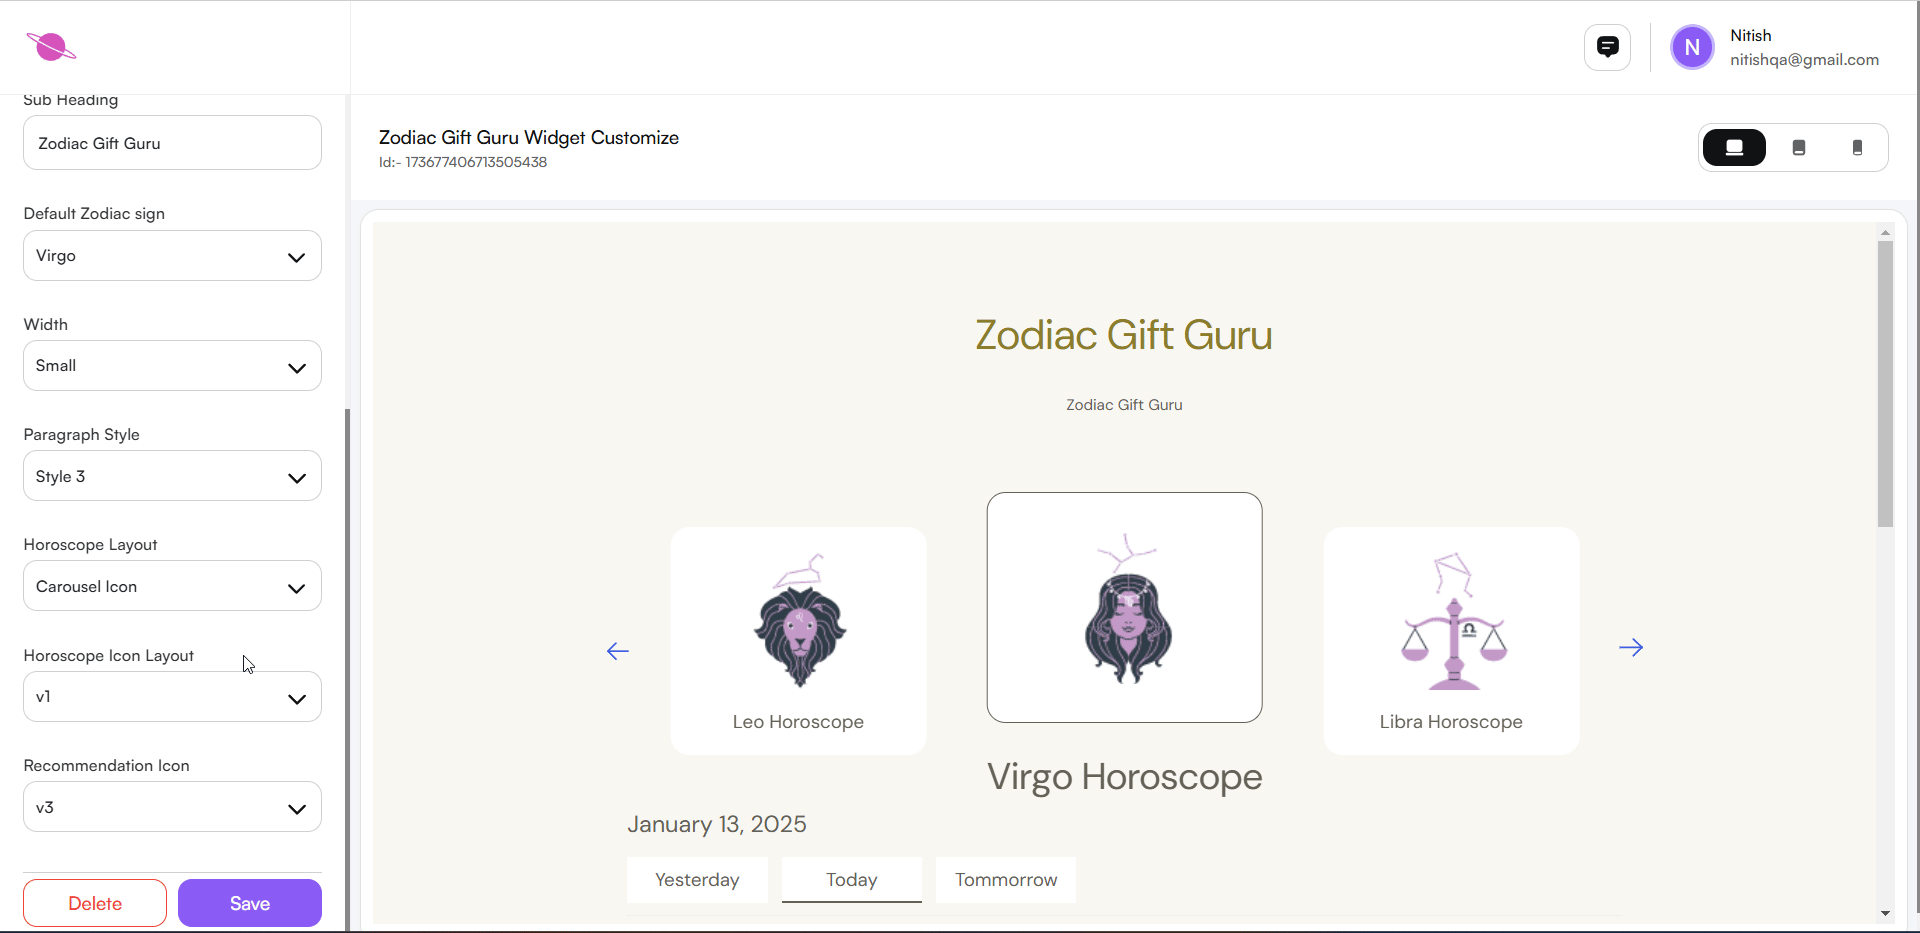
Grid Icon: Presents all horoscope icons in a grid format.
Carousel Icon: Lets users scroll through the icons interactively.
Select the layout that enhances the user experience and fits your page’s design.
Preview the changes instantly in the widget to ensure the layout looks as intended.
Tip: Use the Carousel for interactive designs or Grid for a comprehensive display of all icons.
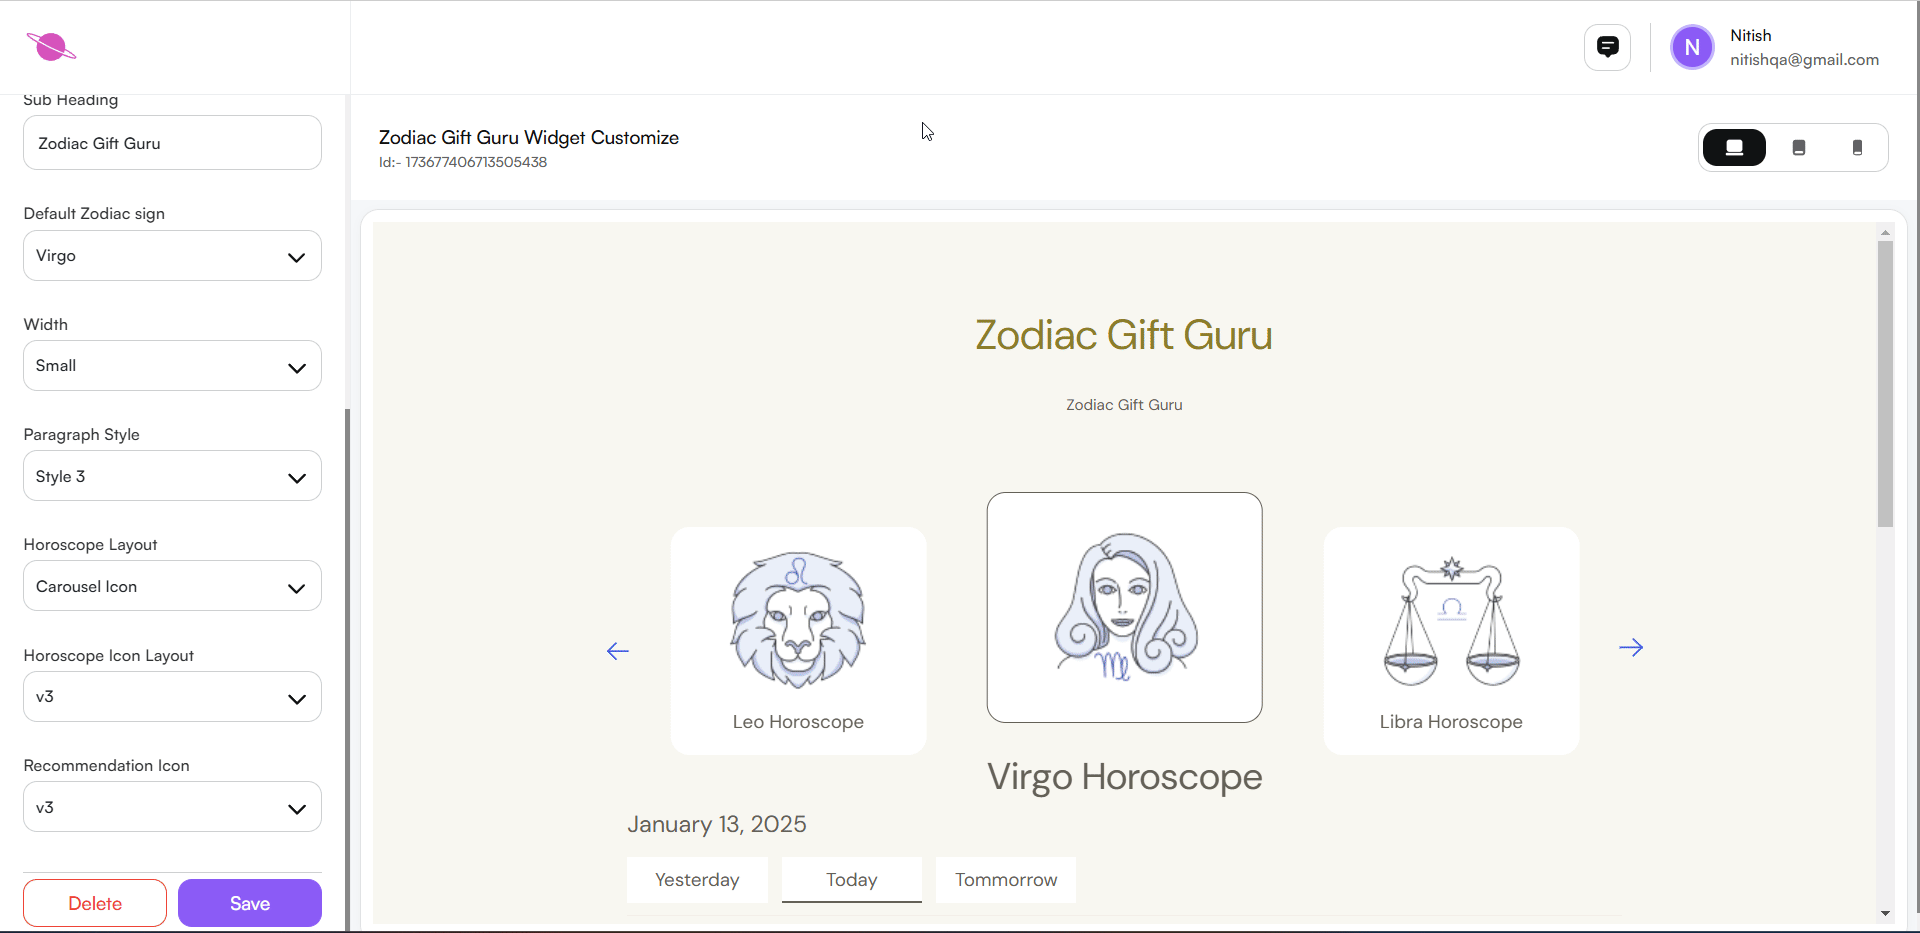
9. Adjust the Horoscope Icon Layout
Navigate to the Horoscope Icon Layout dropdown in the settings panel.
Select your preferred icon style from the available options (v1, v2, v3, v4, v5, v6).
Each style offers a unique design for horoscope icons, allowing you to match your website’s aesthetics.
As you choose a style, the icons will update instantly in the widget preview for real-time visualization.
Tip: Experiment with different styles to find the one that best aligns with your website’s branding and user experience
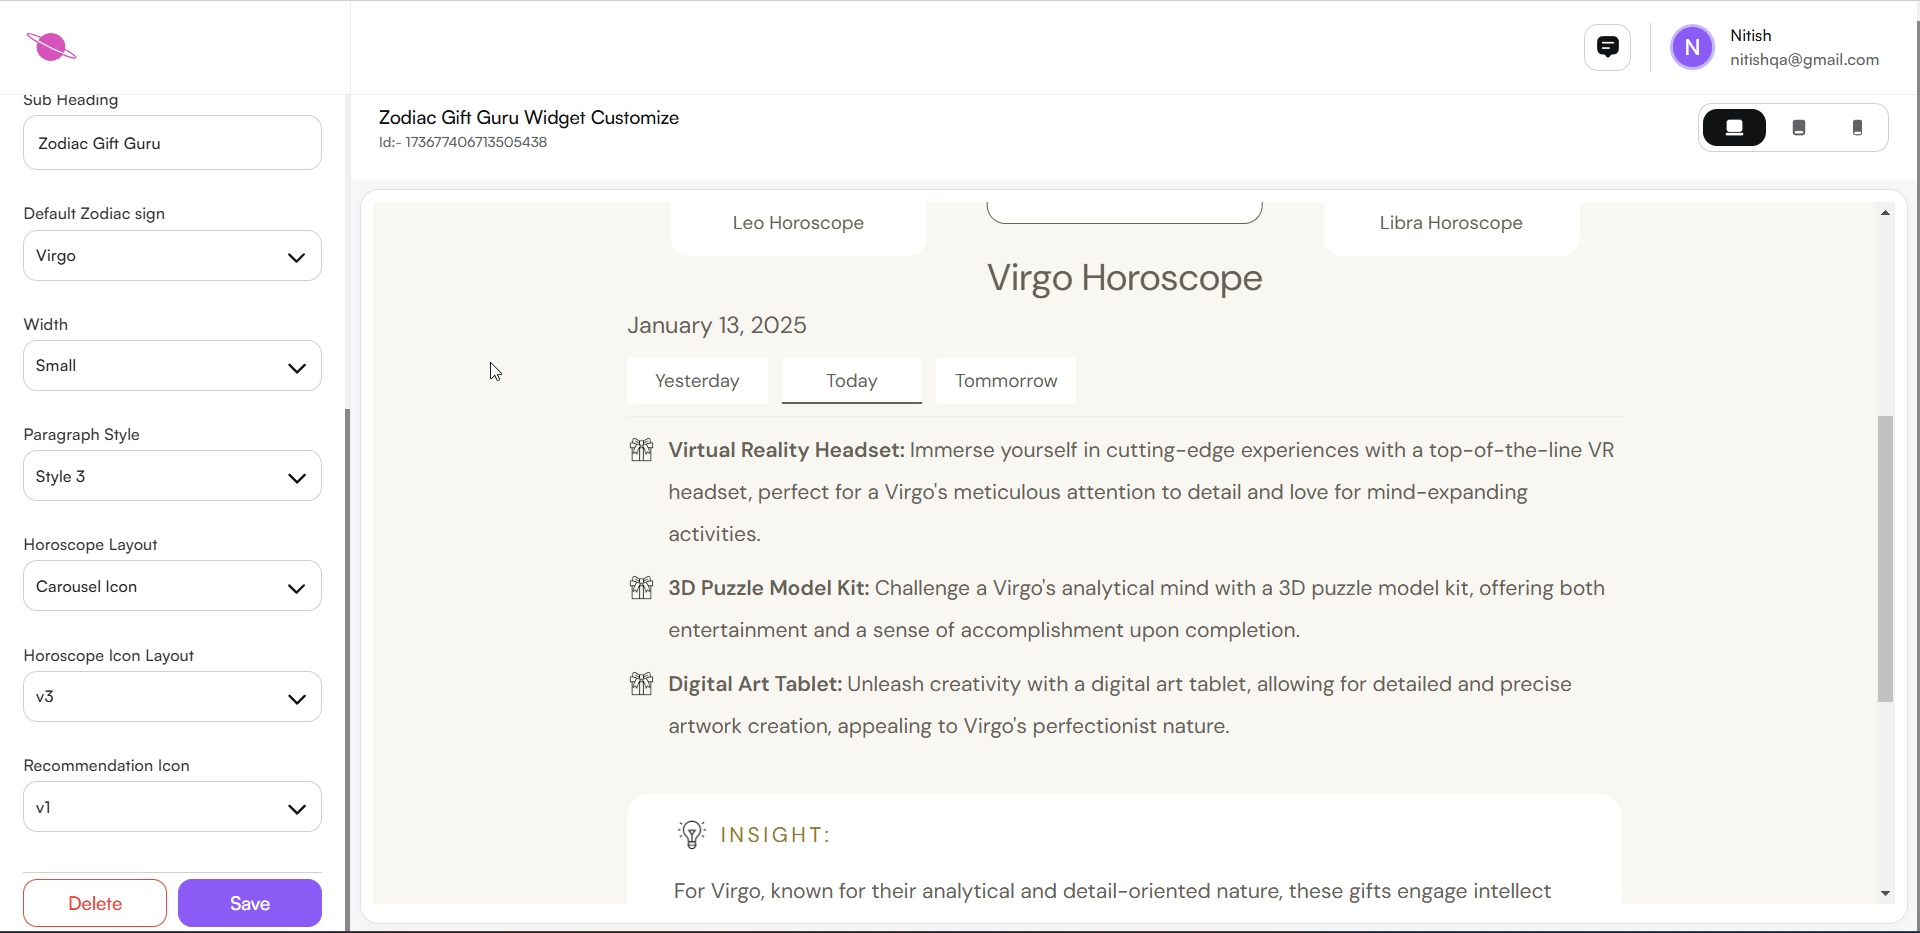
10. Adjust the Recommendation Icon Style
Navigate to the Recommendation Icon dropdown in the settings panel.
Select your preferred style for the recommendation icons from the options (v1, v2, v3, v4, etc.).
Each style changes the appearance of the icons accompanying gift recommendations, allowing you to personalize the visual presentation.
The icons will update instantly in the widget preview for real-time visualization
11. Preview Your Widget Design
Ensure your horoscope widget looks great across all devices using the Preview Functionality in the top-right corner of the customization screen. Here’s how:
Desktop View: Check how the widget appears on larger screens to ensure a polished and professional look.
Tablet View: See how the widget adapts to medium-sized devices like tablets for a balanced design.
Mobile View: Verify the widget’s responsiveness and layout on smaller screens for an optimal mobile user experience.
Tip: Toggle between these views to confirm that your design, fonts, and content stay consistent and user-friendly across all devices. This guarantees a smooth experience for your visitors.
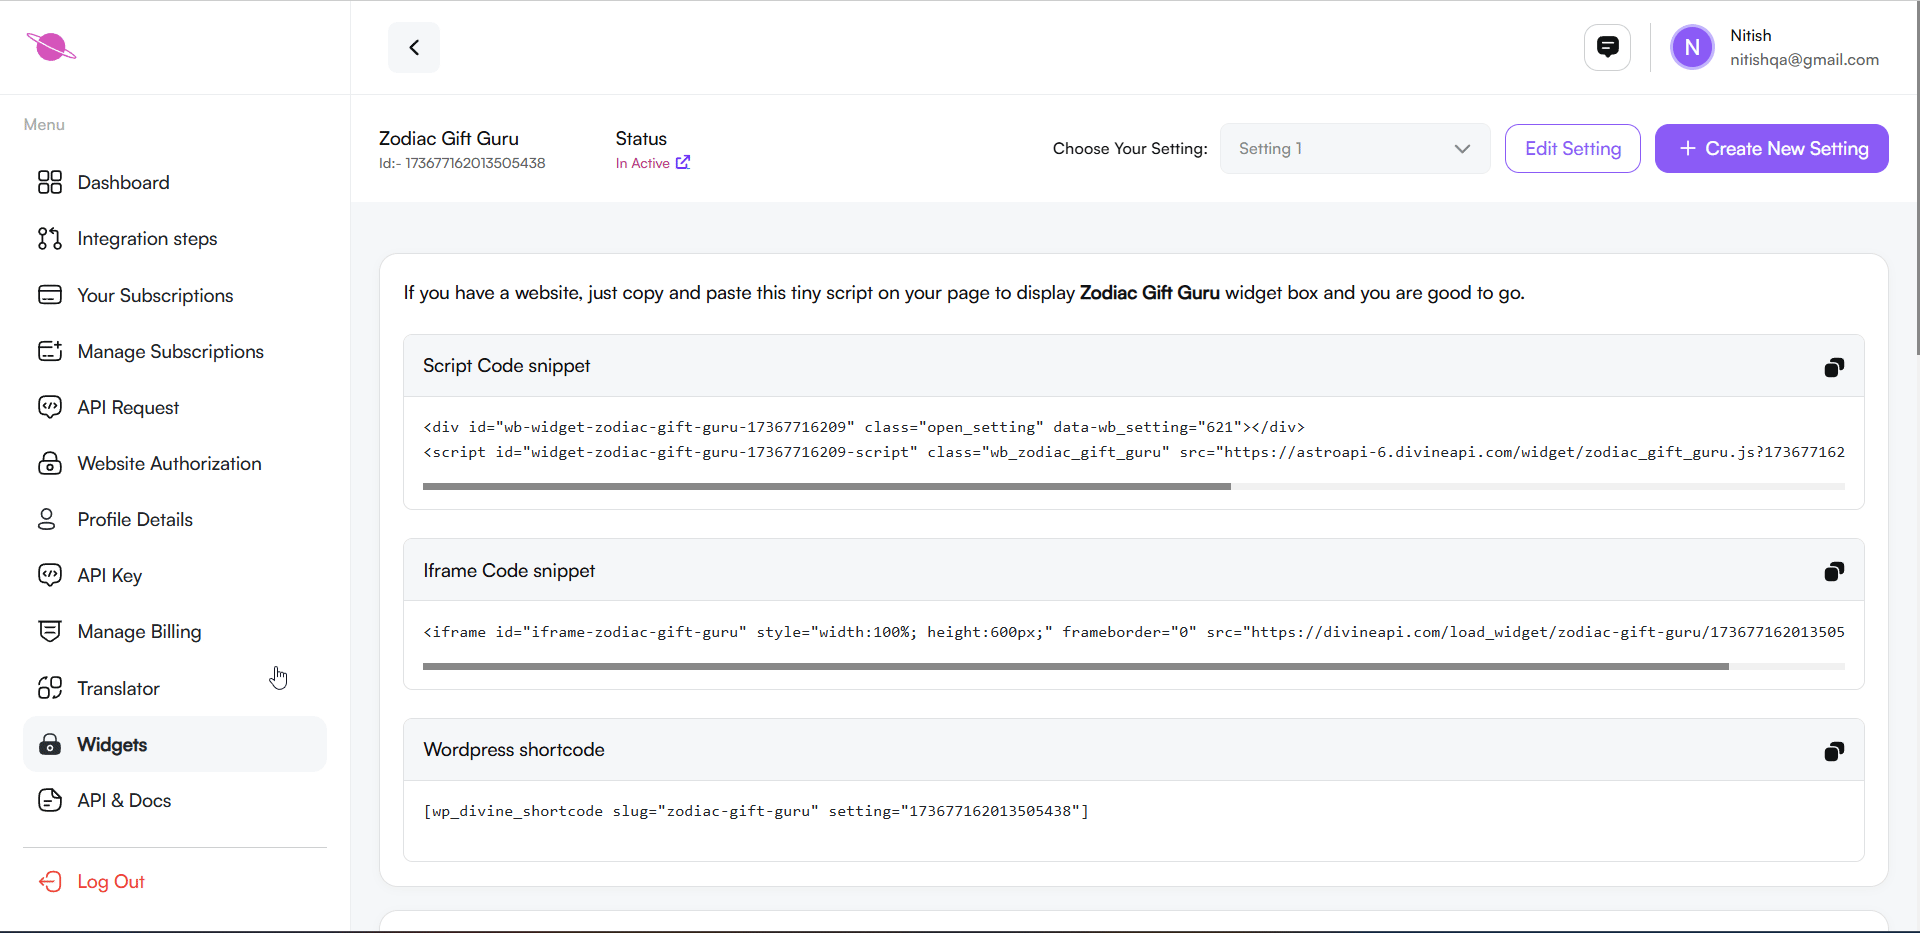
12. Save and Embed Your Customized Widget
Once you’ve completed the customization, follow these steps to finalize and integrate your widget:
Save Your Changes: Click the Save button at the bottom of the settings panel to apply all modifications.
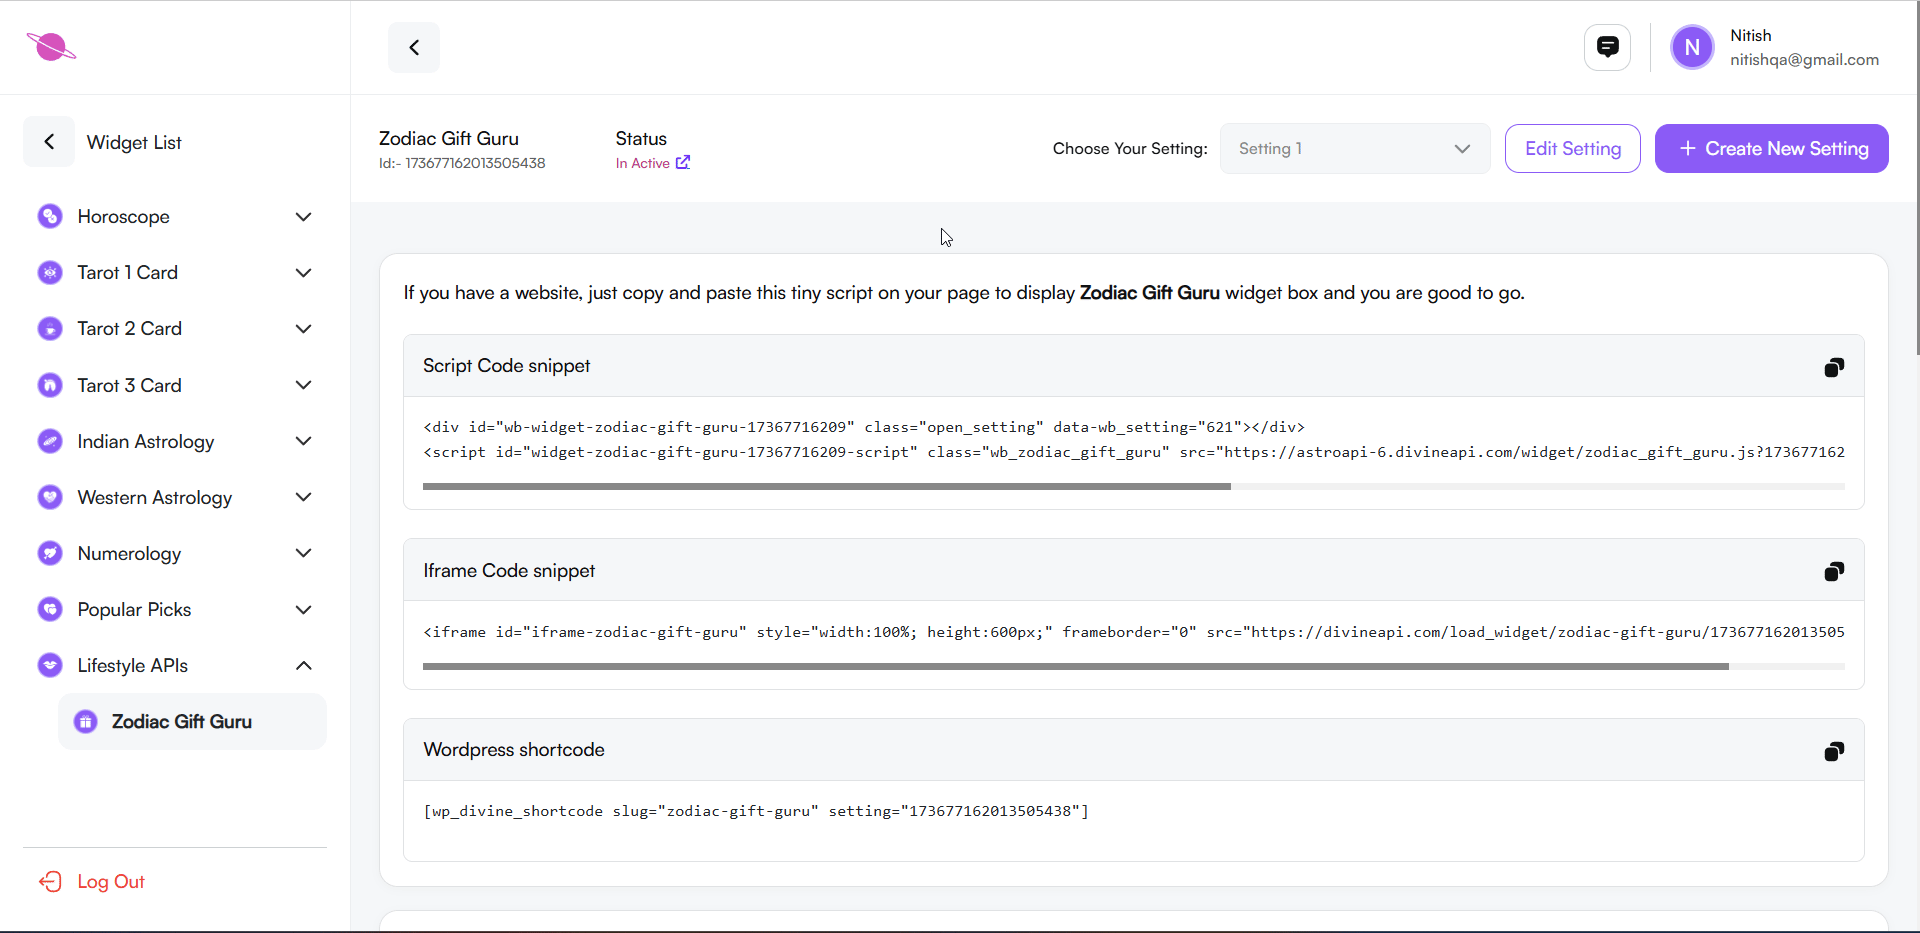
Return to Widget Home: Use the Back button at the top to navigate back to the main widget section.
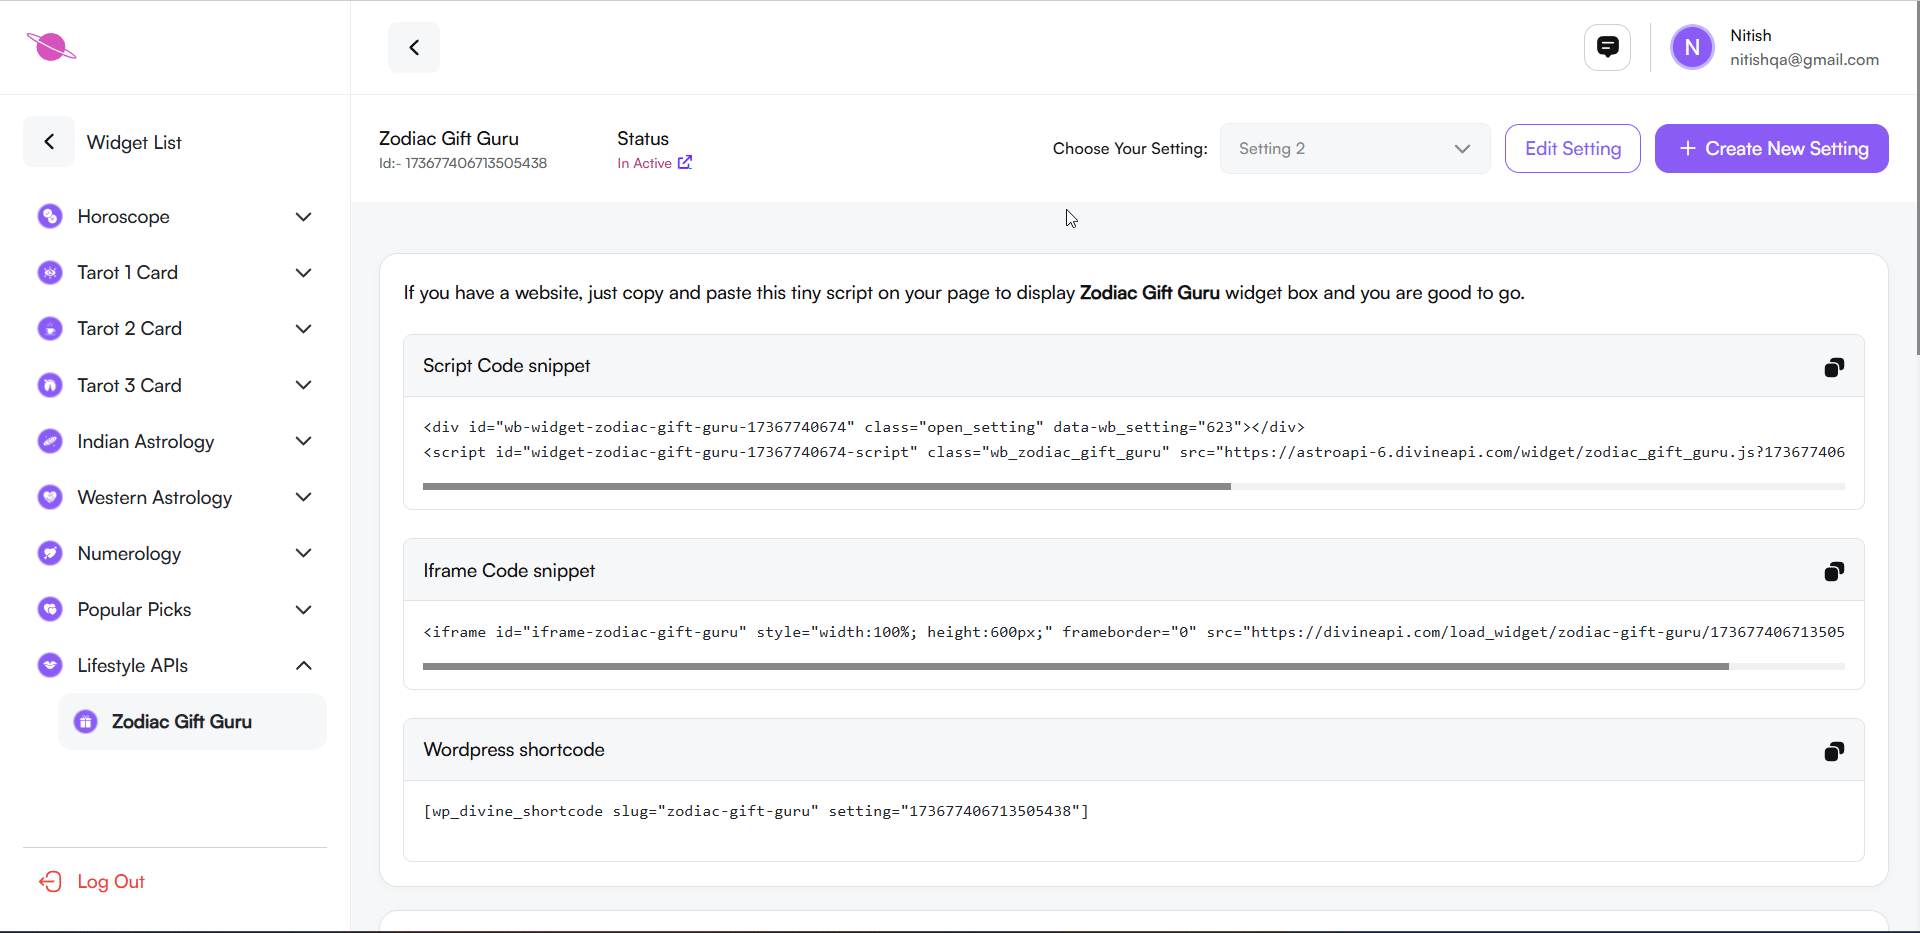
Preview Your Widget: Scroll down on the widget home page to view your updated design and confirm it reflects your changes.
Copy the Code: Select the generated code snippet and copy it for embedding into your website’s HTML.
Tip: Saving ensures your settings are preserved, and embedding the code enables seamless integration onto your platform. Test the widget after embedding to ensure everything works as expected.
Conclusion:
With the Zodiac Gift Guru Widget, you can engage your users by offering personalized gift suggestions based on their zodiac signs. By following these steps, you’ll have a fully customized and seamlessly integrated widget that aligns perfectly with your website’s branding.