

Step 1: Installing the Plugin
To get started, you need to install the Divine Astro plugin. Here’s how:
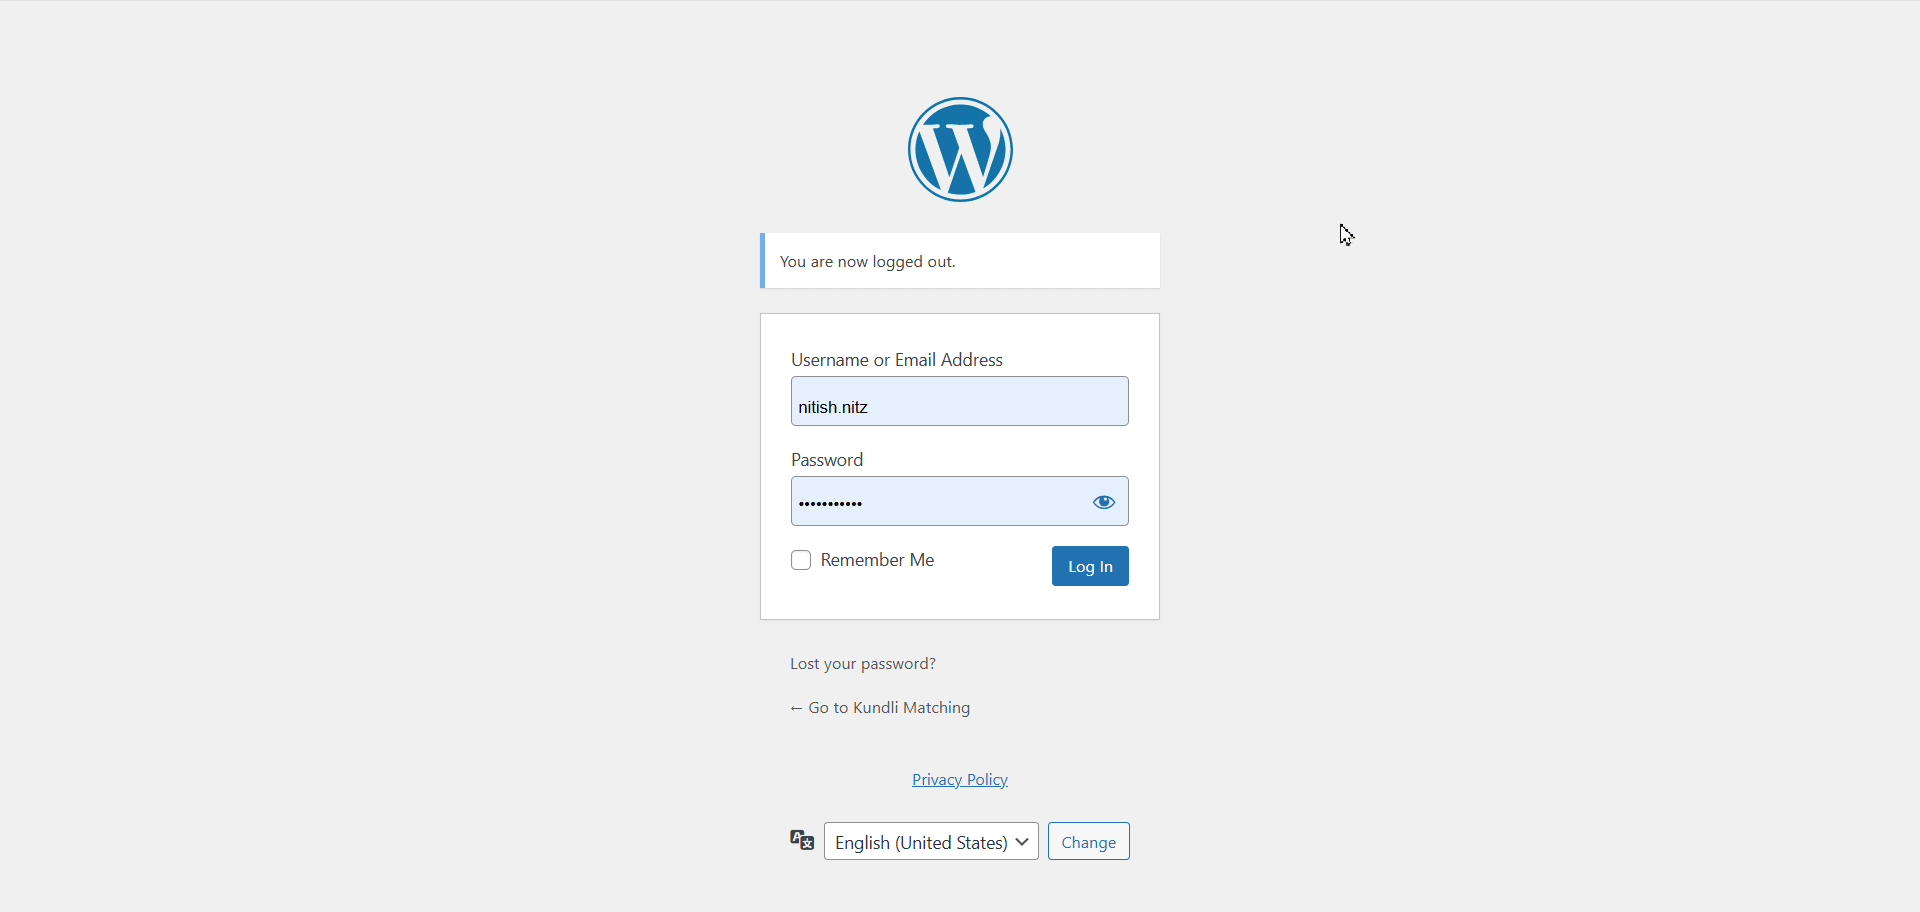
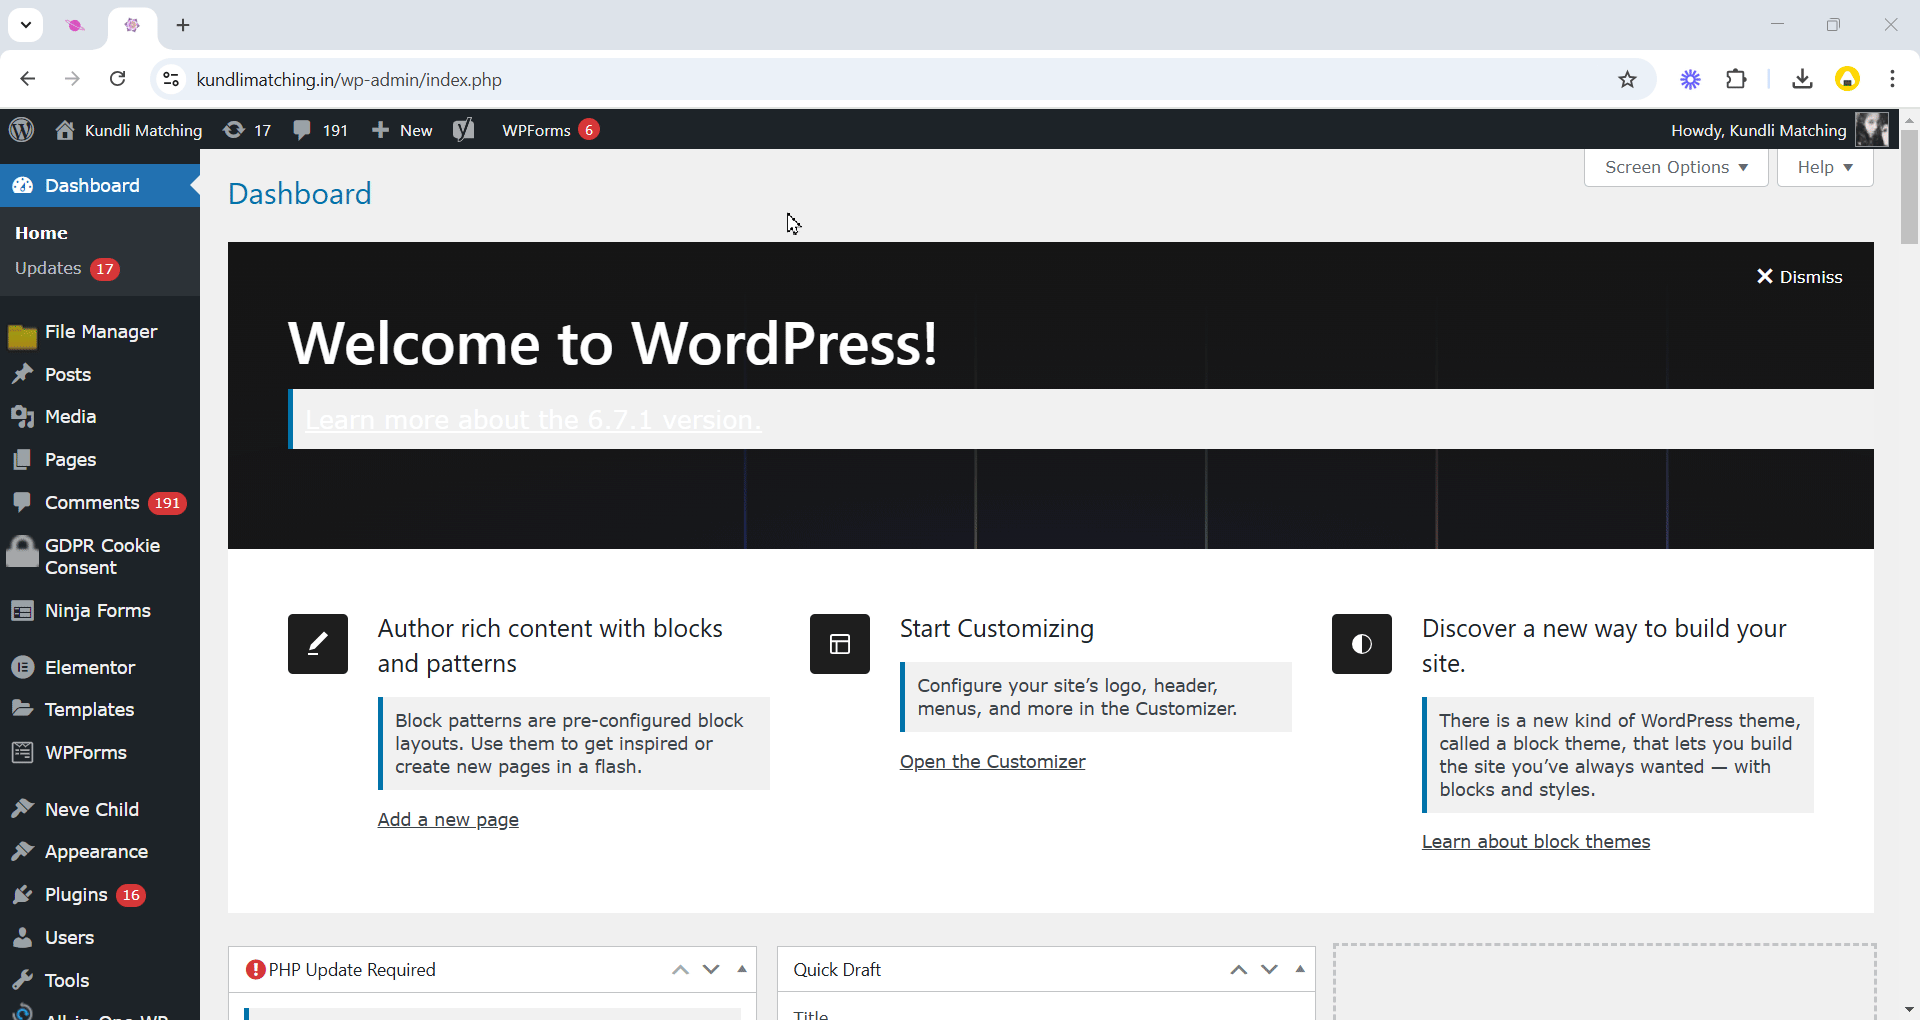
- Log in to your WordPress dashboard.
- Navigate to Plugins > Add New in the left-hand menu.
- Search for "Divine Astro" in the plugin directory.
- Click Install Now, and once installed, click Activate.
- After activation, a new menu item, Divine Astro, will appear in your dashboard.
That’s all it takes to install the plugin! Next, we’ll walk you through activating and setting up the Natal Transit widget.
Step 2: Activating and Authenticating the Plugin
To activate the plugin and access the Natal Transit widget, you need to authenticate it with an API key and authorize your website.
Get Your API Key:
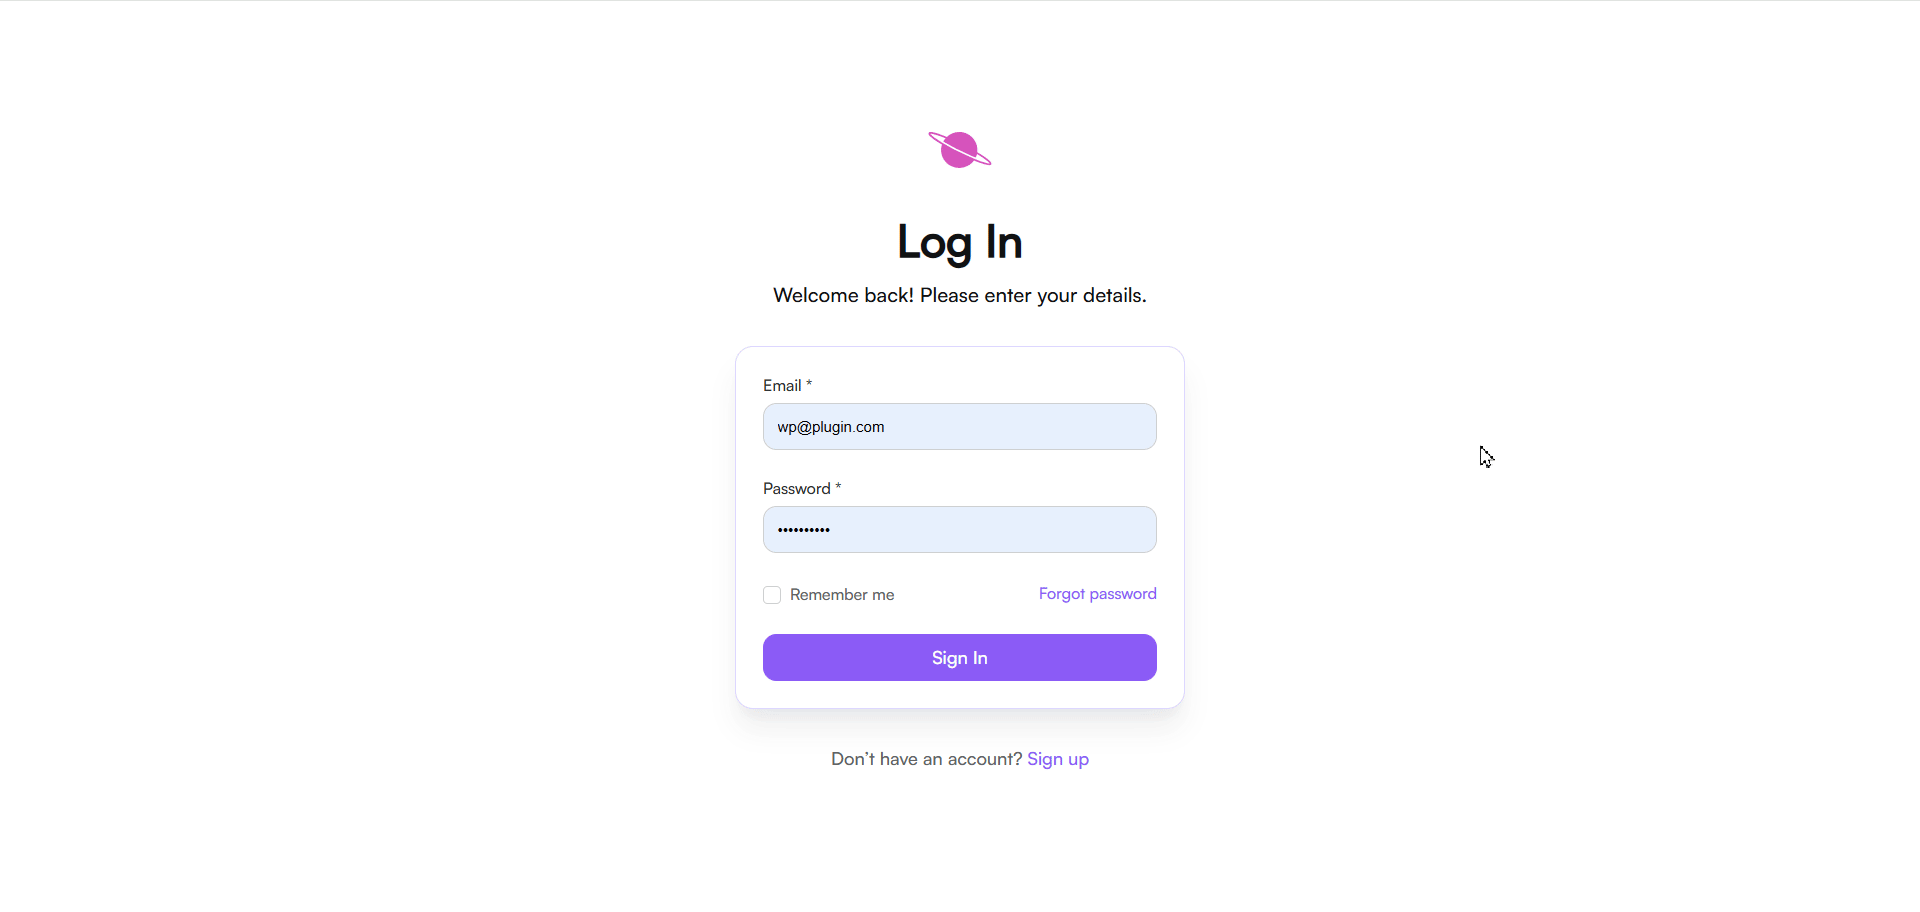
- Sign up for a 7-day free trial or log in as a paid user at Divine API.
- Retrieve your API key from the Dashboard under API Keys.
Authenticate the Plugin:
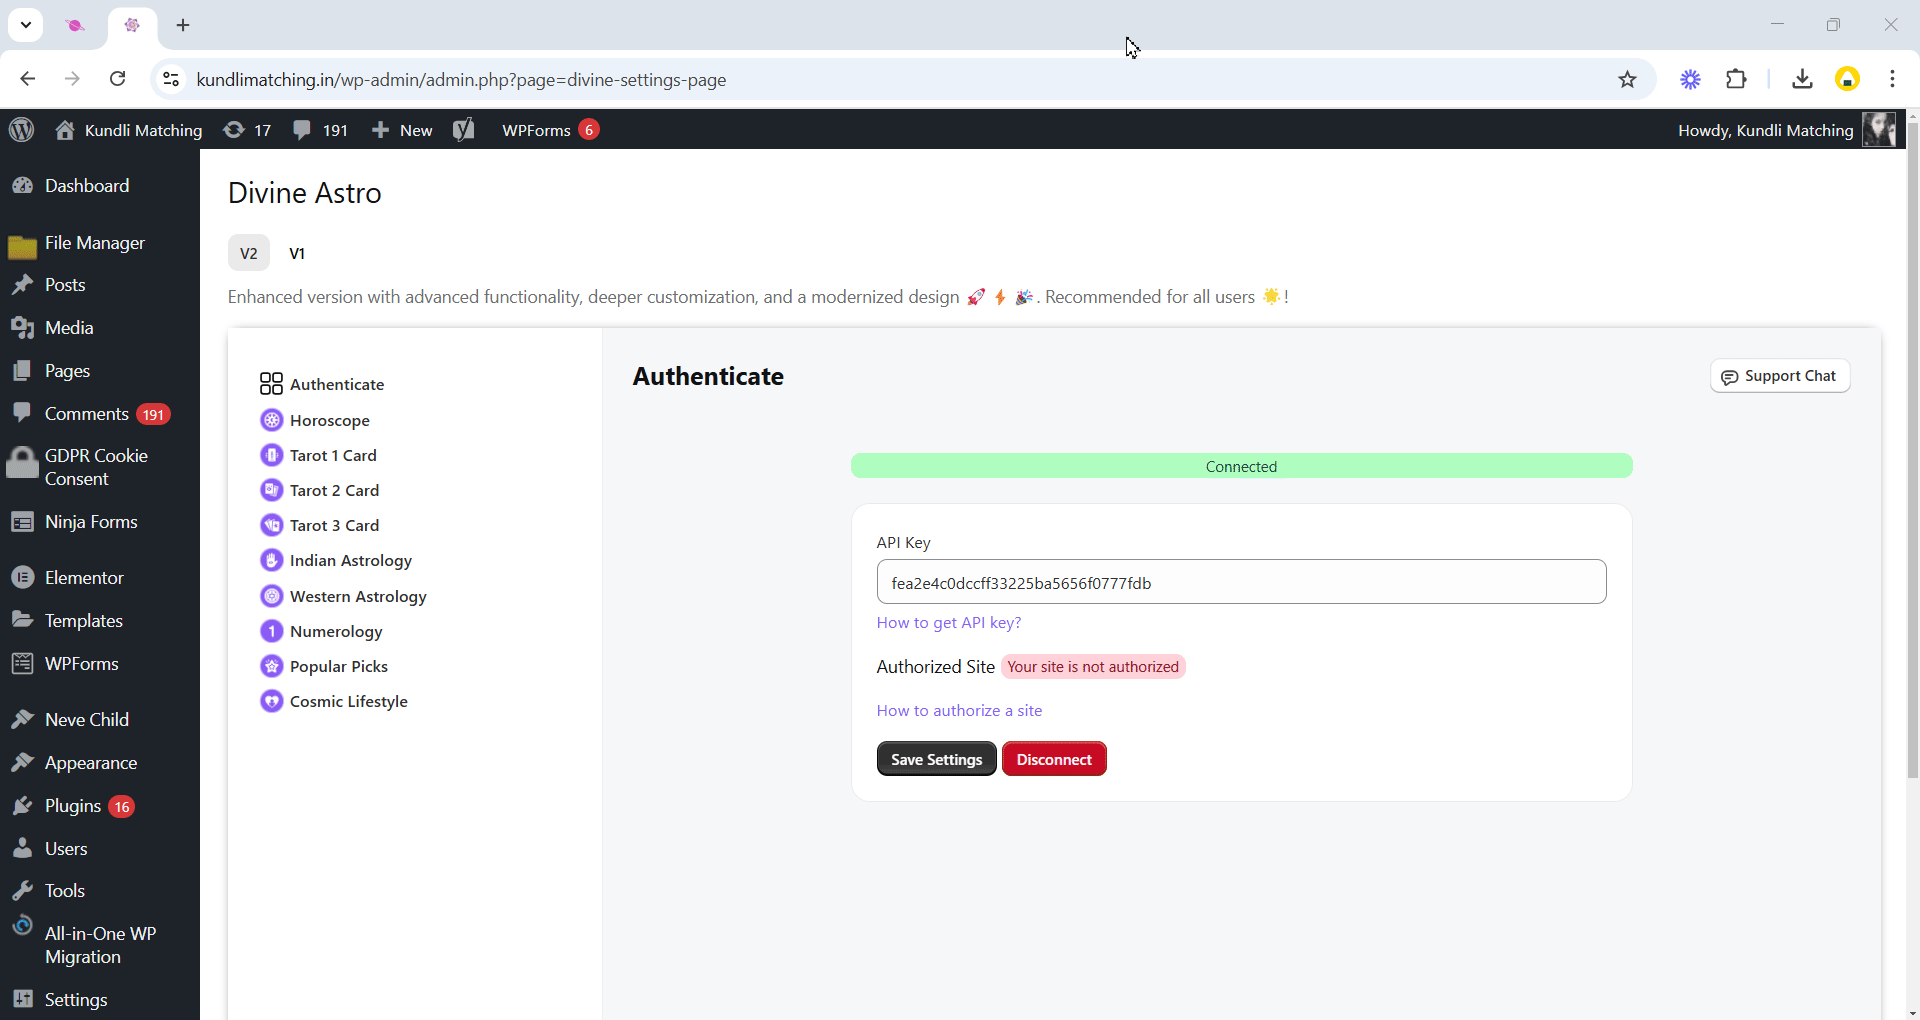
- In your WordPress dashboard, click Divine Astro in the left-hand menu.
- Navigate to the Authenticate tab.
- Paste your API key into the field provided and click Save settings.
Authorize Your Website:
- Go to Website Authorization on the Divine API Dashboard.
- Add your website URL and click save.
- Head back to WordPress and refresh the page you will a “ Your Site is Authorized ” in a green badge.
Once authorized, your widgets will become fully functional.
Note: Without website authorization, the Natal Transit widget will not work. For detailed steps, visit our article: How to Authorize Your Website.
Step 3: Embedding the Natal Transit Widget
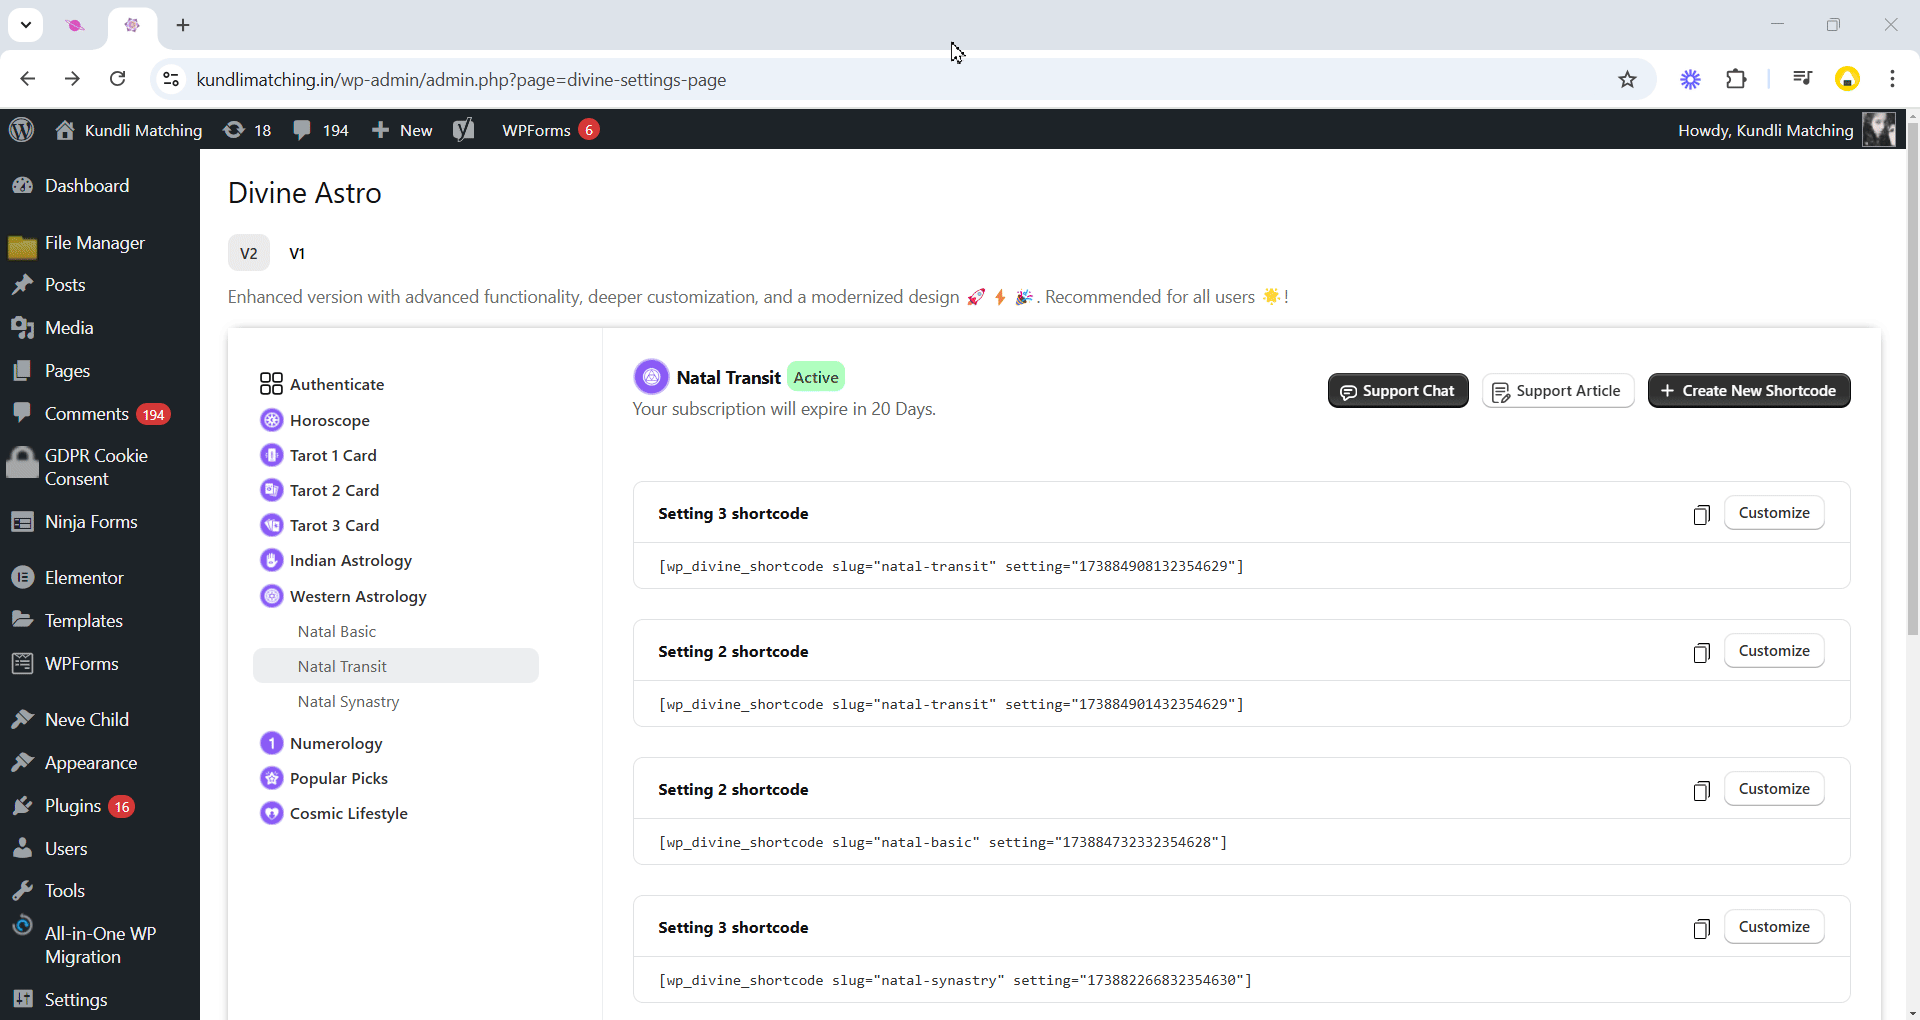
The Natal Transit Widget falls under the Western Astrology category in the plugin. Once your plugin is authenticated and your website is authorized, follow these steps to embed the widget on your website:
- Navigate to Divine Astro > Western Astrology > Natal Transit in your WordPress dashboard.
- Locate the shortcode for the Natal Transit Widget. If you don’t see an existing shortcode, you can click Create New Shortcode to generate one.
- Once you redirected to Divine API check your widget setting and click on Save.
- Head back to WordPress and Refresh the page once the shortcode appear click on Copy button beside the shortcode provided for the widget.
- Open the page or post where you want the Natal Transit Widget to appear.
- Paste the shortcode into the WordPress editor (Block Editor or Classic Editor).
- Save or publish the page to see the widget live on your site.
Once the shortcode is embedded, the Natal Transit Widget will display seamlessly on your website, pulling real-time astrological data for your users.

Step 4: Customizing Your Natal Transit Widget
The Natal Transit Widget can be customized directly on the Divine API platform to fit your website’s design and functionality. However, the WordPress plugin offers additional tools for creating and managing multiple widget versions through shortcodes.
Creating a New Shortcode
If you need variations of the Natal Transit Widget (e.g., different settings for different pages), you can create multiple shortcodes:
- In the Natal Transit section of the WordPress plugin, click Create New Shortcode.
- This will generate a new shortcode with default settings.
- You can customize the new shortcode on the Divine API Dashboard (details below).

Customizing Existing Shortcodes
Each shortcode can be customized further using the Customize button:
- Click the Customize button next to the shortcode you want to edit.
- If you’re already logged into the Divine API Dashboard, this button will take you directly to the customization settings for that specific shortcode.
- If not logged in, you’ll be prompted to log in, after which you’ll be redirected to the settings.

On the Divine API Dashboard, you can adjust the following settings:
- Colors: Match the widget’s palette to your website theme.
- Fonts: Select font styles that blend seamlessly with your design.
- Layout Options: Choose between single-icon or expanded layouts.
- Heading & Subheading : Customize the widget's heading and subheading to align with your website's style and message.
- From Heading: Customize the heading for the input section, like "Get your natal report."
For a detailed guide on customization settings, refer to this article: Step-by-Step Guide to Customize Natal Transit Widgets.
Step 5: Managing Multiple Shortcodes
If you create multiple shortcodes for the Natal Transit Widget, you can manage and organize them easily:
- Identify Each Shortcode: Shortcodes are labeled with unique IDs for easy tracking.
- Assign Shortcodes to Pages: Use specific shortcodes for specific pages to offer unique experiences to your users.
- Preview Before Publishing: Always preview the widget on your page to ensure it appears as expected.
This allows you to maintain flexibility and deliver a personalized experience to your audience through the Natal Transit Widget.
Final Thoughts
By combining the Divine Astro plugin’s WordPress integration with the customization power of the Divine API Dashboard, you can create a truly tailored experience for your users. Whether it’s embedding the Natal Transit Widget or creating multiple custom versions, the process is designed to be seamless and user-friendly.
For additional assistance, feel free to reach out to our support team via live chat or email us at admin@divineapi.com.