

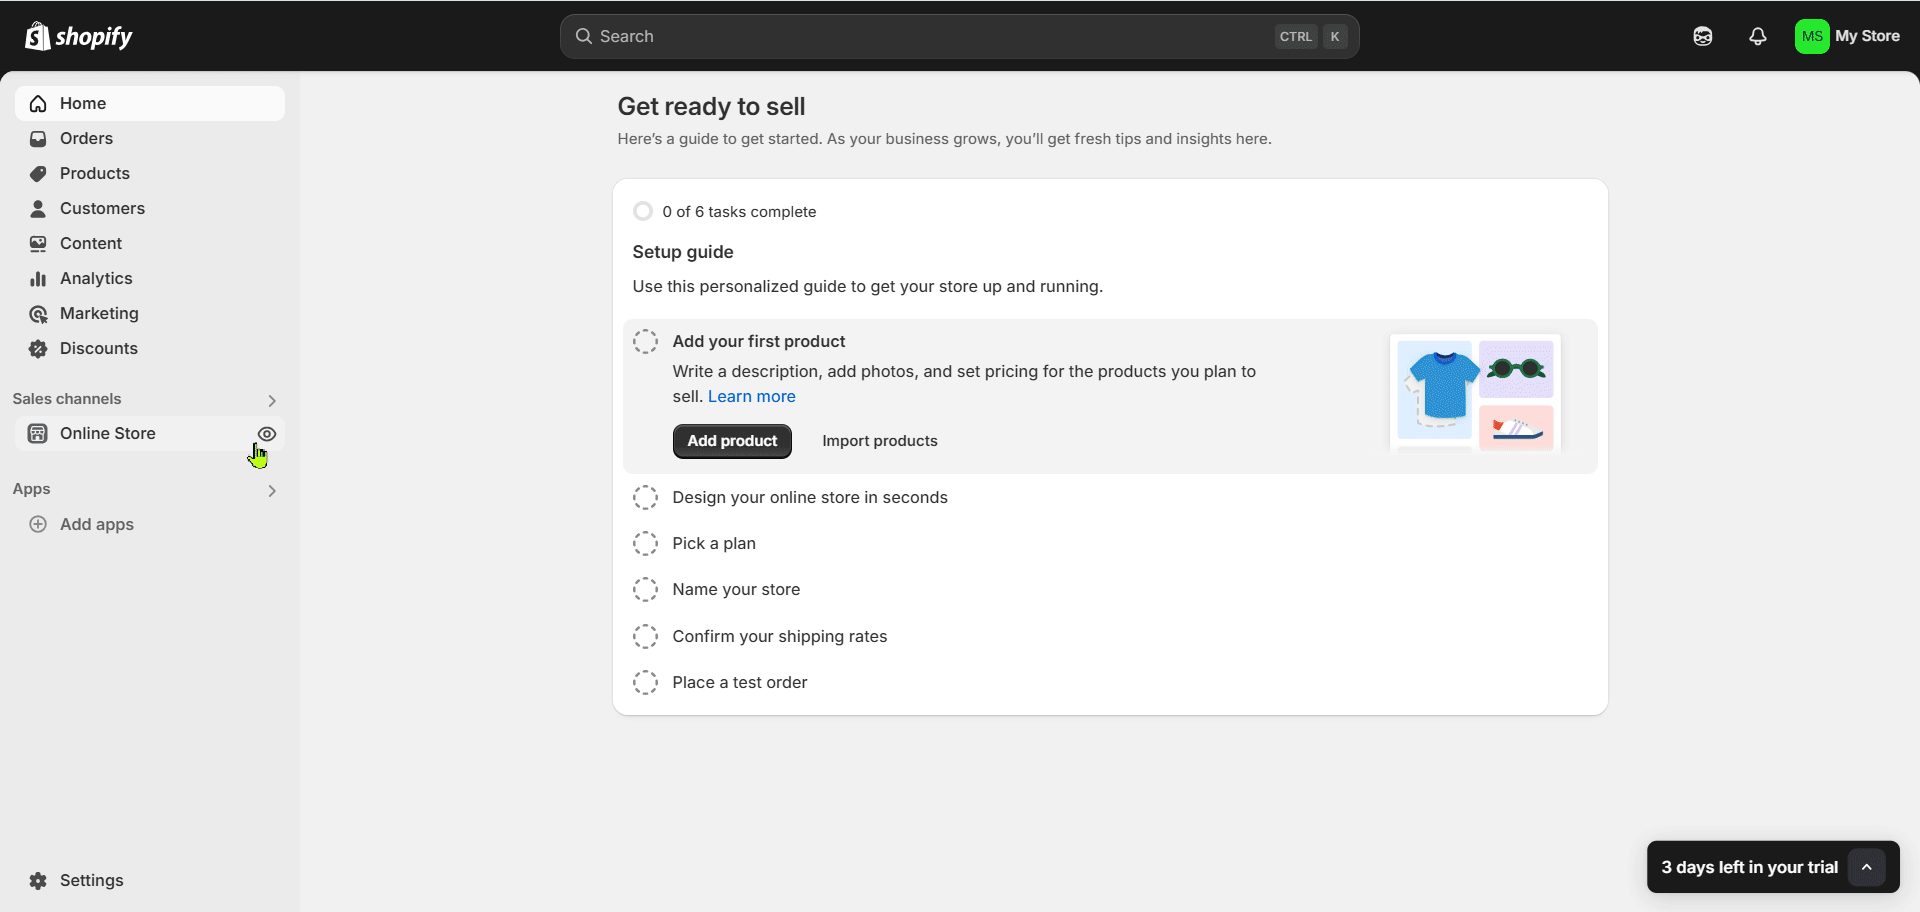
Step 1: Install the Divine Astro Plugin
To begin, you need to install the Divine Astro plugin from the Shopify App Store. This will enable your store to access horoscope features.
- Go to your Shopify Store, navigate to Apps, then click on Add Apps.
- Click on Shopify App Store and search for "Divine Astro".
- Click Install, then confirm the installation.
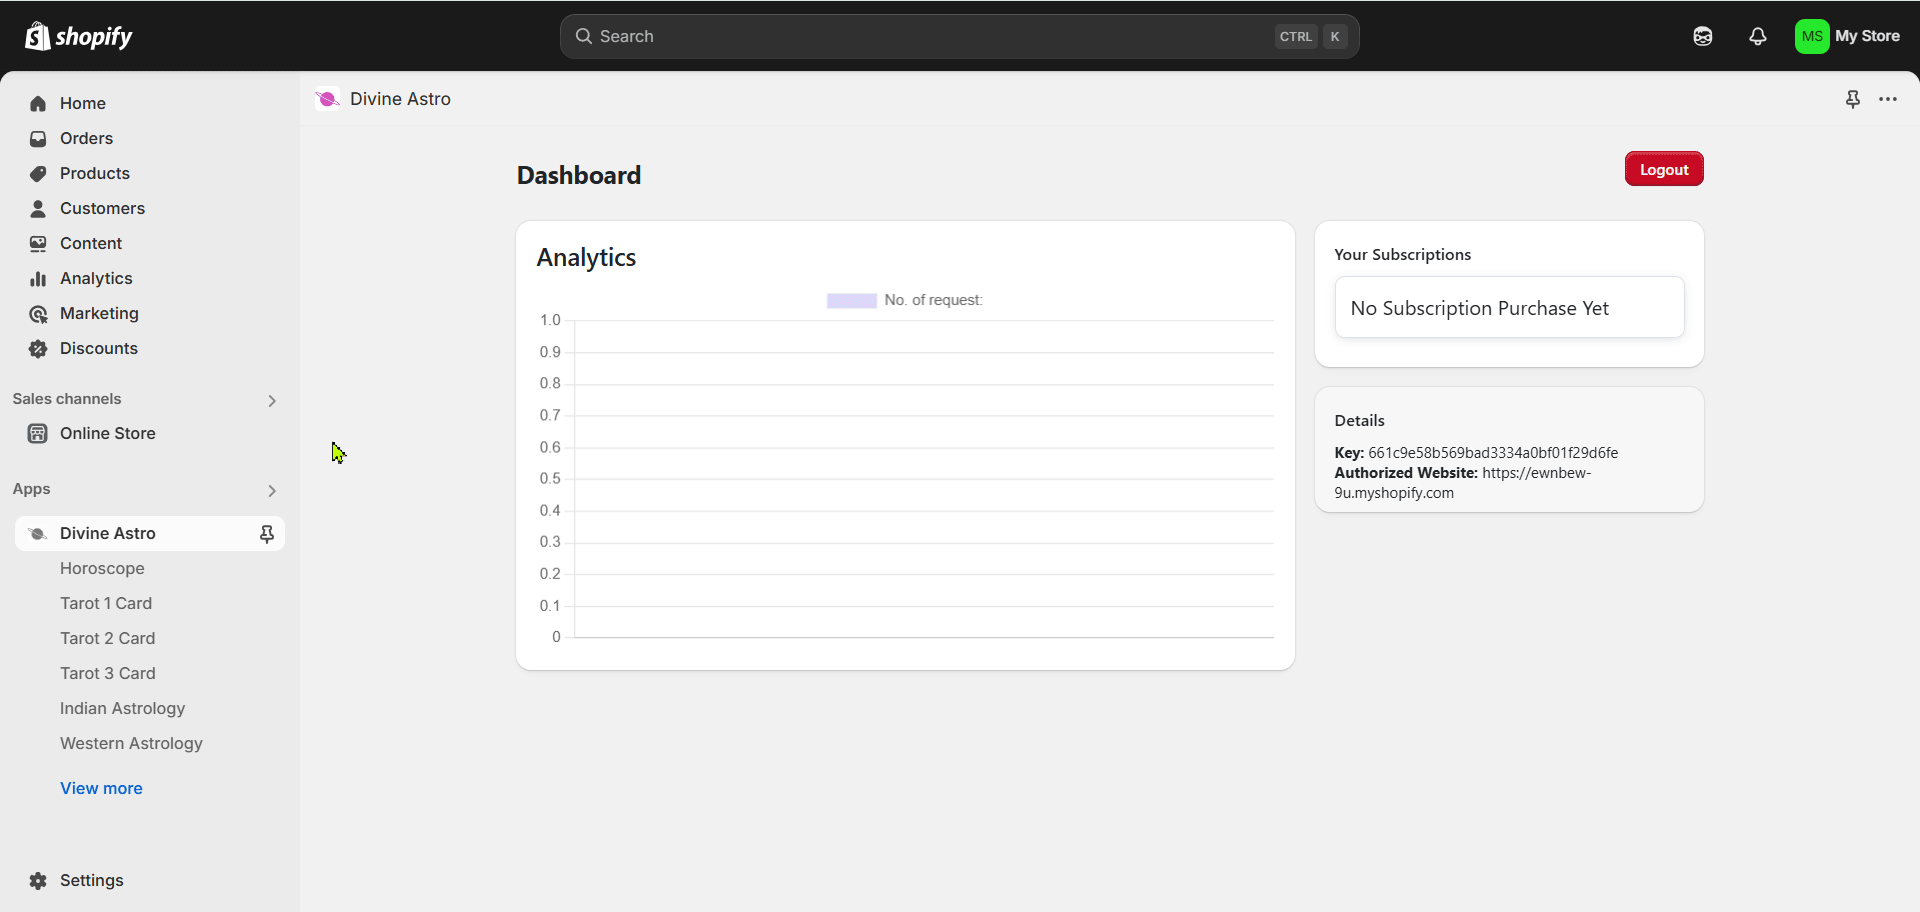
Step 2: Sign Up for Divine Astro
Before using the plugin, you must create an account on Divine Astro. This allows you to manage your horoscope settings from the dashboard.
- Click on Sign Up and enter your details.
- Complete the registration process by fill in your details and then click “ Sign Up ”
- You will get in to the Divine Astro Dashboard in your Shopify store after successful registration.


Step 3: Activate the Daily Horoscope Subscription
To access daily horoscope data, you need to activate a subscription. This ensures regular updates for your horoscope widget.
- In the Divine Astro Dashboard, click Horoscope > Daily Horoscope.
- Click Subscribe, confirm the subscription, and approve it.
- Your 14-day free trial will now be activated.
Step 4: Retrieve the Daily Horoscope Iframe URL
The Iframe URL is required to embed the horoscope widget on your store. Copying it correctly ensures the widget functions properly.
- Go to Horoscope > Daily Horoscope and copy the Iframe URL.
- Navigate to Online Store and click Customize to enter the editor.


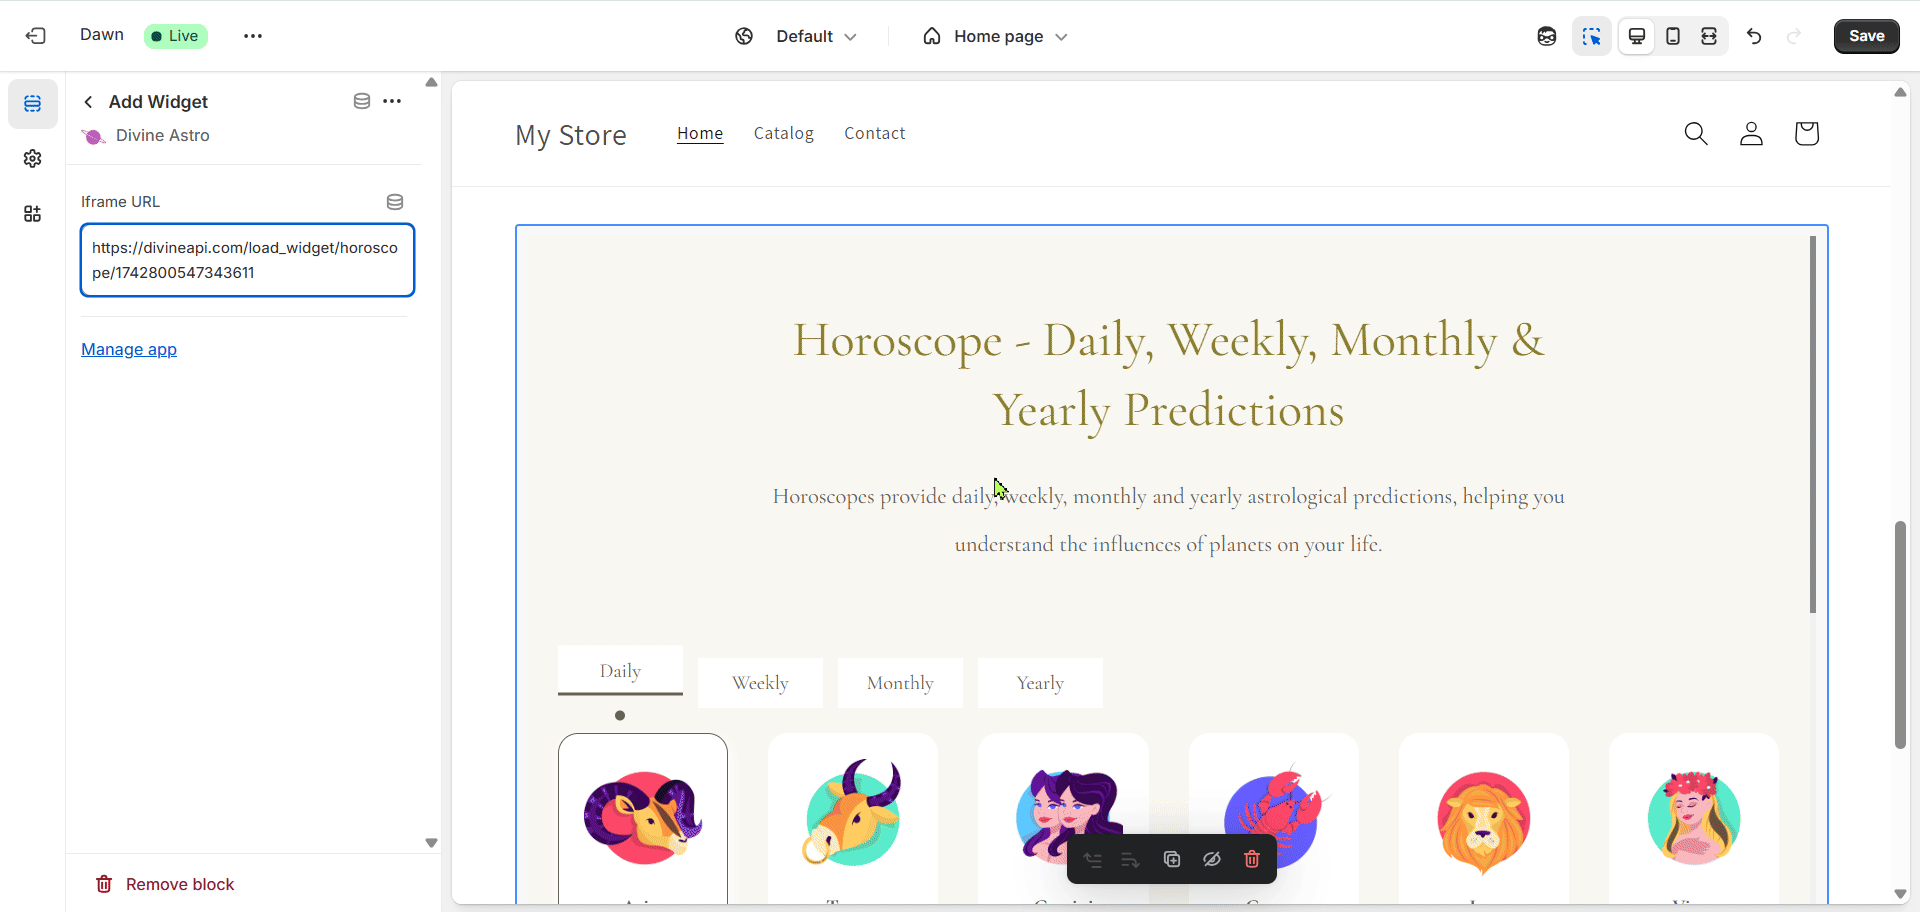
Step 5: Add the Divine Astro Widget to Your Store
Now, you need to add the horoscope widget to your Shopify store. This step will make it visible to your customers.
- In the Shopify Store Editor, click Add Section > Apps.
- Select Divine Astro and click Add Widget.
- Paste your Iframe URL in the provided field.


Step 6: Finalize and View Your Horoscope Widget
Once everything is set up, finalize your changes and verify that the horoscope widget is working correctly.
- In the Shopify Store Editor and click on Save.
- Preview the Daily Horoscope Widget in the editor or on your store’s view page.
Step 7: Customize and Create Your Daily Horoscope Widget
You can customize and create a daily horoscope widget to match your store design and preferences.
- Log in to Divine API using the same credentials you used for Shopify sign-up.
- Click on Widget, then go to Horoscope > Daily Horoscope.
3 . Click on Edit Settings to customize your default Daily Horoscope Widget.

To learn more about customization, follow this guide: -
Step-by-Step Guide to Access and Customize Horoscope Widgets Using Your Dashboard
If you want to create a completely new Daily Horoscope Widget, click Create New Setting and follow the same guide above to customize it for your users.

Conclusion
Embedding a Daily Horoscope Widget on your Shopify store is a simple process that enhances user engagement. By following these steps—installing Divine Astro, subscribing to the service, embedding the widget, and authorizing your store—you can easily integrate a dynamic horoscope section into your store.
For additional assistance, reach out to our support team via live chat or email us at admin@divineapi.com.