Step 1: Log Into Your Astrology Dashboard
- Navigate to the Login Page: Use your web browser to open the astrology dashboard login page.
- Input Your Email and Password: Enter your login credentials into the designated fields. (Choose "Forgot Password" for password recovery assistance.)
- Sign In to Continue: Press the "Sign In" button to enter the dashboard.
- Not Registered? Sign Up to Get Started: If you haven’t created an account yet, click the "Sign Up" link to register and access all the dashboard features.

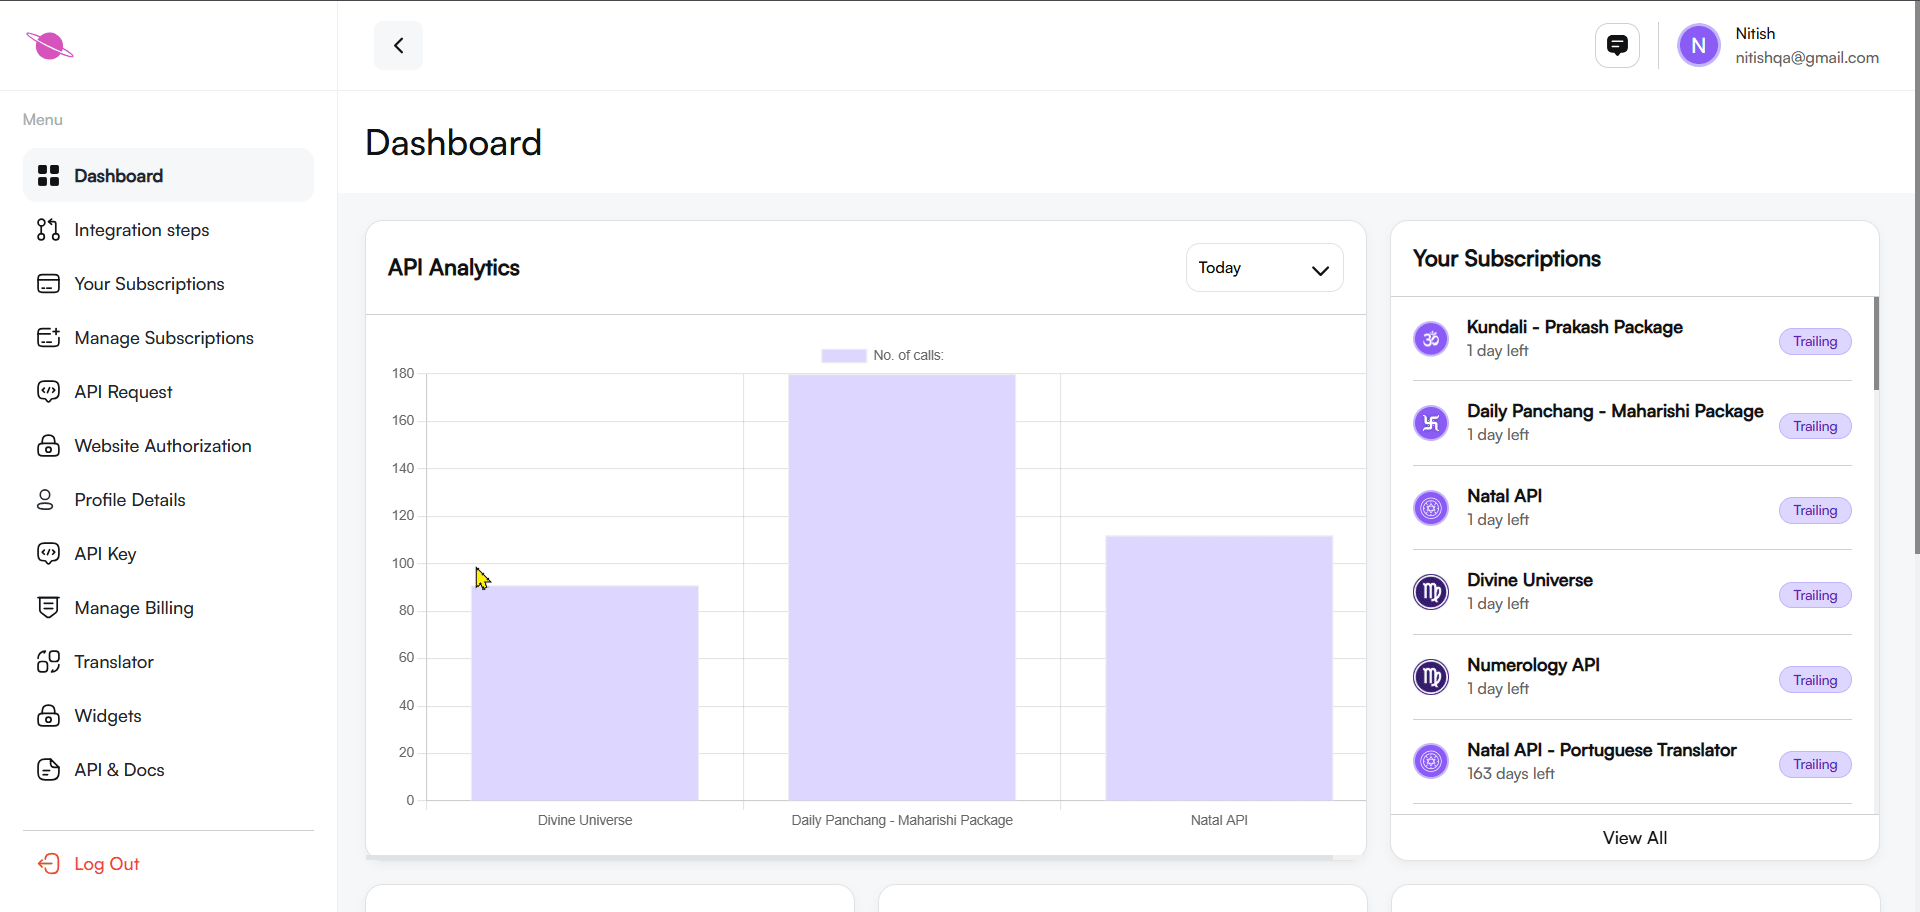
Step 2: Navigate to the Dashboard
After logging in, you will be directed to the main dashboard. Here, you can access multiple features like subscriptions, billing, API keys, and widgets.
- Locate the Widgets option in the left-hand menu.
- Click on it to view and manage your Festivals widgets.

Step 3: Select the Desired Widget
In the widget section, you’ll find a list of available widgets, such as Horoscope, Indian Astrology, and Tarot Widgets. Select Indian Astrology to proceed and then choose the Festivals option.
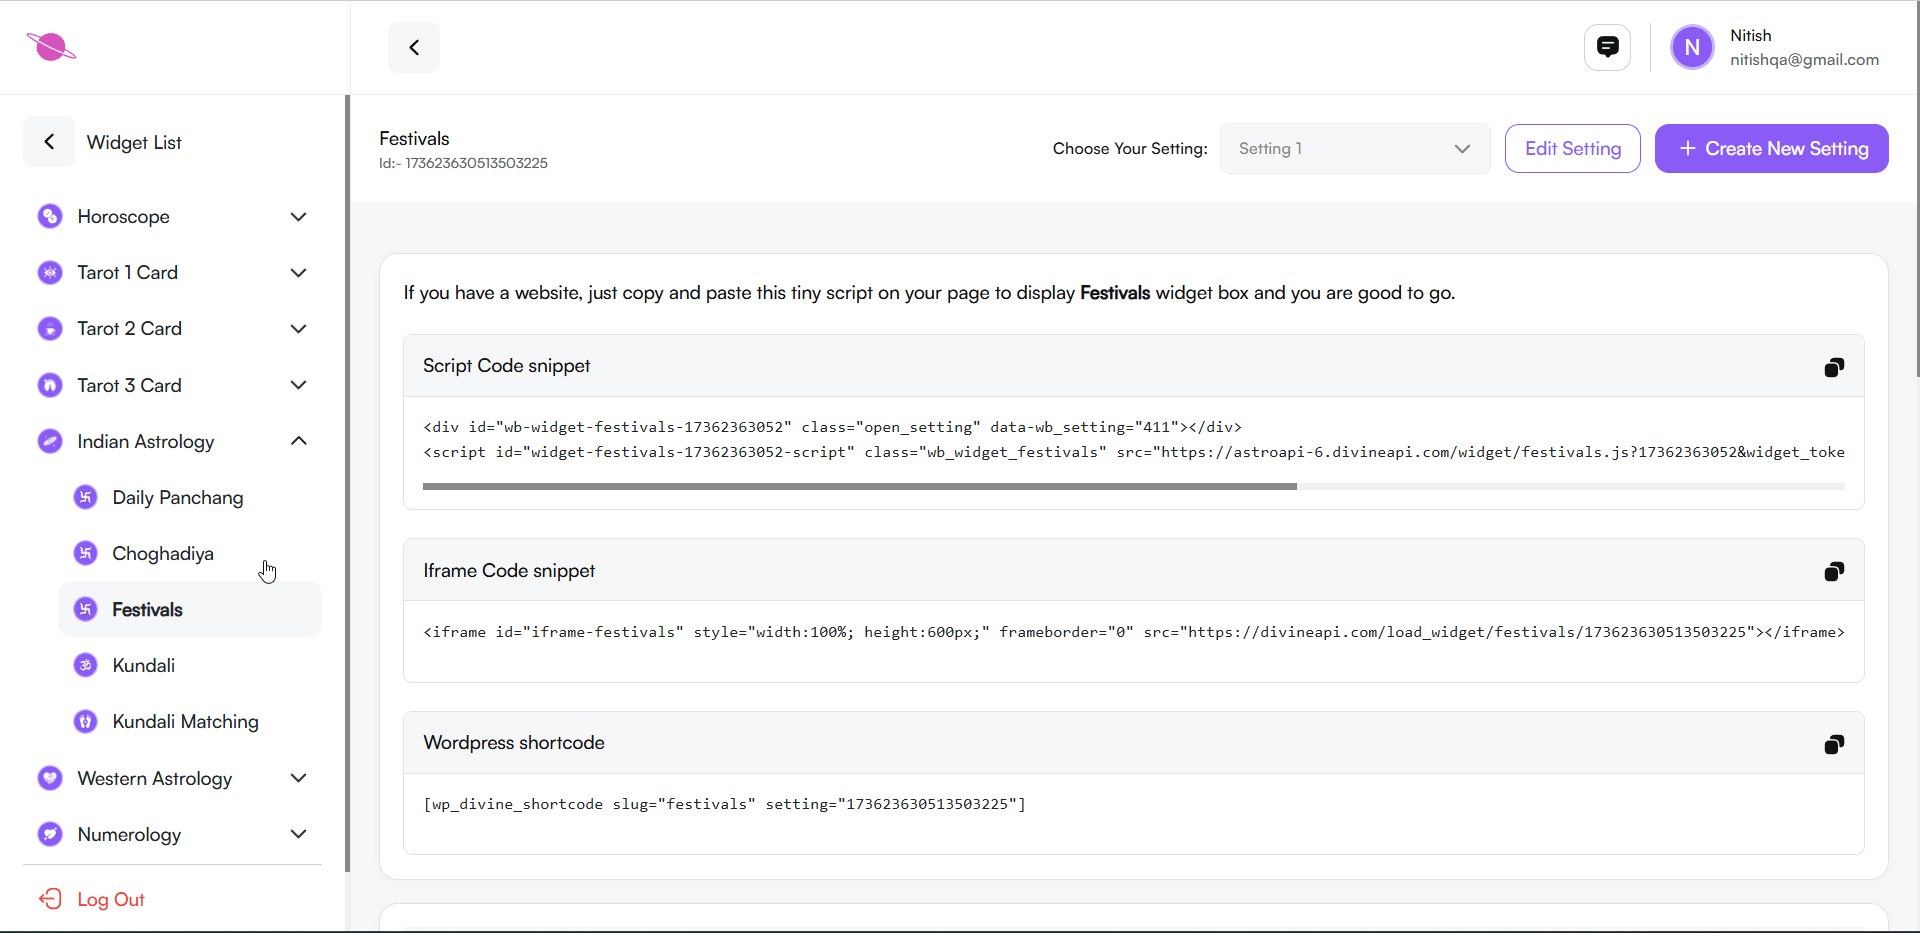
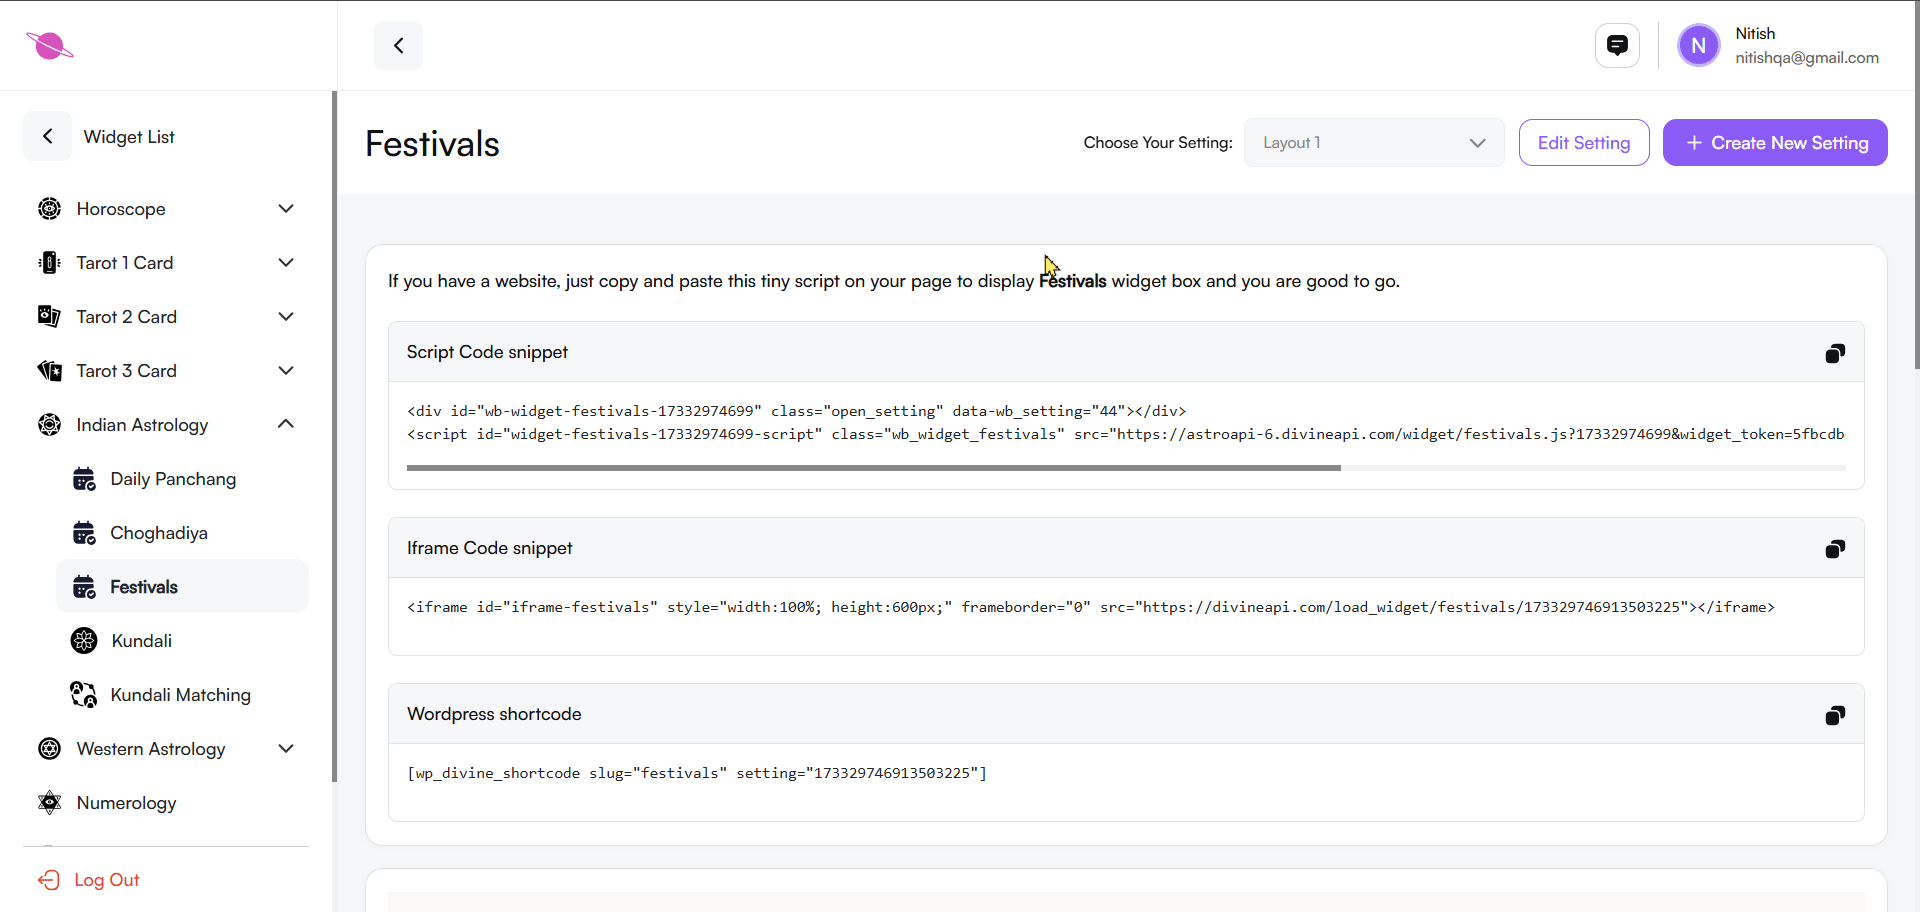
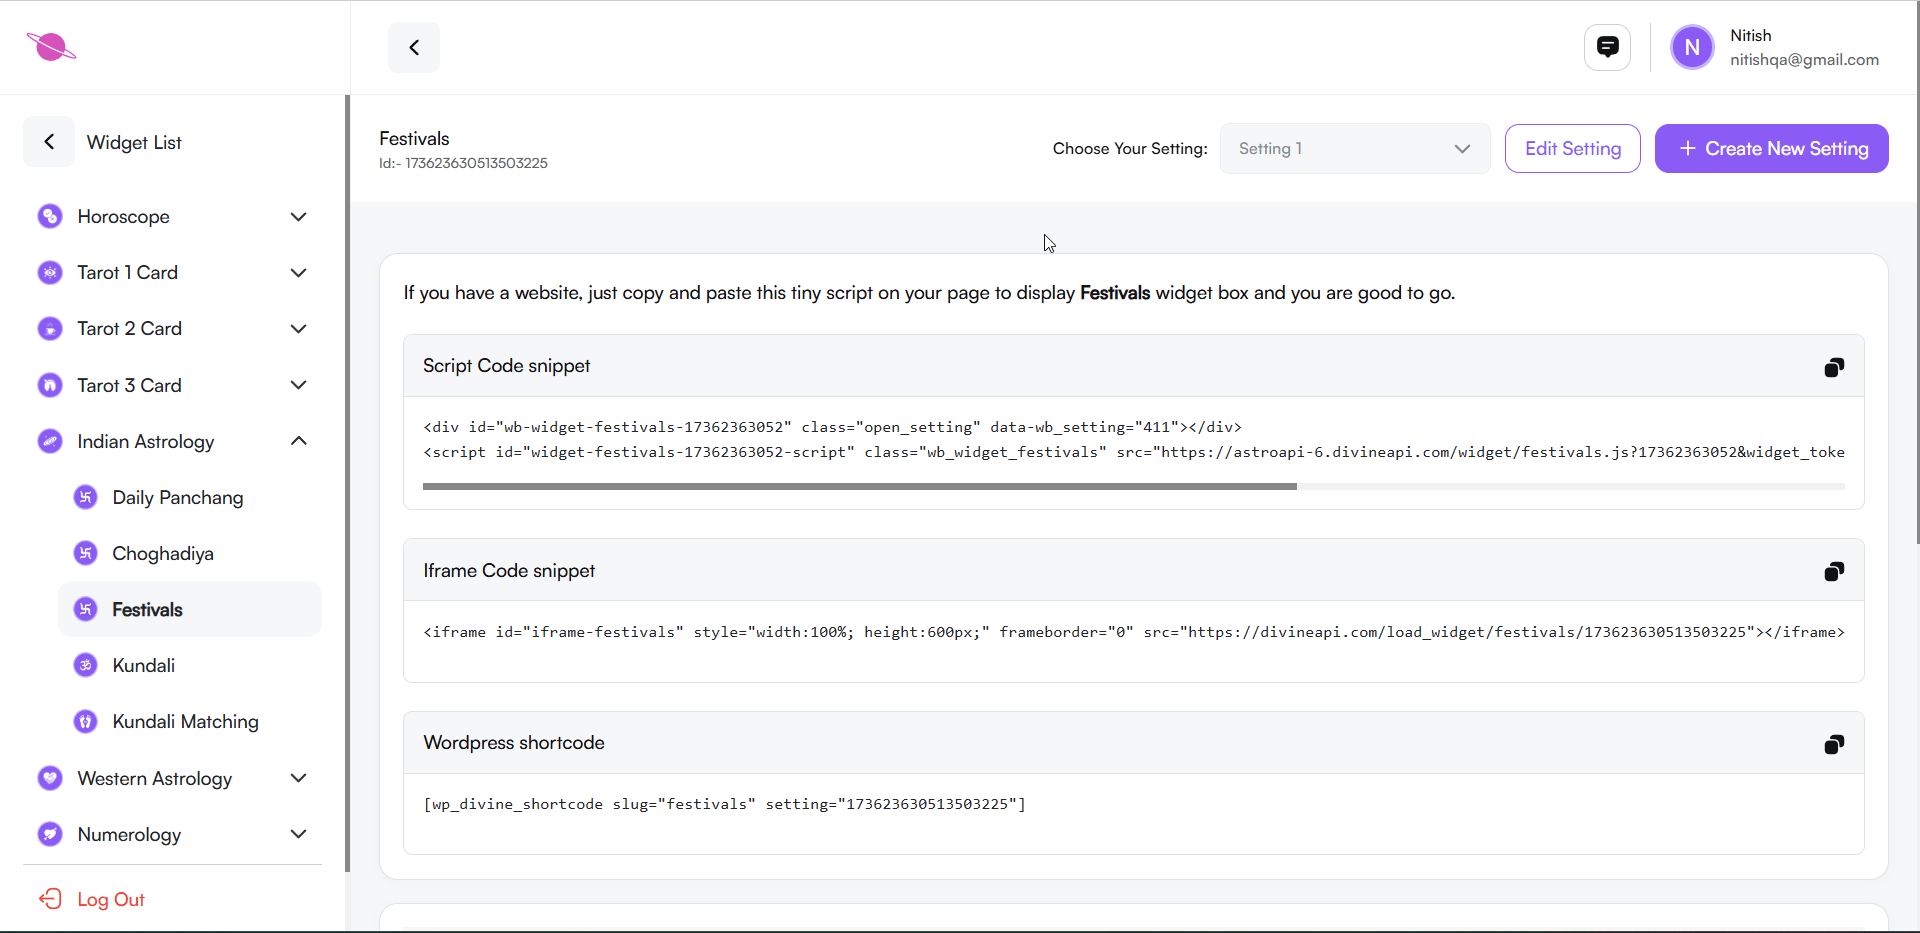
Step 4: Access the Widget Customization Panel
Access the Customization Panel:
Navigate to the customization panel by selecting the Festivals widget. Here, you can explore various integration methods to seamlessly add the widget to your website.
Choose Your Integration Option:
- Script Code Snippet: Add this code directly to your site’s HTML for quick integration.
- Iframe Code Snippet: Ideal for flexible embedding, simply copy and paste the iframe code.
- WordPress Shortcode: Use this shortcode in a WordPress page or post. Ensure the necessary WordPress plugin is installed and activated.
3. Embed Your Code:
Click on the copy icon next to your preferred code snippet, then paste it into the appropriate section of your website.
This process ensures a smooth and hassle-free integration of the Festivals widget!
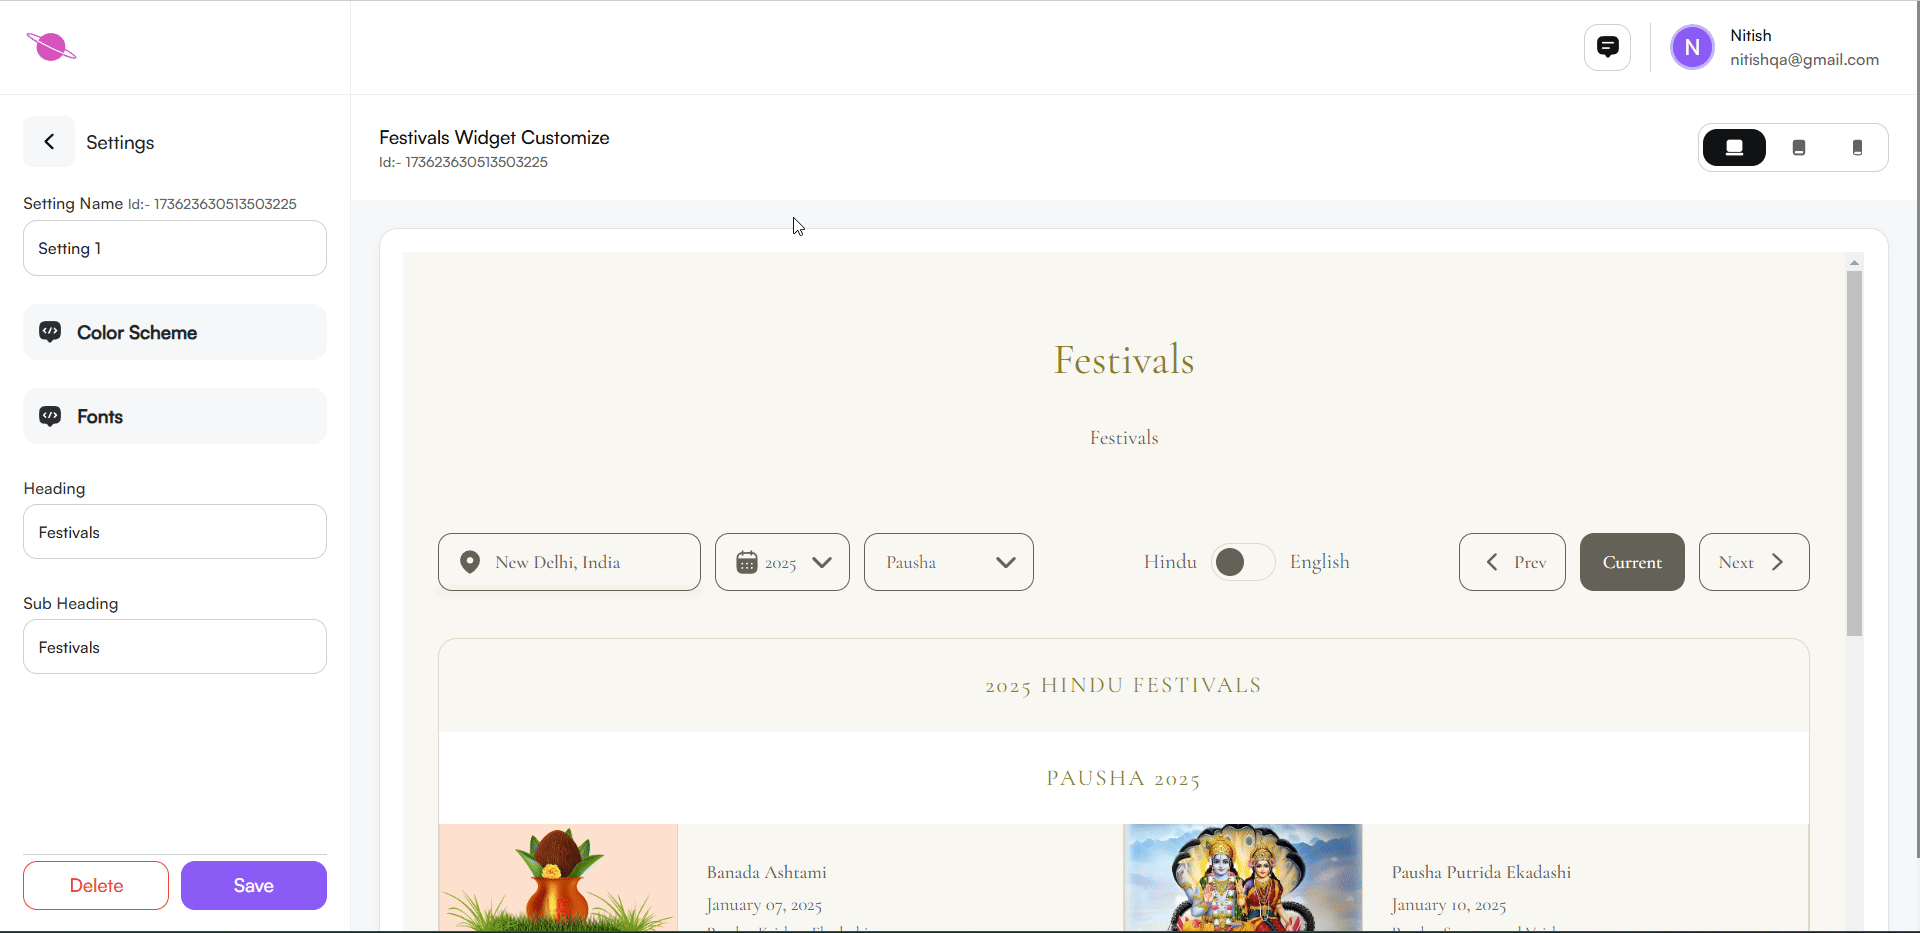
Step 5: Preview Festivals Content
The widget preview section displays upcoming festival details based on the selected year and month. Users can toggle between different months to view the list of festivals and their dates, including any special religious or cultural observances. You can also view the festivals in Hindu or English language.
- This helps you understand how the widget will look on your website.
- Ensure the content is engaging for your target audience.
Step 6: Configuring the Widget
Customize the widget's appearance and functionality to align with your page design and user preferences. Follow these steps:
1. Change the Setting Name:
Creating a New Setting:
- Go to the settings page and click on “+ Create New Setting” in the top-right corner.
- Assign a name like "Festival Setting 1" for quick identification.
- Personalize the widget’s appearance by adjusting colors, typography, and layouts to complement your website.
Editing an Existing Setting:
- Locate the desired setting using the “Choose Your Setting” dropdown.
- Press the “Edit Setting” button to access the customization tools.
Explore our comprehensive widget guide for more insights
2. Change the Setting Name:
- Locate the Setting Name field in the settings panel.
- Enter your desired name to label this configuration.

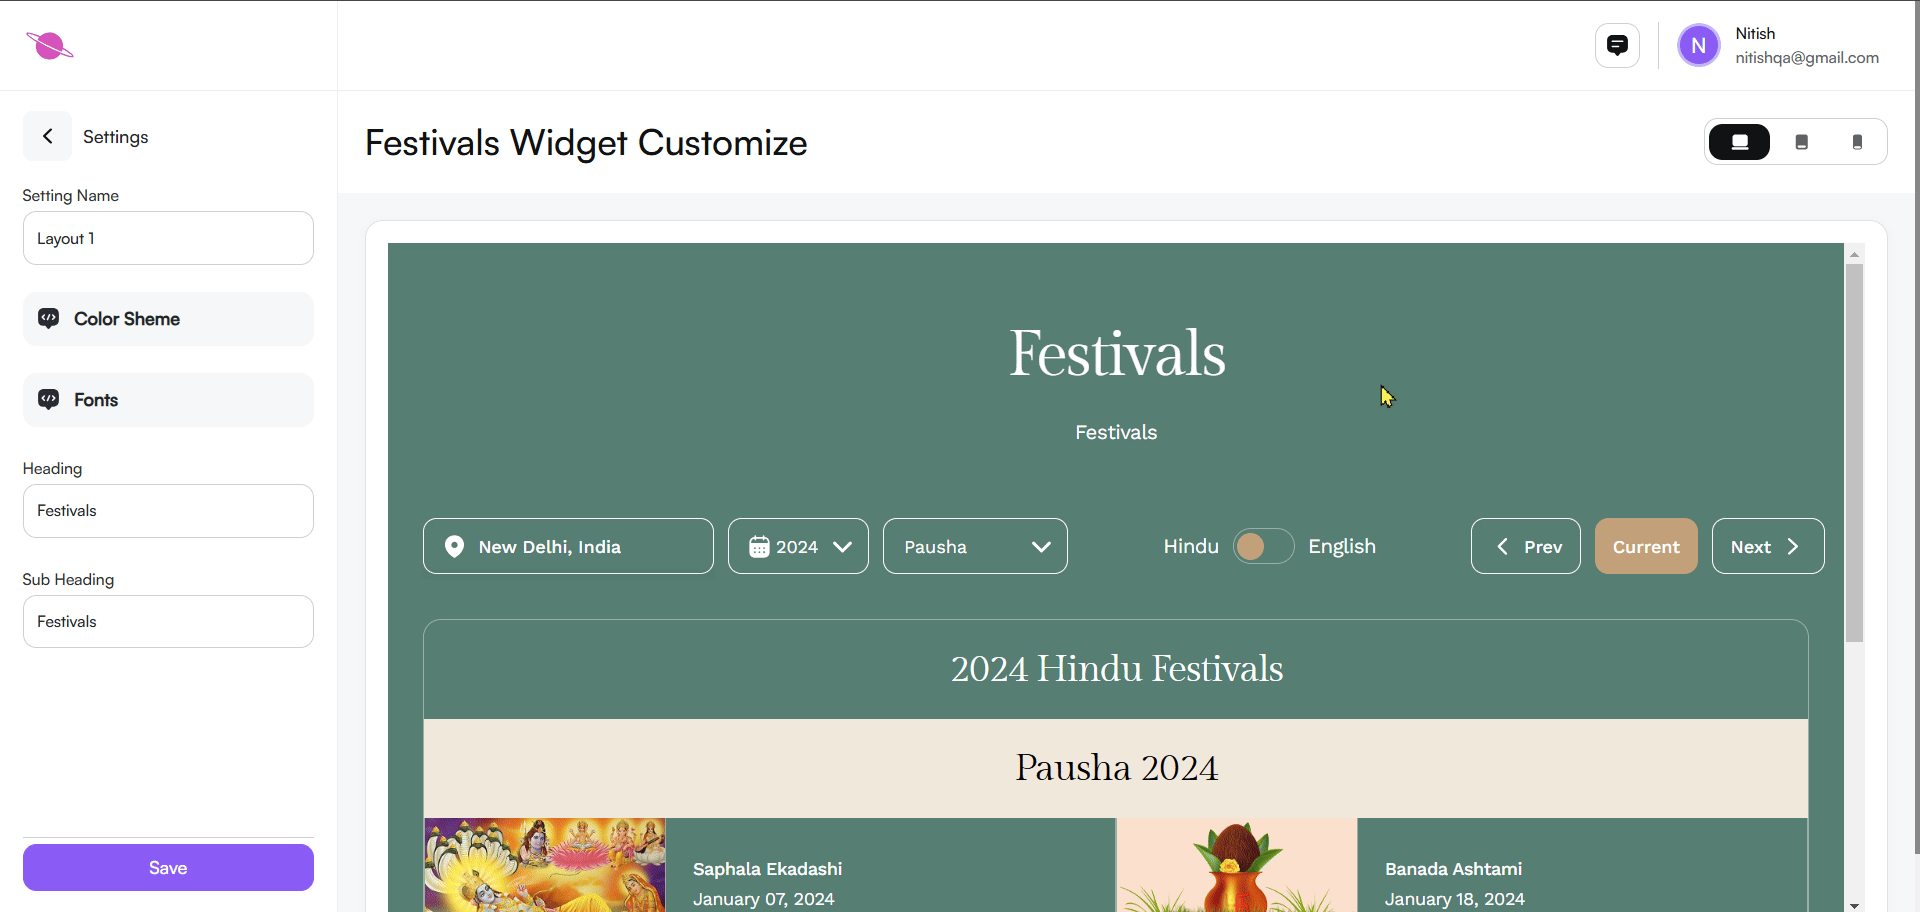
3. Adjust the Color Scheme:
- Open the Color Scheme Panel: Go to the customization settings and click on the Color Scheme tab.
- Select from Pre-set Themes: Explore a variety of themes, including Light, Light Accent, Accent, Dark, and Dark Accent, suitable for various aesthetics.
- Refine Your Colors: Use the customization tools to fine-tune the chosen theme for a more personalized touch.
- Edit Specific Elements: Click the Edit (Pencil Icon) to modify:
- Primary Colors: Customize the Background, Text, and Lines to set the widget’s main tone.
- Secondary Colors: Adjust complementary elements to add depth and variety
4. Adjust the Fonts:
Access Font Customization:
- Go to the "Fonts" section within the settings panel to start customizing the font styles.
Select Your Ideal Font:
- Choose from a range of font options that align with your website’s theme and ensure easy readability.
See Changes in Real Time:
- As you select a font, the widget preview updates instantly, providing a live look at your customization.

5. Heading and Subheading
Customize the widget's heading and subheading to align with your website's style and message.
Heading:
- Enter your desired title in the Heading field (e.g., "Festivals").
Subheading:
- Add a brief description in the Subheading field (e.g., "Festivals").
Note:
You can personalize these texts to suit your needs. Changes will reflect instantly in the widget preview..

Step 7: Use the Preview Functionality
To ensure your horoscope widget looks perfect across all devices, use the Preview Functionality located in the top-right corner of the customization screen. This feature allows you to switch between different device views:
- Desktop View: See how the widget appears on a large screen.
- Tablet View: Preview how it will display on medium-sized devices like tablets.
- Mobile View: Check the responsiveness and layout on mobile screens.
Toggle between these views to ensure the design, fonts, and content remain consistent across all devices. This step helps you deliver a seamless user experience for all your visitors.
Step 8: Save and Embed the Widget
Save Your Settings:
- Hit the Save button to store your finalized customization.
Navigate Back:
- Use the Back option to return to the main widget page.
Confirm Updates in Preview:
- Look over the widget preview to verify that all your changes have been applied.
Copy and Paste the Code:
- Retrieve the generated code snippet and embed it into your website’s HTML.
Test the Widget on Your Site:
- Open your website and test the widget to ensure proper functionality and design compatibility.
Conclusion
By following these steps, you can integrate a Festivals widget into your page, allowing users to explore upcoming festivals based on location, language, and time. This widget enriches the user experience by providing easy access to traditional festival dates and details, enhancing the cultural appeal of your site.